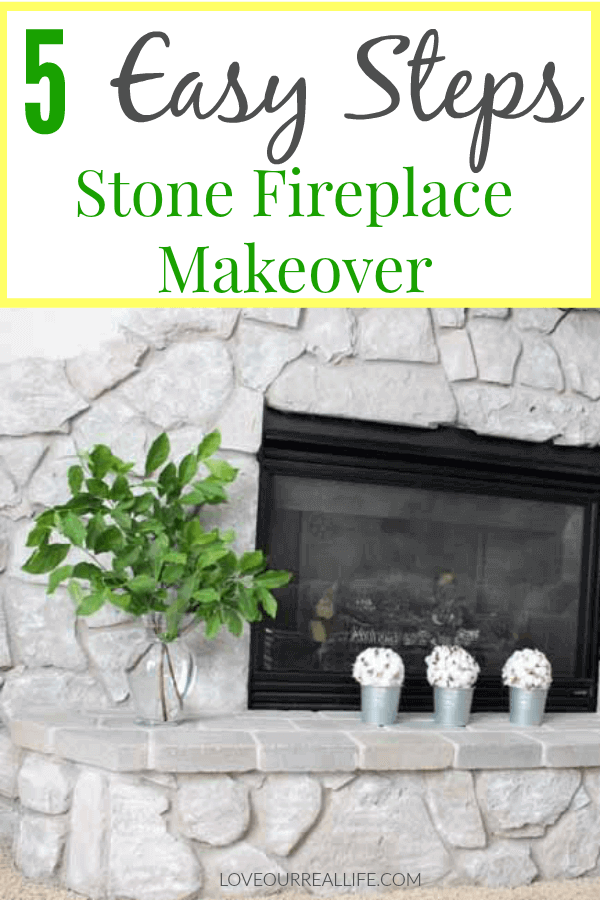
How to Update a Stone Fireplace with Paint
We had an ugly fireplace! Our basement was finished about nine years ago and we tried to cut too many corners. We hired someone that took a lot of liberties with the project at a “bargain” price. He came up with a stone and stucco creation that looked like it came straight out of the 70’s.
It was definitely time for a stone fireplace update!

My DIY stone fireplace update has been a real difference-maker in slowly transforming our basement into a more modern space. This was a fairly simple project that looks a bit intimidating, but is so worth it.
Get more painting projects here.
But, let’s start with a before shot!
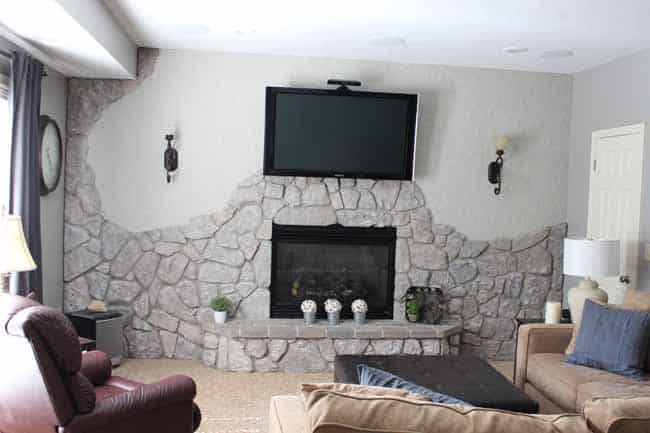
Before Outdated Stone Fireplace Wall
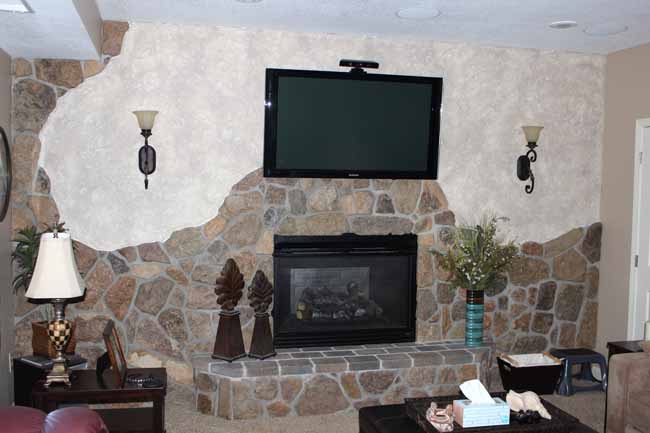
It was pretty ugly.
You can see the portion that is brick fireplace is around the hearth while the remaining is real stone.
When our carpenter suggested he was going to use stucco in addition to stone, the image he described sounded amazing. However, the end result was not great at all.
The stucco and stone combination look a bit like misshapen breasts. Not my idea of the perfect basement feature wall / focal point.
It is so important to get ALL of the details documented before committing to a home renovation project. A good salesperson can convince you of a lot of things, but you have to protect yourself. You will be the one living with the end result.
Learn from our mistake!
My husband really wanted a stacked stone fireplace, but we thought the carpenter knew more than we did. Requesting a simple sketch might have saved us from having this crazy wall in the first place.
But, what was done was done. After living with it for nine years, I decided it was time to go for a painted stone fireplace for our basement living room.
See more room makeovers here.
Materials for Painting Stone Fireplace
- Gray paint (The paint color I used was Intellectual Gray latex paint by Sherwin Williams on the stone and Mindful Gray by Sherwin Williams on the stucco).
- White paint or very light gray paint to dry brush highlights in small areas (I used a can that the paint store had on clearance for $1.00 that is just a tad lighter than Revere Pewter by Benjamin Moore).
- Chip brush
- Rags
- Water
- Painter’s Tape
- Roller brush if painting stucco
- Drop cloth to protect floor and other surfaces
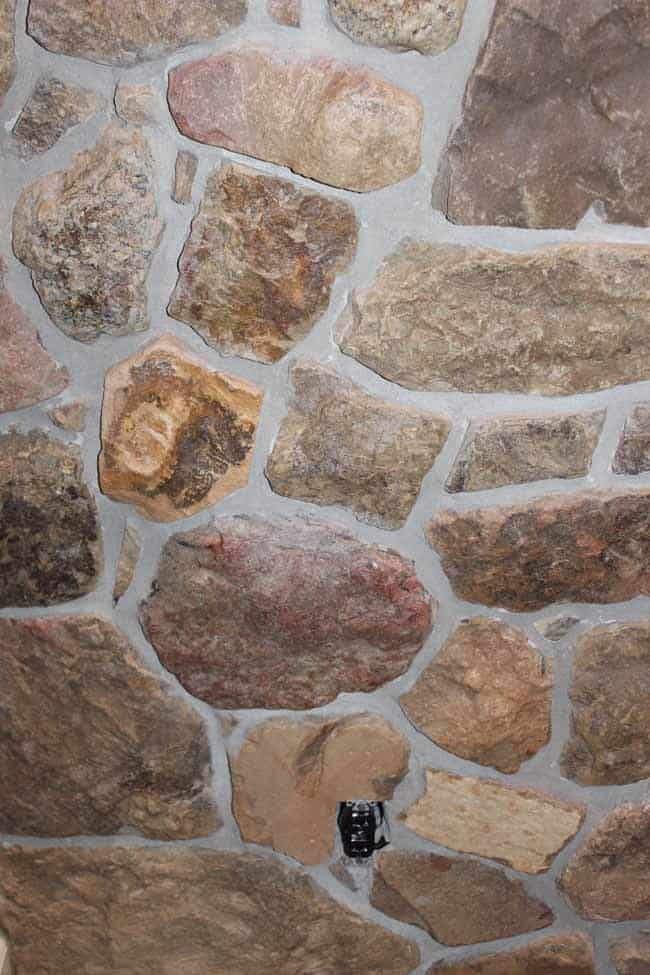
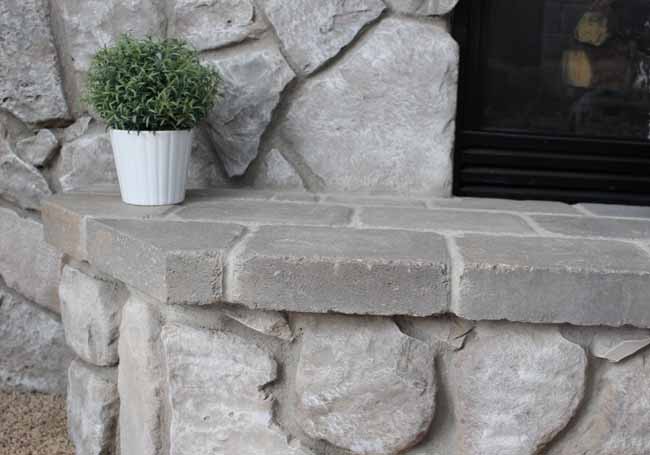
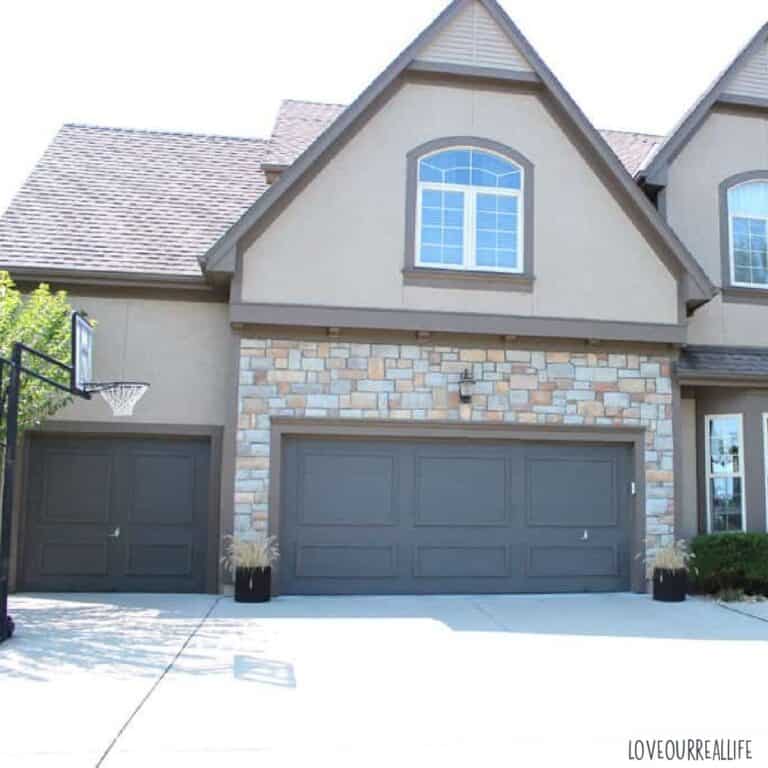
More Before Pictures of Brown, 70’s-Looking Stone

The above picture is on the wall opposite of the stone fireplace, behind our bar.

As I mentioned, it looked straight out of the 70’s! An up close look at the orange/brown stone used on the walls and the fireplace surround:
After searching Pinterest for weeks and weeks for stone fireplace ideas, I decided to paint the stucco and fireplace.
Why not?!
It wasn’t in our budget to do a total remodel of the space. I decided a little sweat equity could make the space much more modern and I was right! I completed the painting of the stone and stucco in an afternoon.
Seriously! Why did I wait so long for this easy stone fireplace makeover?!
Little effort with a big return!
RELATED: 25+ Painted Furniture Before and After Makeovers
Steps for Stone Fireplace Update
1. Water down the gray paint
If you’ve been following Love Our Real Life for very long, you know I paint all the things. Because of this, I have a ton of leftover paint from various projects. I grabbed some left over Intellectual Gray from our great room wall color.
But, you do need much paint for this project. A sample size of gray and white paint should be all you’ll need for the whole fireplace.
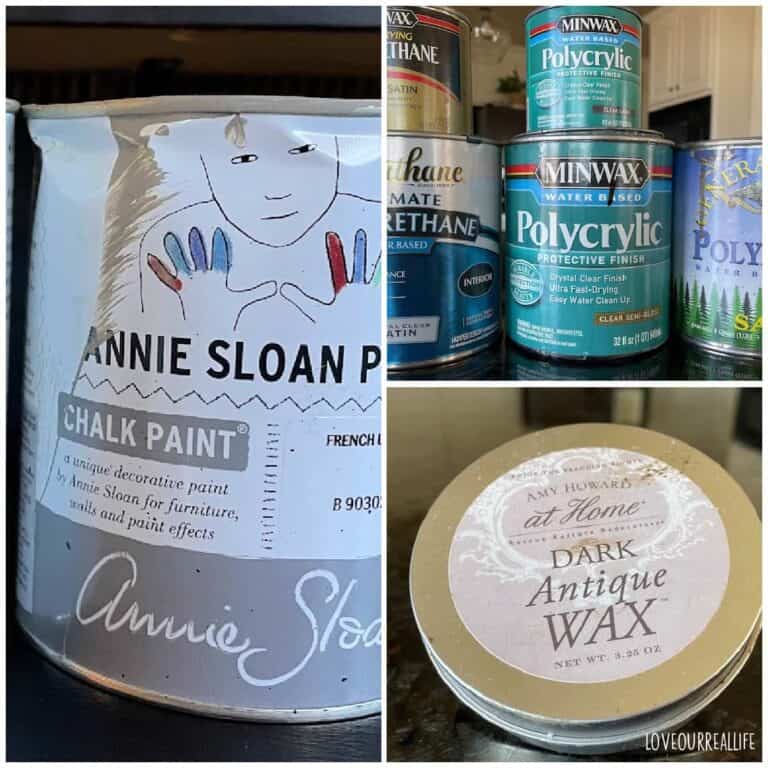
NOTE: You could easily use chalk paint (such as Annie Sloan chalk paint) for this instead of latex paint.
I mixed 50% paint with 50% water. This was obviously very runny, but I didn’t want full coverage of the stone.
The stone was pretty porous, and I knew some of the natural look of the stone would show through with the watered down paint after it dried – exactly what I was going for!

2. Paint the stone
Using an inexpensive chip brush (any paint brush will do), begin painting the stones on the entire fireplace.
Due to how runny the paint will be after watering it down, ensure you cover your floors well with drop cloths. Also, you might need to use painter’s tape if painting stone that is near walls, etc.
The chip brush did a great job of getting into all of the little crevices of the stones.
Once again note that various types of paint would work. I do not think a special paint is required. If you have paint colors you love, try a small section first and ensure you love it if you are having hesitations.
As you can see the original stone was a very dark color that made our family room feel dark all of the time, even in natural light.
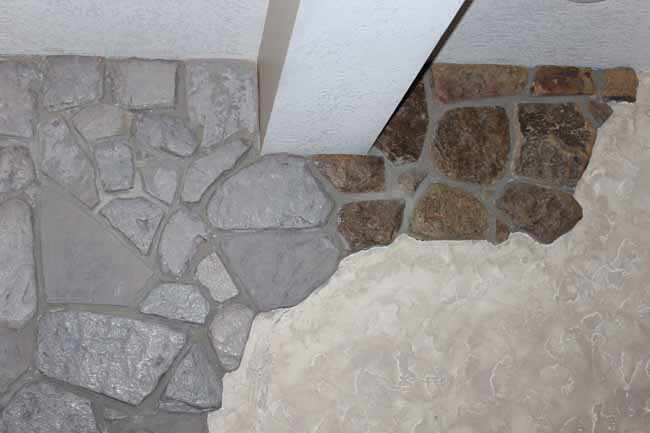
3. Wipe off stone slightly after applying watered down paint.
As soon as each stone was painted, I immediately took a slightly dampened cloth and lightly wiped the stone.
This took care of drips from the runny paint, but also ensured the stone didn’t have a total coverage look of a solid color.
Although this is an easy project, it is really messy due to how thin the paint is.
As I mentioned earlier, protect your floors (or anything else in close proximity to the project) with drop cloths.
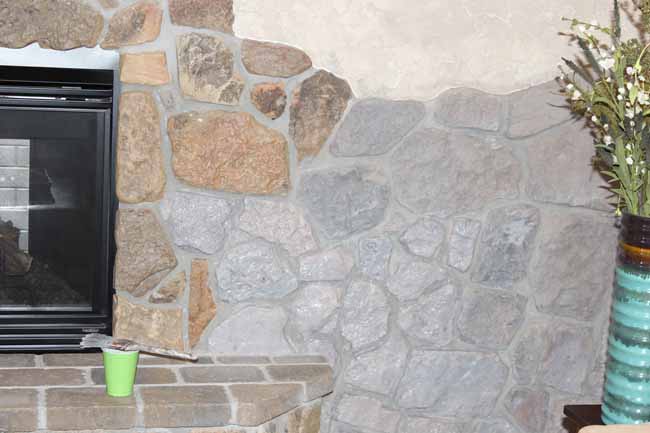
In the above image, you can see that some of the natural stone color is still peaking through, but is no longer orange.
This layer / first coat dried relatively quickly since it was so thin. After about an hour, it was ready for the next step.

4. Dry Brush white or light gray paint onto stone.
To add a little bit of dimension to the stone, I dry brushed each stone with very light gray paint.
Highlights could also be added with a pure white or other white color paint you might have.
If you’ve never dry brushed before, this post gives more details on how to complete this.
Super easy, I promise!
Here’s the jist of it:
- Dab a dry chip brush in a tiny bit of light gray paint, then off-load the brush on a paper plate to ensure very little paint on the tips.
- Then, paint / highlight the raised areas of the stone to add depth.
- Start with a tiny amount of highlights. Add more highlights if desired.
Keep in mind, if you get too many highlights, it’s easy to fix. Just dry brush over it with your initial base color (in my case Intellectual Gray).
I addressed the fireplace brick the exact same way I did the rest of the stone.

5. Only If You Have Stucco: Paint the Stucco
I seriously doubt that many of you have this specific stucco and stone combo (if you do, you must send me a photo!;-)
But, if you happen to be considering painting stucco, it’s easy. I grabbed some left over Mindful Gray in eggshell finish. Flat finish would be fine, too.
After taping off the area I would be painting, I used a basic paint roller to paint all of the stucco. One coat covered pretty well. There were only a few places that required minor touch ups.
The After – Stone Fireplace Update:

Take a peek at our bar space above. The wall is done, but the dark brown decor is going to be changing soon. Stay tuned for that in the upcoming weeks as well as my bar transformation.
Update: The bar space is finally finished, too! Take a look at the new DIY wood shelves I made!
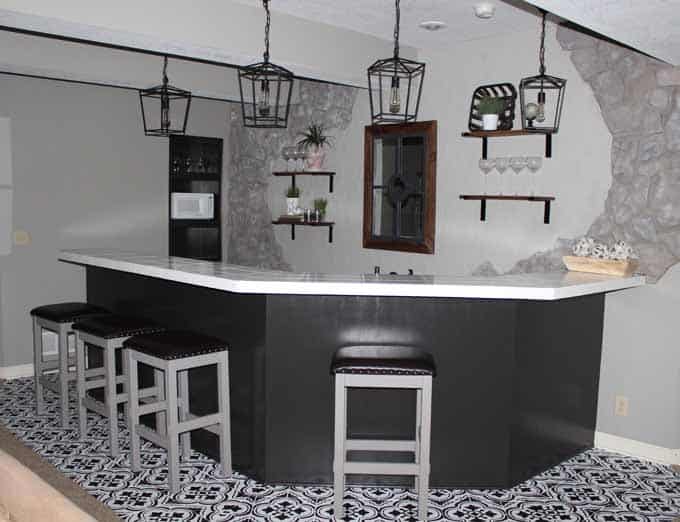
BAR / STONE WALL BEHIND BAR AFTER:

A FULL BAR BEFORE (NOTE THE STONE WALL CHANGES BEHIND THE BAR):
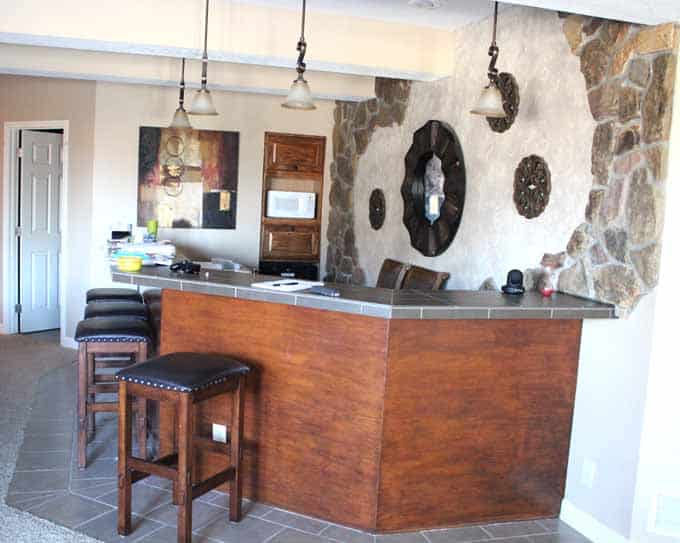
Also notice I painted the brown tile countertops, bar stools, stenciled the floor…pretty much everything got a fresh coat of paint! While it was a lot of hard work, it was so worth it.
Paint can fix just about anything;-) Plus, paint is budget friendly when comparing with the cost of trying to replace.
I love it!
It’s certainly not perfect, but I’m definitely happy with the change. Painting the stone was a little scary. But, since I didn’t like it before, I was willing to give it a go.
I’m beyond glad that I did as it has a much more modern look .
We would love to add a fireplace mantel, but one project at a time.

OTHER BASEMENT UPDATES:
- New lights, Sennett 1-Light pendant from Wayfair (LOVE them!)
- Shelves (How to Install Rustic Shelves using Dry Wall Anchors)
- Changed outdated home decor on feature wall
- Stenciled tile floors (Wow! I love this, but man, it was a ton of work.)
- How to Paint Tile Countertops
Don’t forget to pin for later!
How to Update a Stone Fireplace with Paint

If you have an outdated stone or brick fireplace, a painted makeover can give you a more modern look in an afternoon.
Materials
- Painter's tape
- Gray and white paint
- Clean rag
- Drop clothes
Tools
- Paint brush
Instructions
- Water down gray paint. Use paint of choice (I used SW Intellectual Gray leftover from another project) and water it down 50% paint to 50% water. The color needs to coordinate well with your surrounding wall color. Latex or chalk paint are both good paint options. Ensure you use drop cloths to protect your flooring as this is messy.

- Paint stone. Use a chip brush to paint stone or brick with watered down gray paint. Work in small sections.
- Wipe excess paint and drips off stone. Continue working in small sections. Use clean rag to wipe away excess paint so you do not have full coverage paint on stone. You still want the stone to look somewhat natural.

- Dry brush white or light gray on stone for highlights. I used a light gray, but pure white would be fine. Dry brush a small amount (after off-loading brush) onto stones to give them highlights and definition.
- Paint stucco if applicable. If you also have stucco as part of your feature wall, paint it to tie into your updated fireplace stone.


I love the new look of your fireplace. I am wanting to paint mine, but, I was thinking of painting it white being as my walls are a baby blue with a gray tint. Would you recommend watering down the white paint as well or leaving full strength.
T
Hi, Mona! I’m so glad you liked it. Not sure what your current stone looks like, but I would still water down the paint (try 50-50, paint-water). You can always add more paint if needed! I liked the look of having a little bit of the actual stone show, so watered down paint worked very well! Best of luck and let me know of any other specific questions!
Would you have any recommendations if doing this outdoors to stone on the exterior??? Love how you transformed that! Great job!
Thanks so much, Krista! Full disclosure, I have never painted stone work exposed to elements outdoors. But, I would likely try a similar technique using masonry paint. Best of luck and I’d love to hear back if you try painting your exterior stone!
We need to paint over our old fireplace brick…I’m so nervous to do so, but you are giving me hope!
I fully understand how intimidating it is. To me, I REALLY did not like our “before”., so that made it much easier to dive in! Best of luck with your fireplace!
Great job! It looks MUCH better in the gray tones!
The update looks so much nicer! Especially in the area behind the bar. I bet the room feels much brighter and more open, now too!
Thanks, Emily! It is so much brighter! We actually enjoy using it more. Have a wonderful week!
I love at what a HUGE change simply painting the stone made! Love how it turned out!
Thanks, Heather! Paint is magical;-)
I absolutely love painted stone and brick. It’s one of my favorites! Nice job!
Me too, Kristin! Have a great week!
What a transformation! It looks like a totally different room.
Thanks, Ayanna! It definitely does!
I am really loving the look of that fireplace. I live in Michigan and it is always cold here this time of year. If I had this fireplace in my living room I would probably never leave the room LOL!
I love the ambience of a fireplace, too! Thanks, Kimmy!
I cannot believe the change in the fireplace and if anyone did that to my fireplace, they would be removing every bit of the paint job. I find it unappealing and would never consider it. Thank you
Hi, Carol! It is definitely not for everyone, but we are planning on being in our home for quite some time (we hope!) and it was a makeover that fit our budget. Thanks for stopping by!