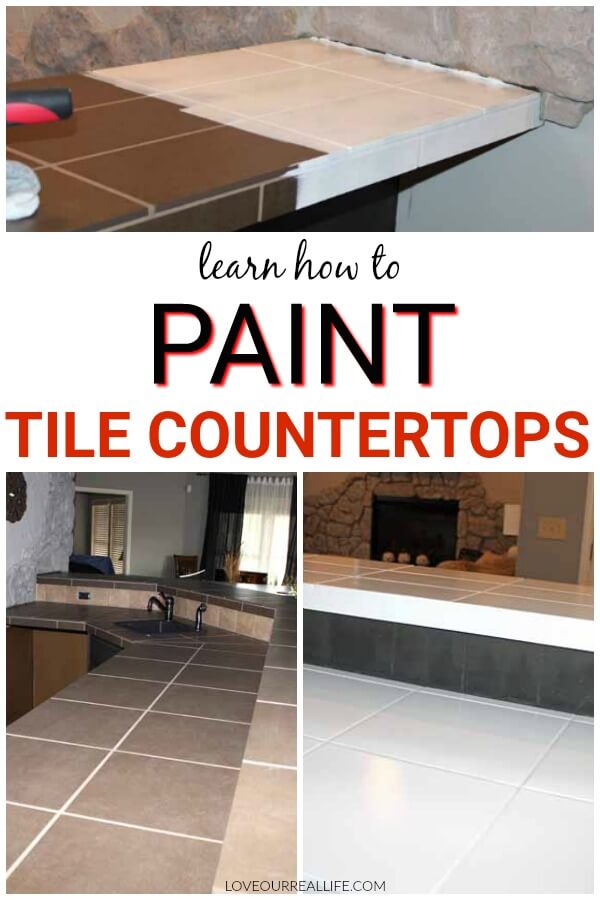
How to Paint Tile Countertops / Before and After
Our basement was ugly, or at least I thought so. I recently posted about how I painted our 70’s style stone wall to brighten things up. It helped tremendously, but I didn’t stop there! Today I’m going to show you how to paint tile countertops if you happen to have less-than-appealing tile-topped counters like we did!

Tutorial to Paint Tile Countertops, Grout and All
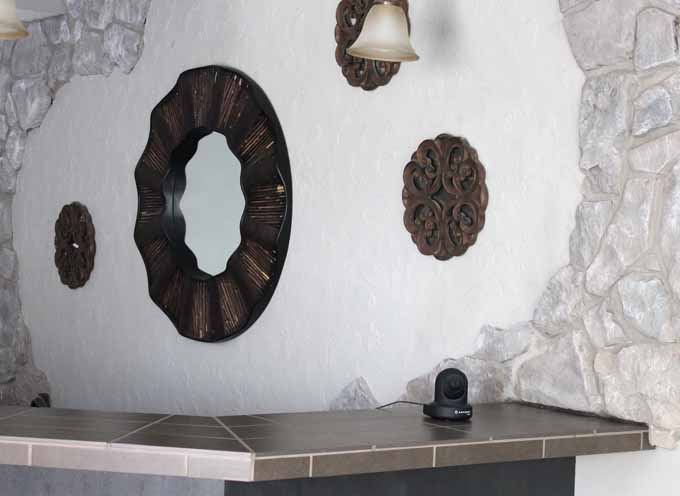
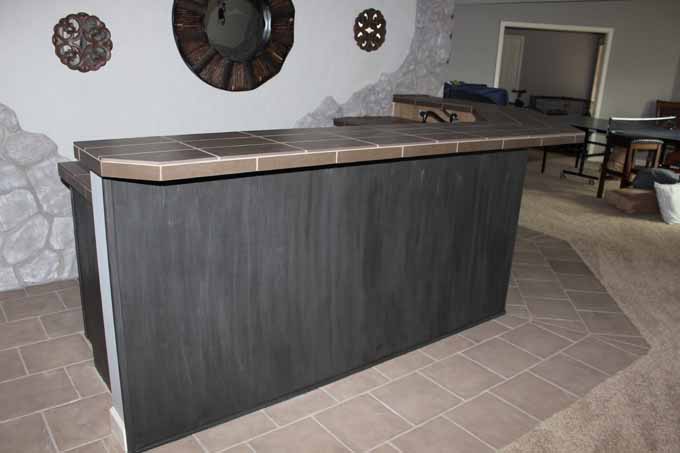
The Basement Bar area and tile countertops prior to makeover:
Perhaps I’m a bit dramatic when I discuss my eye sore of a basement prior to all of our latest makeovers. But, I assure you, after you take a look at some of the pictures, I think you will understand.
See more painting project posts here.
BROWN COUNTERS BEFORE THE UPDATE:

We have been in a house wide sweep of getting rid of all the dark brown that had taken over our home. Like nearly everyone else in America, I have repainted most of my spaces gray.
Even though it is a trend that might not last for ever, I’m loving the change.
Our home is so much brighter, yet I still feel like each space is so cozy. Nothing like a little hygge living!
Below shows the updated wall, but old dark brown decor and countertop
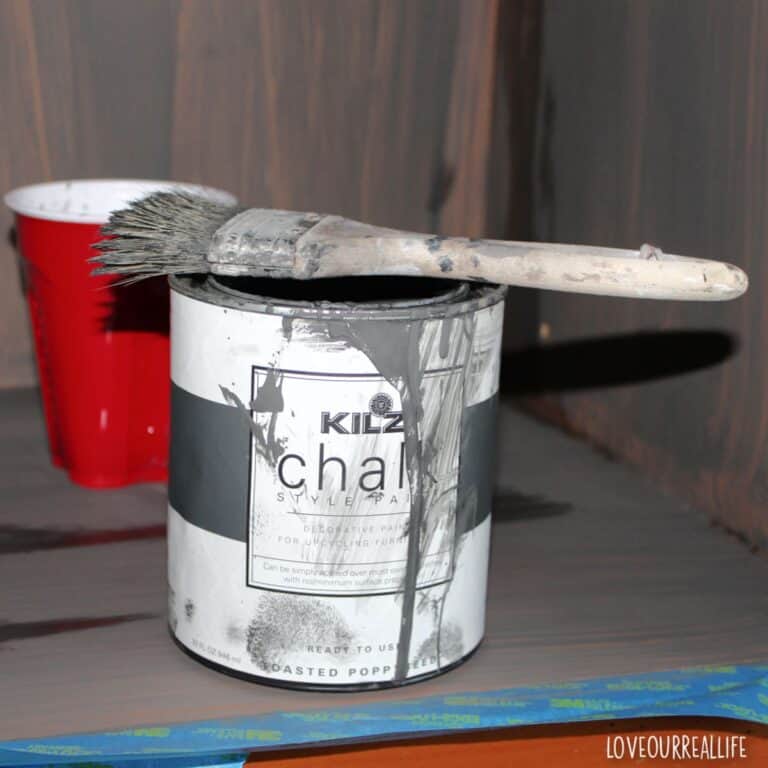
Part of the renovation process entailed repainting all of the basement cabinets. In the post, I discuss how unhappy I was with my initial chalk paint choice. But, I still think chalk paint is a great option for painting cabinets if you don’t have the time or patience to spare.
Just be sure you do your research and select a good quality paint, otherwise you will have to go back and fix it! That kind of defeats the time-saving aspect!
As you can see in the photo below, the initial paint I used was a disaster! If you want to read about that entire process, read the cabinet painting post.
Bad chalk paint:
I did end up repainting the bar with Benjamin Moore Advance paint in semi-gloss. I had it color matched with the other cabinetry. You’ll see updated pictures in a moment…so much better!
This post contains affiliate links which means if you make a purchase after clicking through my links, I might make a commission at no extra cost to you. See my disclosure policy for details.
Supplies for painting our tile countertops:
- Fine grit sand paper
- Quality Paint brush
- Paint roller
- Paint tray
- Glad Press N Seal (this stuff is the best!)
- Drop cloths
- INSL-X STIX waterborne bonding Primer
- Face mask to wear when painting
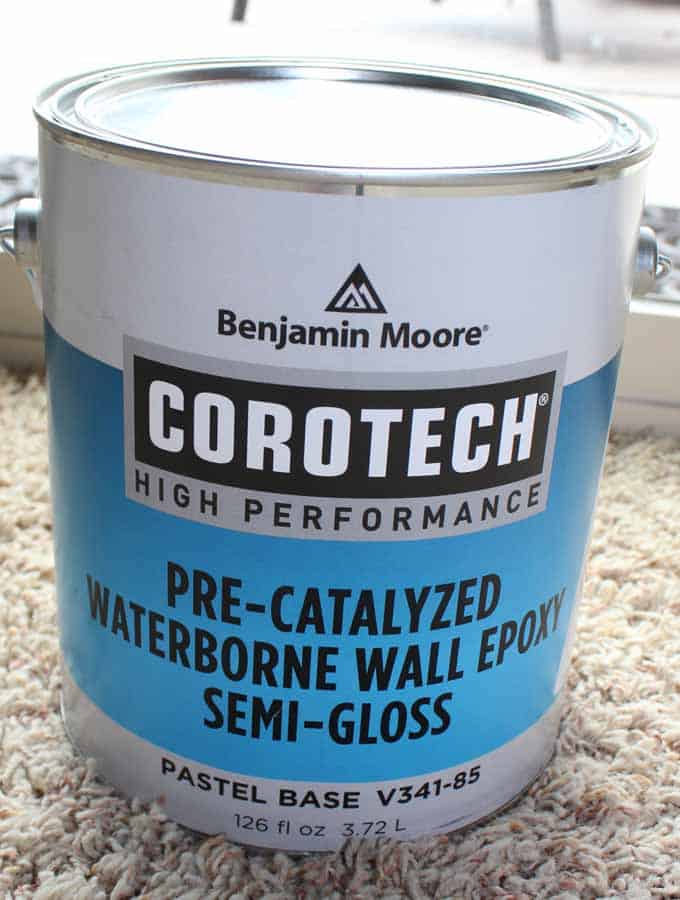
- Benjamin Moore Corotech High Performance Precatalyzed Waterborne Wall Epoxy in semigloss, white
How to Paint Tile Countertops:
The process was actually pretty simple. I spread this project over several weeks, really just due to life happening around us. Since this space was our basement, we could close it off without needing to clean up the mess in between steps.
BUT, if you are completing this project in a more frequently used space, I would suggest allowing about a week to complete.
Also know it is best to use painter’s tape to tape off areas where you do NOT want paint, such as around your sink, backsplash, or any other tile surface that you will not be painting.
It’s also crucial to clean any grime or grease from the countertops prior to starting. Use soap and water (or stronger products as needed) and scrub with a soft brush or sponge. Rinse well and dry prior to painting.
1. Sand countertops slightly.
I did not spend a lot of time with this. Just sand the surface to allow the primer to stick well.
A fine grit sandpaper should be sufficient to prep the surface and provide tooth to better take paint. Be sure to vacuum and clean the dust off of the tile after you complete your sanding, prior to painting!
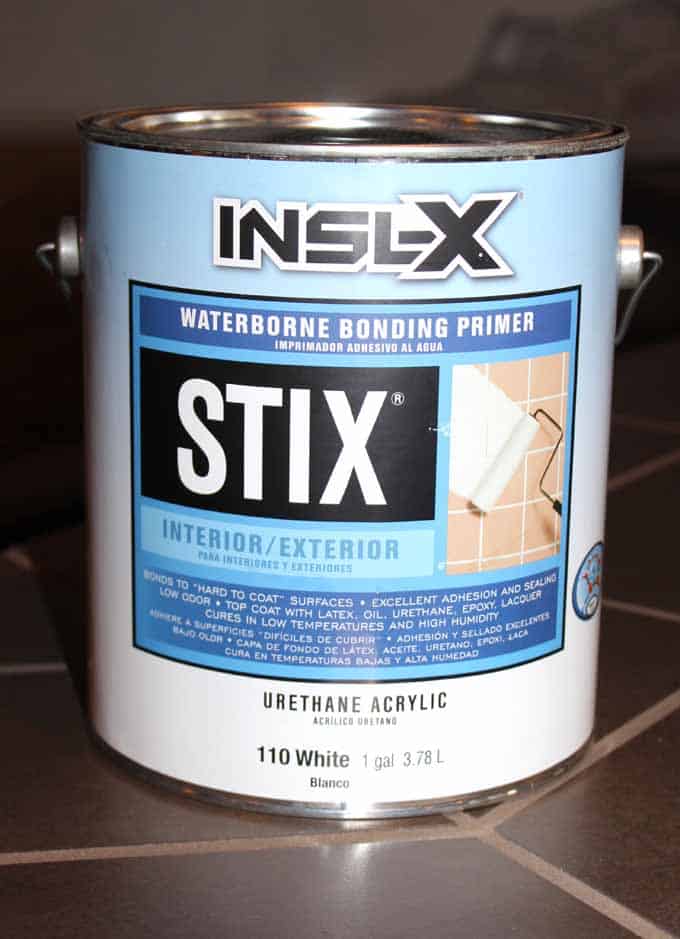
2. Apply one coat of the INSL-X STIX primer.
I really loved this stuff. It was a primer I’d read a lot about, but had never used before. It adhered well to the tile and gave a good surface for the paint.
Apply on the ceramic tile with a high quality nylon paintbrush or synthetic nap roller cover. I used a brush for the edges and roller for the main body.
Allow 24 hours dry time prior to painting next step.
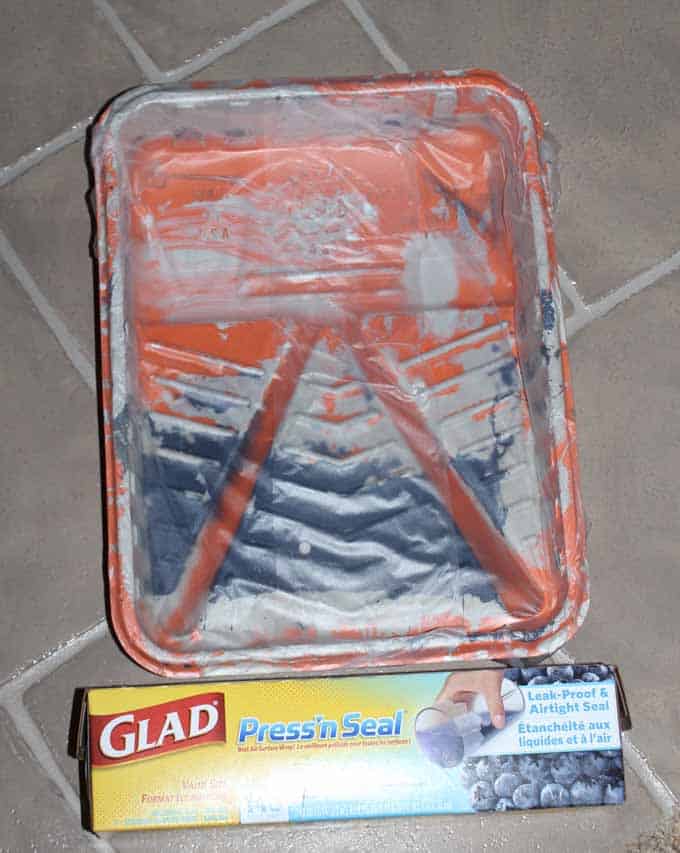
I mentioned Glad Press N Seal in my supplies list. This is something I use every time I paint! Cover the paint tray with the Press N Seal, then when you are finished painting, you can toss that and save your tray!
As you can see in the below photo, I reuse an old disposable tray each time. A real money and time saver if you do a lot of painting (I definitely do!).
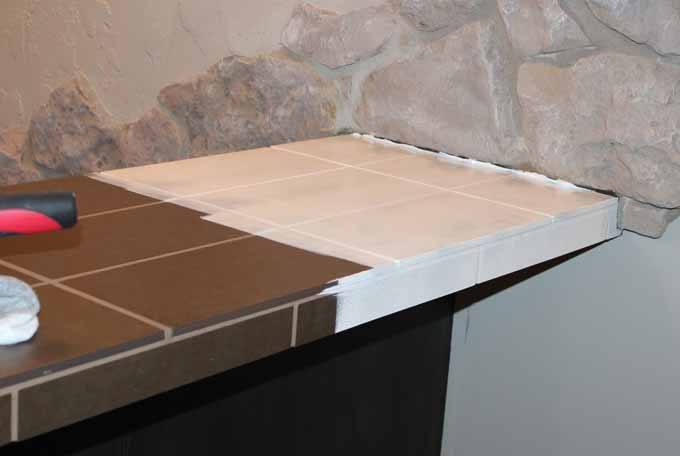
First application of the STIX Primer:
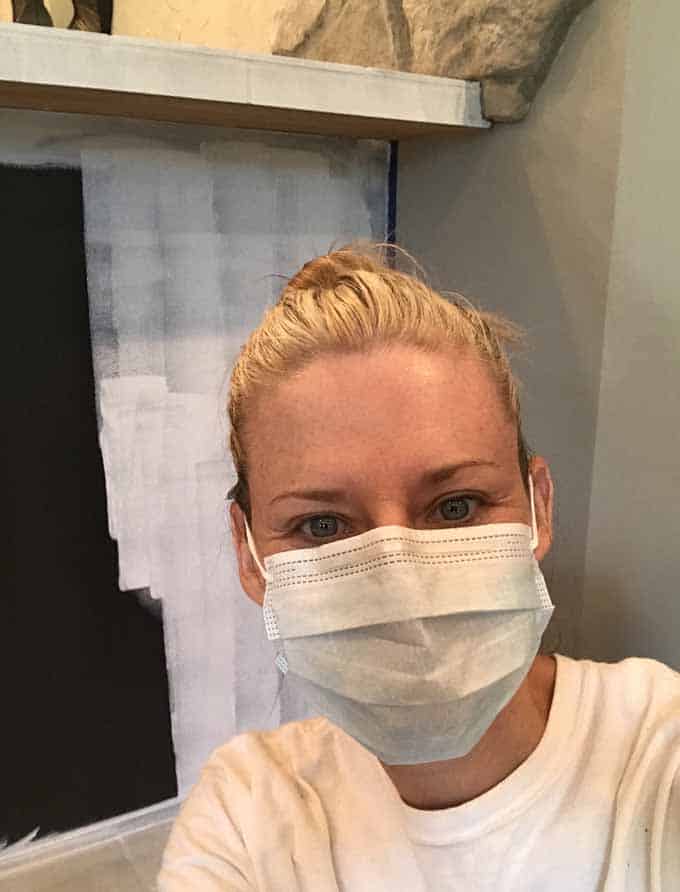
Selfie of me in my mask! I’m priming the bar too.
3. Paint two coats of Benjamin Moore Corotech High Performance Pre-Catalyzed Waterborne Wall Epoxy.
Semi-gloss, white is what I selected for painting the countertops.
Two thin coats and some minor touch-ups were done. The can indicates a second coat can be done within a couple of hours. But, I waited several days as I completed this project as I had time in my schedule.
Below: First coat of Corotech on right (counter with only the primer on left)
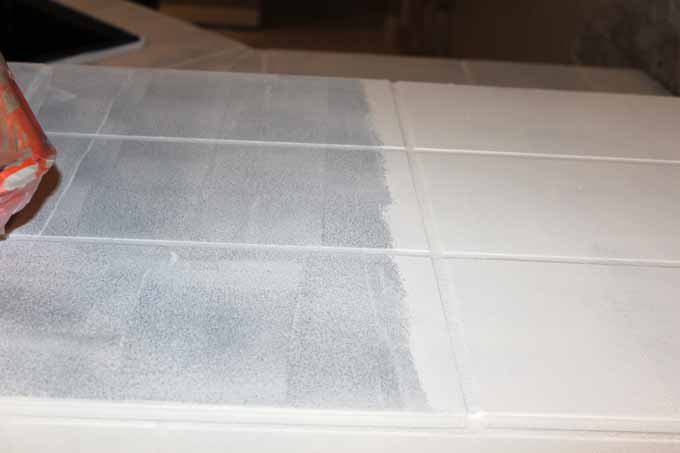
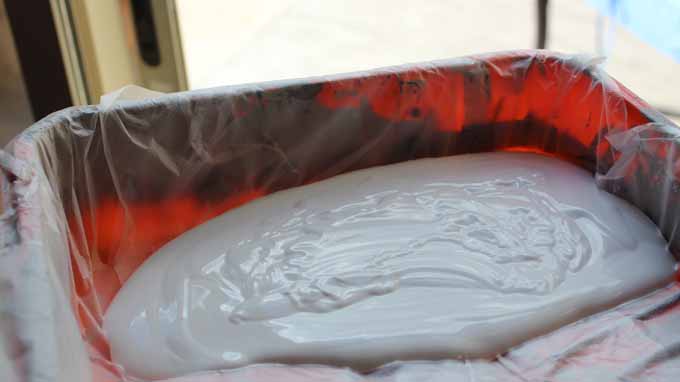
This stuff is really thick. I thought it was a bit like pudding consistency!
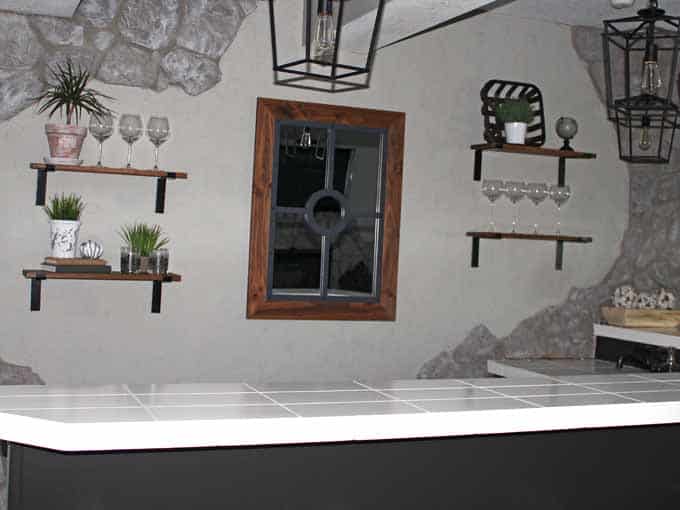
After shots of painted countertops
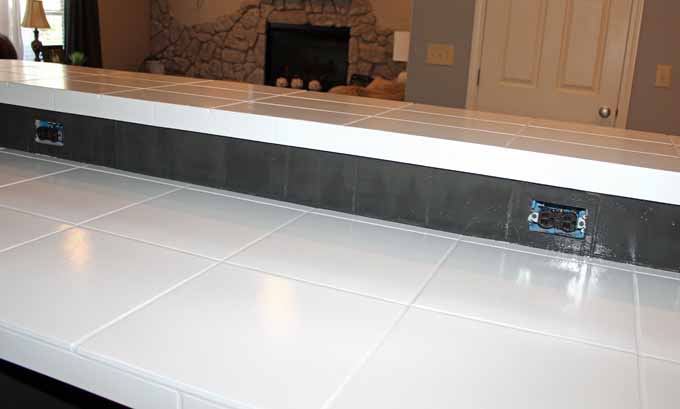
After two coats of Corotech:
For dramatic effect, take a look at the basement bar before ANY of my updates!
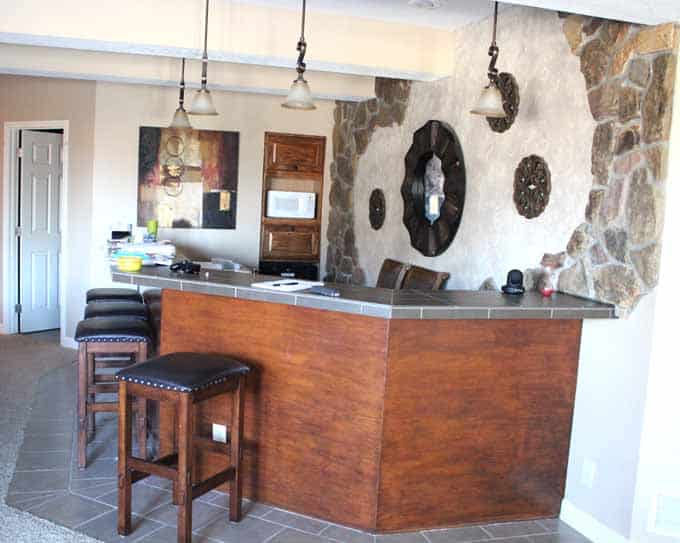
BASEMENT BEFORE:
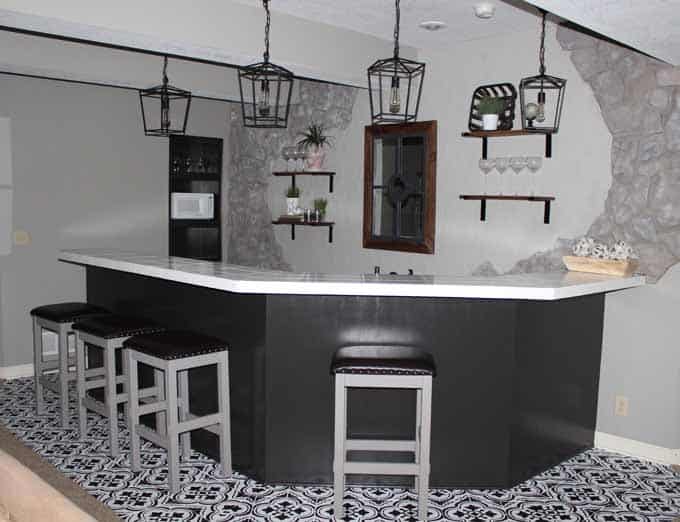
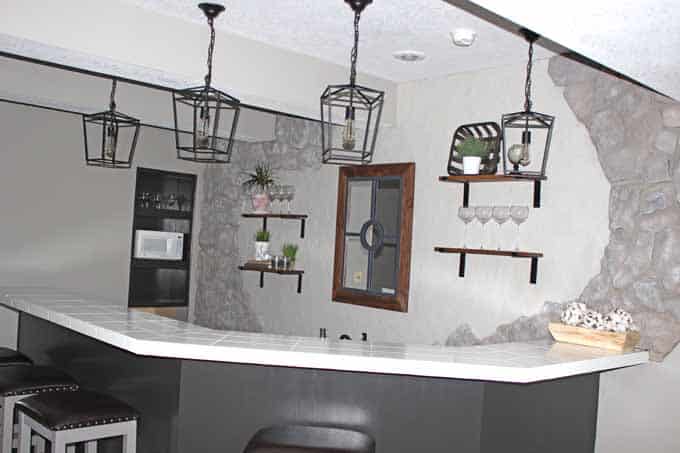
BASEMENT BAR AREA AFTER:
As I’m sure you noticed, lots of other updates were done to makeover this bar space.
A few other basement updates:
- New lights, Sennett 1-Light pendant from Wayfair (LOVE them!)
- Shelves (How to Install Rustic Shelves using Dry Wall Anchors)
- Painted Bar Stools using Annie Sloan French Linen chalk paint
- Painted bar (I used Benjamin Moore Advance paint in semi-gloss, color matched to other cabinets)
- Changed outdated decor on feature wall
- Painted stone and stucco
- Stenciled tile floors (Wow! I love this, but man, it was a ton of work.)
More After Photos of Basement Bar Makeover:
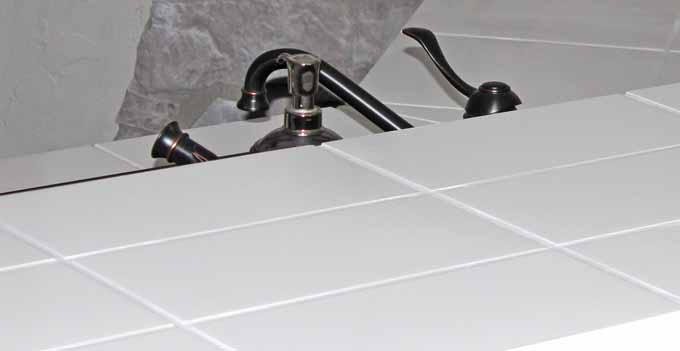
Up close of bar countertop:
Jason, my husband, and I made the heavy duty rustic shelves. Or I should say, I made them and he hung them! They were incredibly inexpensive and totally worth it!
Rustic Shelves:
Another beauty shot of our updated bar / countertops:
One word of caution, the countertops have tiny chips in a few places. Be sure to give them plenty of curing time prior to use in hopes of avoiding this.
I will likely have my family use coasters as much as possible to keep them in good shape! Either way, it’s definitely an improvement.
Now you know how to paint your tile countertops!
Connect with me: PINTEREST FACEBOOK INSTAGRAM
Have a great day and I hope you enjoy your new painted tile should you decide to go for it;-)
FAQ
Yes, you can paint over your tile countertop. It is crucial to properly prepare the surface and allow adequate curing time for the paint prior to use to improve the overall durability of the countertops.
I asked a paint professional at my local Benjamin Moore paint store what her top pick for paint on tile countertops would be and she suggested Benjamin Moore Corotech High Performance Pre-Catalyzed Waterborne Wall Epoxy. She indicated it is the paint many use on tiles in high traffic areas such as schools.
Painting tiles is a good idea IF they do not get heavy traffic. I would not paint a tile countertop in a busy kitchen as paint can, and likely will scratch. But, if you are looking for a bandaid solution to help you tolerate your countertops until a more permanent solution is affordable, this is a good option.


Just wondering how these have held up. I’m considering doing this in my kitchen, but am afraid the paint will chip off or scratch.
Hi, Patty! Keep in mind I did this on my basement countertops…they get much less use than a kitchen would. I tend to baby them a little and ensure I don’t drag anything rough over them, using pot holders and trivets for most things. Since they are painted, chipping is definitely a risk. I’ve had success using Magic Erasers to remove some black marks from metal rubs. All this to say, I can almost guarantee you will get some level of scratching and paint chips. For me, it was worth it. This paint is pretty durable, but at the end of the day, it’s still just paint. Best of luck to you!
Looks amazing! Where can I find the epoxy? Where did you buy yours I’m looking online and I can’t find it.
Thanks so much, Ana! Try going to the Benjamin Moore website and putting in store locator for your area. I hope that helps!
Wow you did an amazing job. Looks so beautiful
Thanks so much, Shanophia!
They turned out so good! It’s inspired me to see what else I can paint now!
I didn’t even know you could paint tile countertops or any tile. Great walk through.
Thanks, Candy! Painting the countertops was a great alternative for us as I wasn’t ready to spend the money to replace! Plus, they were sill in good shape. Thanks for stopping by!
We actually have a small tile section of flooring in front of our fireplace that is an ugly red. I’m trying to figure out what to do there, but painting it white might just be perfect!!
Paint can really be helpful in updating tile, Nicole. If you want to update yours, I have a post coming out tomorrow regarding stenciling floor tile. It made a HUGE difference for our basement flooring. It was a lot of work, but cost very little. Check back tomorrow before you dive into updating your red tile;-)
Look at your painted tiles!!!! This transformation looks amazing! Glad you get to enjoy your “new” room 🙂
Thanks so much, Amanda!
Wow! What a transformation!! Love it 😍
Thanks, Tina😘
Looks fabulous! I didn’t even realize you could paint countertops like that. You did an amazing job!
Thanks, Jenifer! I had lots of discussions with a fantastic paint expert at one of my local paint stores. She really helped me find what I needed to make this work!