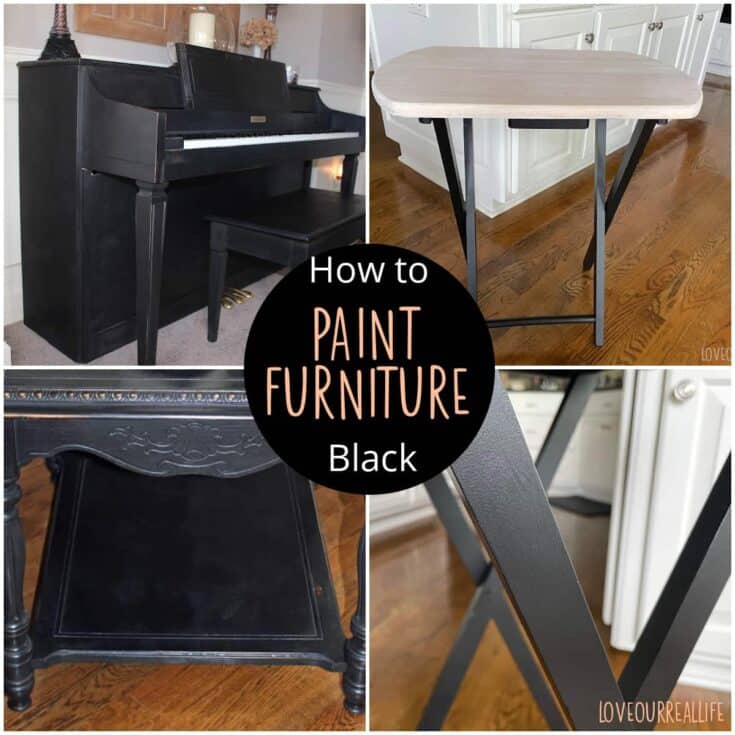
Easy Beginner’s Guide: How to Paint Your Furniture Black
Give your old furniture new life with black paint. Black furniture is timeless and can last through changing trends. But, if you are new to painting furniture, it can still feel intimidating.
Follow this easy step-by-step guide to getting a great black paint finish on your furniture in no time.

Get more painting tips and furniture makeovers here.
To paint furniture black you will need to sand the surface slightly, apply primer if the piece has a heavy varnish, then use 2-3 coats of black paint. After allowing sufficient dry time, apply topcoat to seal as needed.
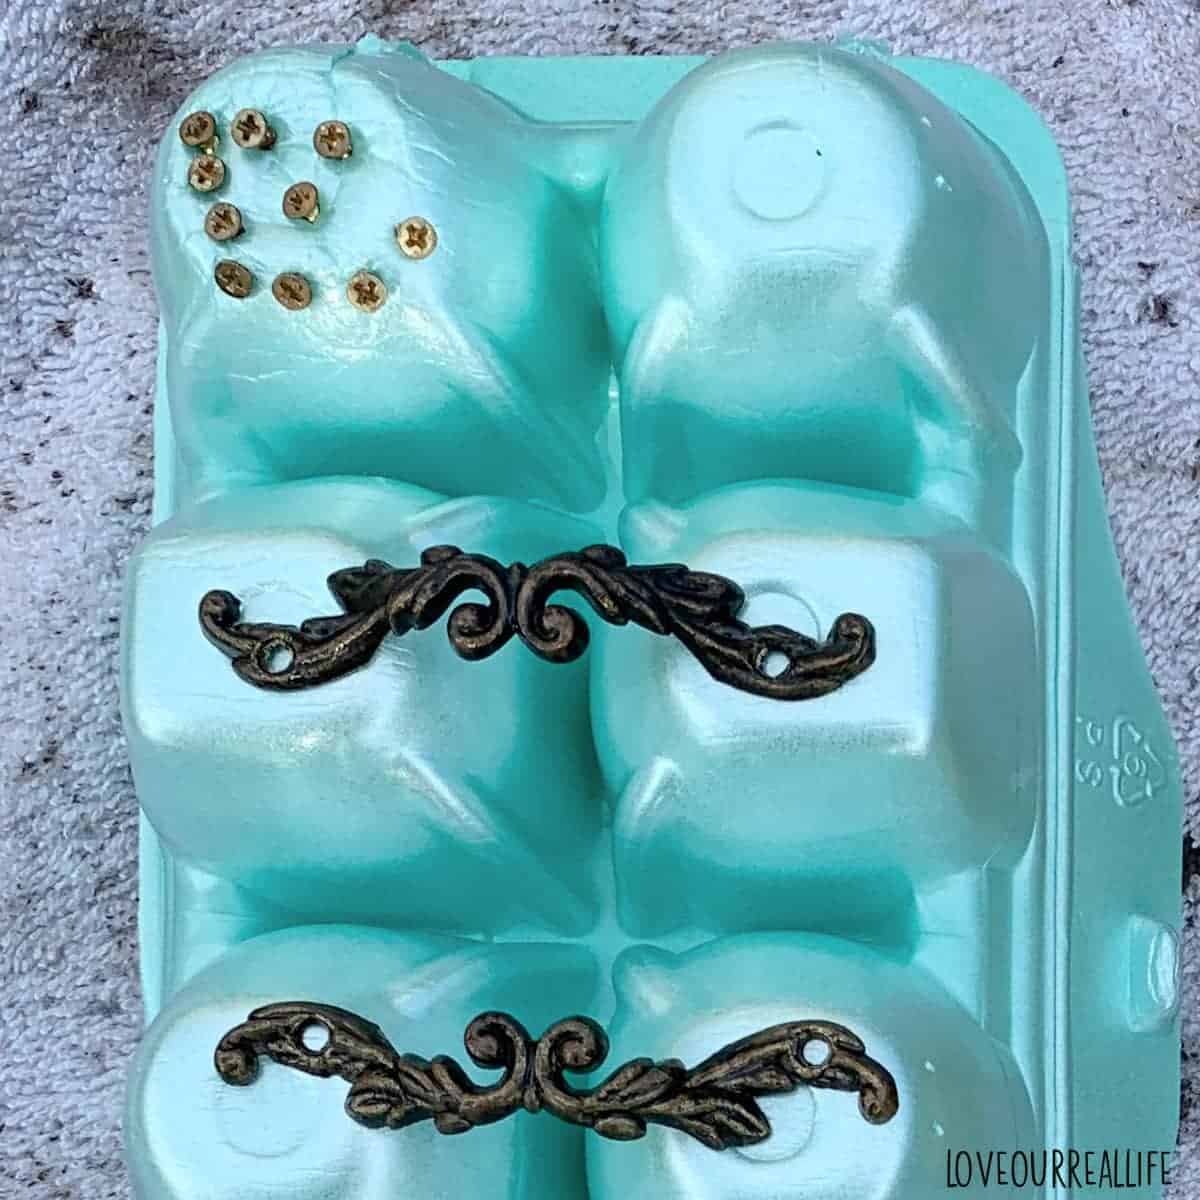
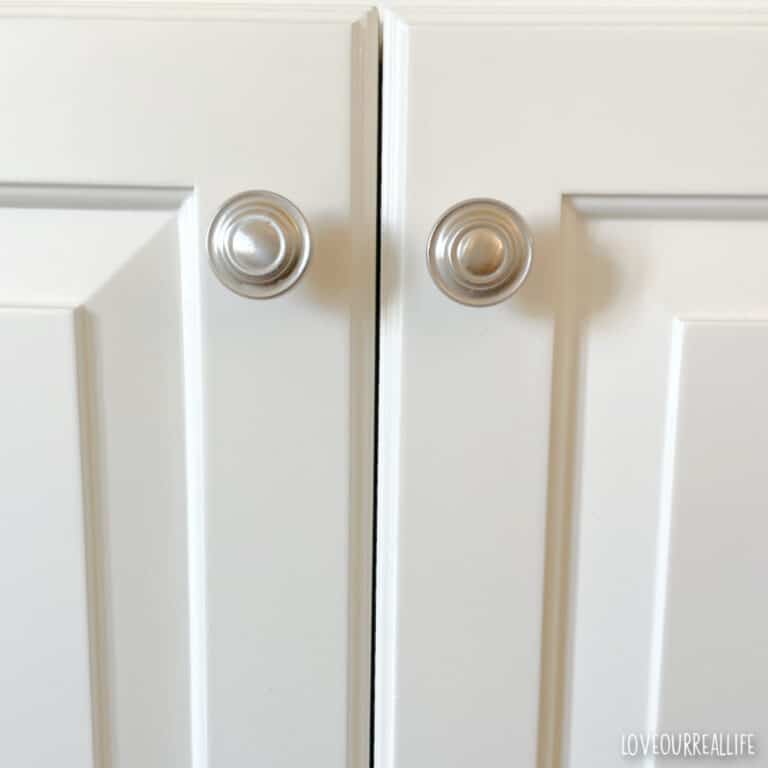
Remove all Hardware and Knobs
Take the time to remove all hardware from the drawers prior to beginning your paint project.
If the hardware varies from drawer to drawer, be sure to label them so you will know where to put them later.
You may even wish to paint the old hardware to really give your furniture a new look!
Remove Drawers
I find it is easiest to remove any drawers or doors if possible prior to painting. This makes the entire process go more smoothly.
Drawers are of course easier to remove than doors. If your piece has several drawers, be sure and mark where they belong so you have no question when putting things back together.
In all honesty, I rarely, if ever take doors off of furniture prior to painting. It’s just a lot of extra work to take them off and ensure they go back on correctly in the end. I just paint over the hinges and call it a day.
Perhaps that is just me. Do what works for you.
RELATED: 25+ Painted Furniture Before and Afters
Do You Have to Sand Before Painting?
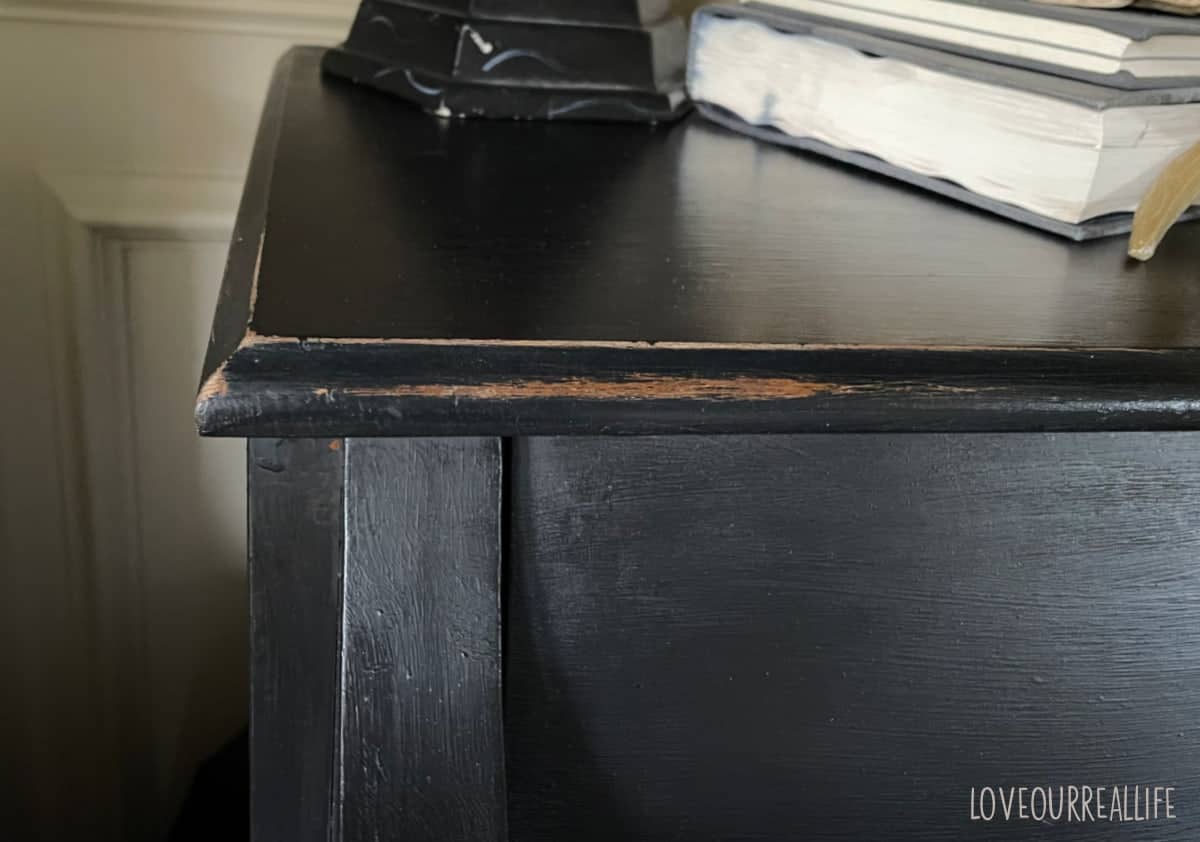
While sanding furniture before painting isn’t completely necessary when using black paint, I think it is a great idea to rough up the surface just slightly so the paint will adhere more easily.
A light sand also helps me to touch every part of the wood surface I will be painting, occasionally revealing a hidden rough spot or debris that I might have missed just from looking the piece over.
For most furniture painting projects, you will NOT need to completely sand the old paint down or remove the varnish. Your goal is to simply prepare the surface to take paint.
This will improve the durability of the paint.
Use a medium grit sandpaper (120-180 grit works well). Wipe with the grain all over the entire piece. Hand sanding should do the trick.
Note, sanding is best done outdoors if possible, in an area with good ventilation. I would also highly recommend wearing a good mask to protect your lungs.
Remove Dust and Clean Piece
After sanding, remove dust with a tack cloth or lint free rag.
If you have a lot of dust, you may want to vacuum the piece to remove as much as possible, then wipe away any remaining dust and dirt.
Use TSP or Simple Green to give the furniture a quick cleaning and remove all grime prior to painting. I’ve also just used a drop of dish soap on a damp cloth to clean my furniture before painting.
Obviously the more soiled the piece, the more cleaning that will be required.
Follow the specific instructions of your cleaning product of choice.
Allow the piece to dry completely prior to initiating the painting. Leave to dry overnight when possible.
If there are any big dents or chips in the wood, you might want to consider using wood putty to fill.
RELATED: How to Distress Chalk Painted Furniture
Do You Need Primer for Black Paint on Wood?
In some cases, you may be able to avoid the need to prime the piece of furniture prior to painting black.
The type of paint you use will have the biggest impact on whether you should prime. The other thing to consider is if you are painting over a heavy varnish.
Varnish can lead to bleed through with paint. In all honesty, I’ve never had a problem with this when using black paint, only white or other light colors. BUT, it is something to consider.
The tannins that cause this ‘bleed through’ are typically from an oil-based varnish or sealer. A primer will allow the paint to adhere better but also help you avoid unsightly imperfections from bleedthrough down the road.
This white dresser is an example of bleed through. I didn’t prime, but wish I would have. Obviously these stains would not be nearly as noticable (if at all) when using black paint or other dark color paints.
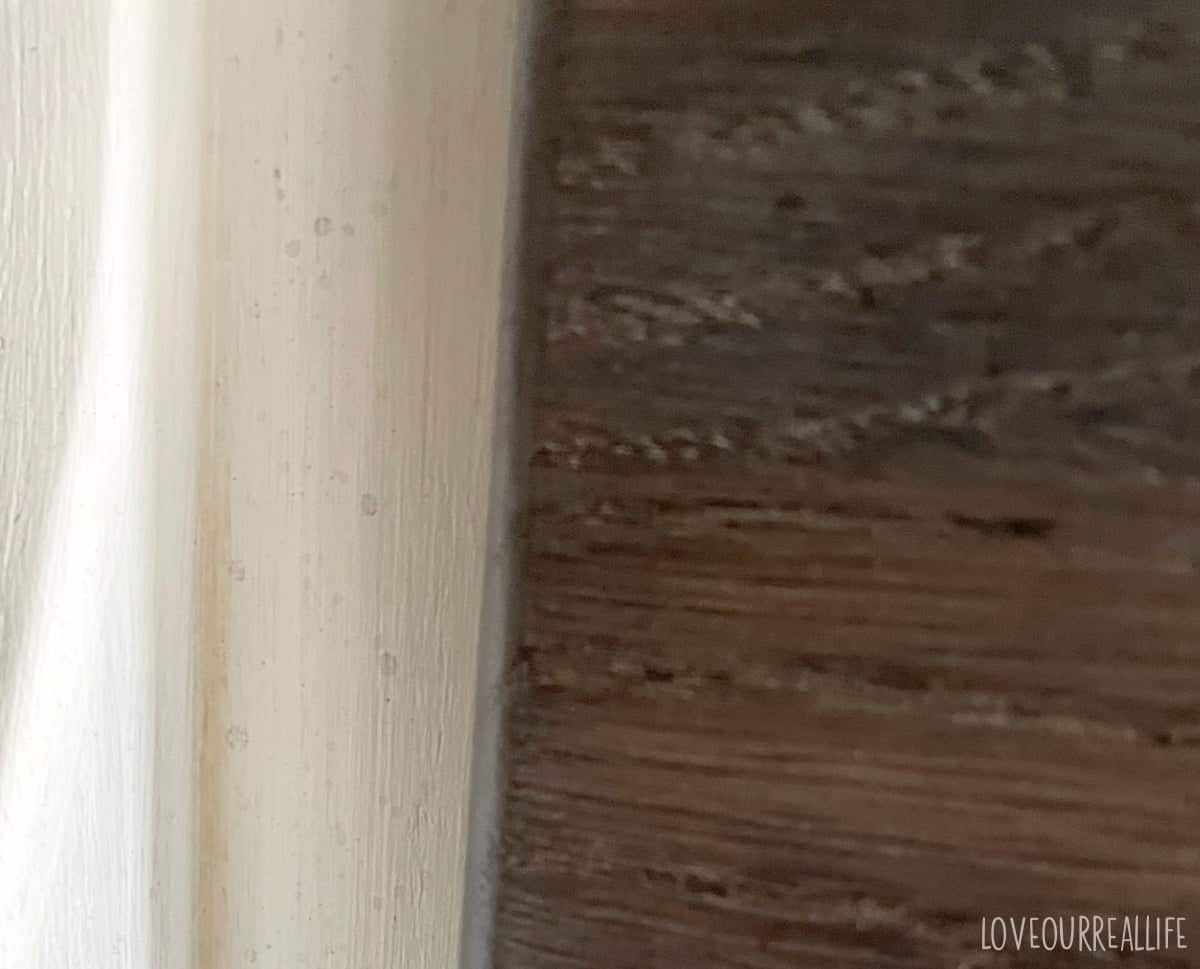
So if this is a concern for you, I would suggest priming, even with black paint if you want to be certain to avoid this.
I should let you know that I rarely do prime, though. This is more a case of ‘do as I say, not as I do’.
If I am using a chalk paint, a chalk style paint, or my latest favorite Heirloom Traditions Paint (HTP), I skip priming unless I am painting a piece of furniture with a light colored paint.
How Do You Paint Over Varnished Wood?
As mentioned in the last section, it recommended to sand and prime before painting over varnished wood. This prep work will allow for the best results.
The coverage of black paint typically will not show any bleed through from tannins from old varnish. But the extra work now might just save you a headache down the road. Sometimes it’s hard to predict if you will get 100% coverage with zero signs of bleed through.
What Primer to Use
If you opt to prime your piece of furniture prior to painting, there are things to consider when selecting a primer.
Some primers are oil based while others are water based.
Find what works for your needs. Are you trying to cover stains and prevent bleed-through? Are you trying to improve the bonding of the paint to the surface?
Primers I would recommend for furniture:
- Zinsser Bulls Eye 1-2-3 Plus – good all around primer, blocks minor stains.
- Zinsser BIN (red can) – good for blocking all sorts of stains.
- Insl-STIX – great for helping paint bond to furniture, but not the best to prevent bleed through from tannins. This is the primer I used when painting tile countertops and really liked it.
- Kilz Premium Primer – good for blocking odors on old furniture.
When primer has fully dried, lightly sand to remove any brush strokes. Use a tack cloth to remove sanding dust.
RELATED: How to Paint on Wood Projects with Acrylic
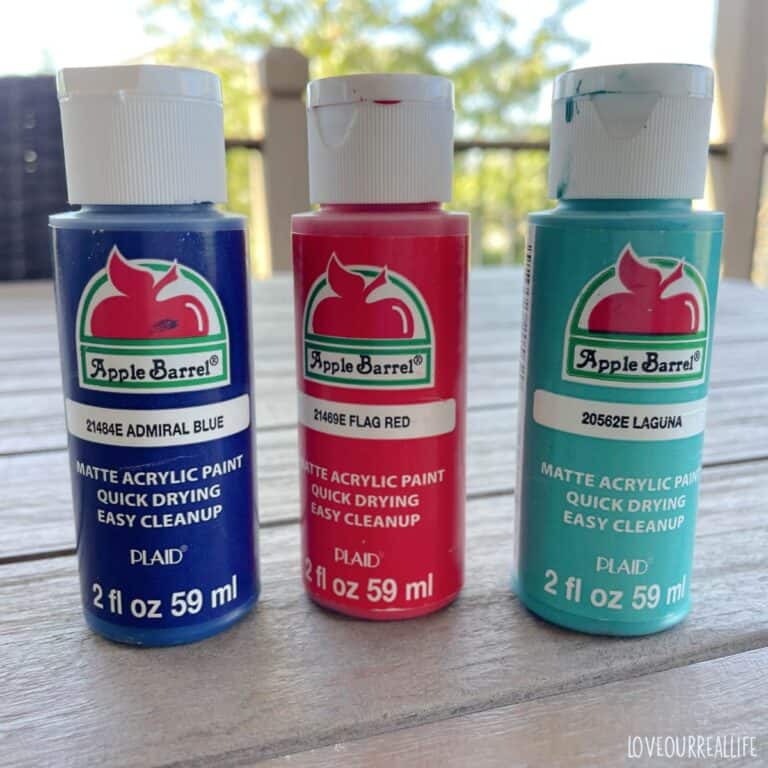
Best Black Paints
I have painted A LOT of furniture over the years and have tried a number of different types of paints. There are without a doubt, pros and cons to most paints.
In many cases, it’s a matter of personal preference. I will give you my recommendations, why I would select each of the black furniture paints that I recommend, and let you make the decision based on your needs.
Chalk Paint
My two favorite brands of chalk paint are Annie Sloan and Amy Howard. Both are good. Dixie Belle is another very popular brand, but I do not believe I’ve ever actually used it.
Chalk paint does require a top coat to protect it as it is pretty prone to chips otherwise. Wax is the recommended sealer for chalk painted furniture, but over the years many DIY painters have informed me that they find wax difficult to use.
Just keep this in mind.
Also note, if you want to distress your piece, chalk paint is great for this!
Annie Sloan
• Annie Sloan in Graphite. This is more of a charcoal gray, but with a dark wax, it does look more like a soft black. Others have stated they mix Graphite with India Ink to darken.
• Annie Sloan in Athenian Black. This is a true black color.
Amy Howard One Step Paint
I have used Amy Howard paint quite a lot and really like it. It is occasionally available in many of the colors on Amazon and I used to find it at my local Ace Hardware store. However, I have had more difficulty finding it locally recently.
I do find that I frequently have to dampen my brush with a bit water when using this paint. Occasionally I have watered the paint down just slightly when seems to make for a smoother finish.
Dixie Belle Chalk Finish Paint
Heirloom Traditions Paint
HTP is quickly becoming my favorite go-to paint for furniture. NO top coat is required and it levels nicely. It is best applied with a good brush, then using a roller to smooth out the finish. I wrote an entire post that reviewing Heirloom Traditions Paint.
I’m definitely a fan.
Also note that I have not needed to use a primer when painting with HTP in their black color, Iron Gate. I have noticed NO bleed through at all with any of the furniture pieces I have painted black with HTP.
• Heirloom Traditions Paint in Iron Gate
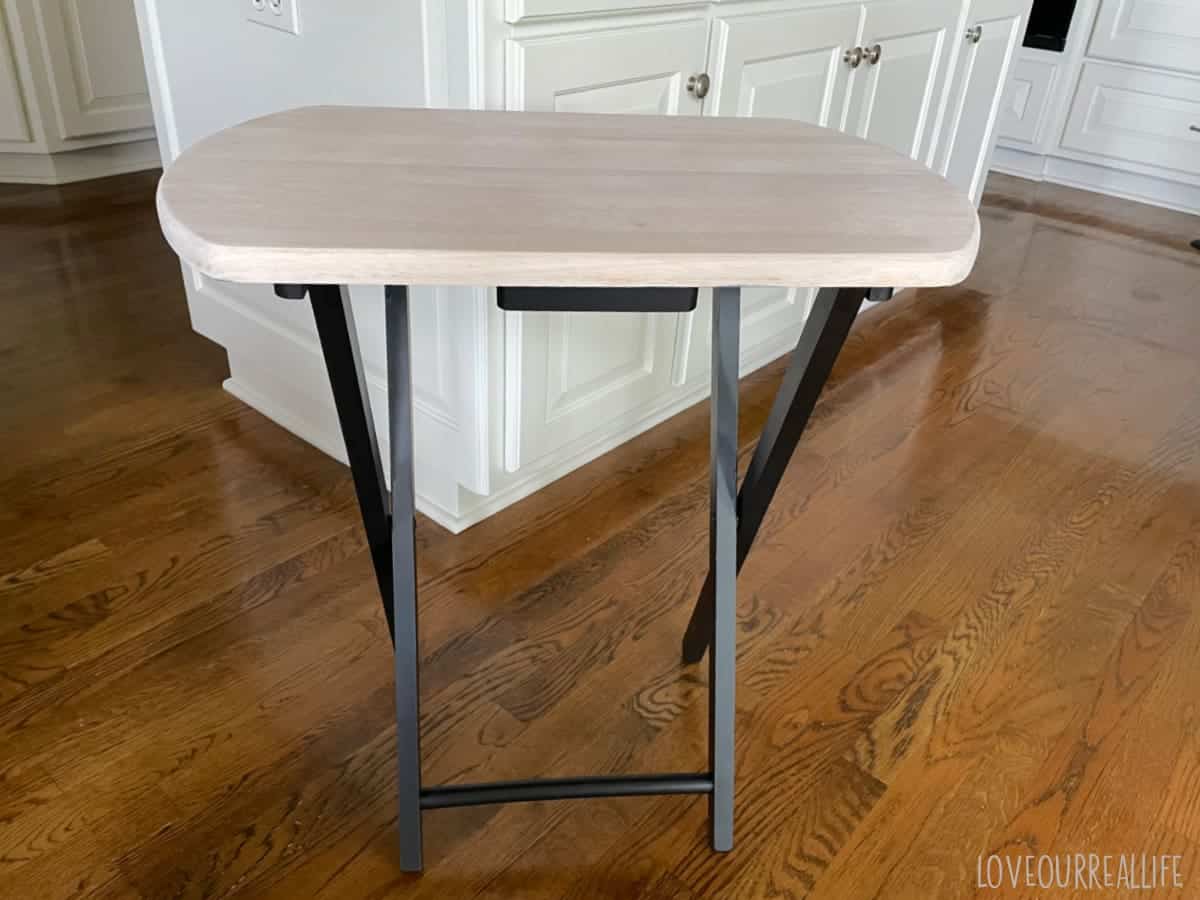
Check out HTP Iron Gate in my makeover of these TV trays. I white washed the tops after sanding then painted the bottoms black.
Fusion Mineral Paint
This is a very popular paint choice for furniture as it creates a smooth finish and NO top coat is required.
• Fusion Mineral Paint in Coal Black
Other Paint Options
Other commonly used types of paint are latex paint, enamel, milk paint (General Finishes has a quality milk paint), and of course oil based paints or waterborne alkyd paint such as Benjamin Moore Advance.
Some have good success with using spray paint (from the can, not a paint sprayer).
But, I would not recommend most people use spray paint for furniture. It can become quite costly and I’ve seen too many people create problems for themselves, requiring A LOT of touch ups.
Be sure to investigate what finish you can achieve with the paint you are considering.
The finishes can range from flat, matte finish, satin, semi-gloss, or even high gloss. This may be a factor in which paint you choose.
Related: Best Paint Sprayer for Home Use
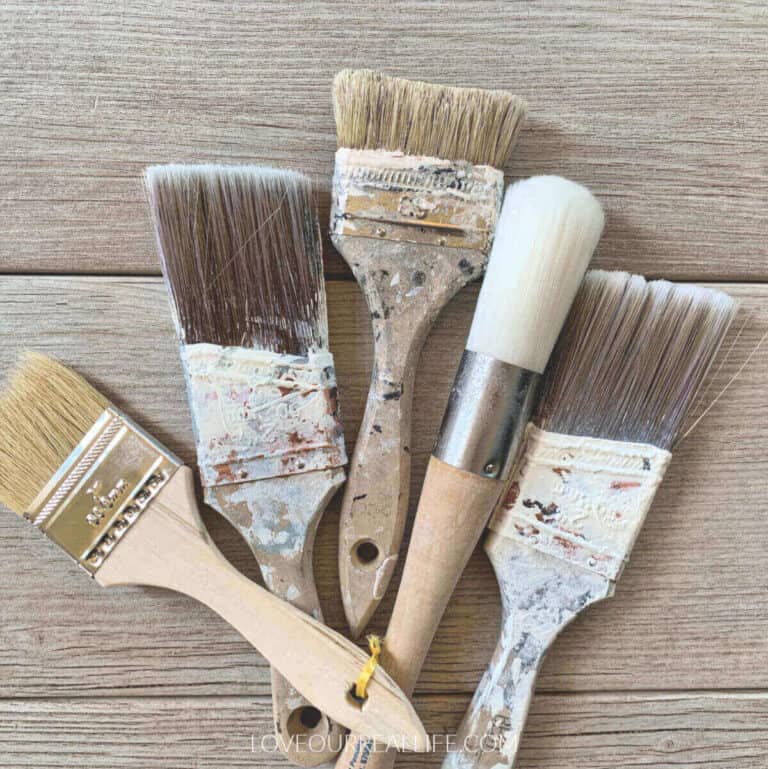
What Paint Brushes Should You Use?
Regardless of the paint you select, be sure to use a quality paint brush. This will help you reduce brush strokes and ensure you have a beautiful finished product.
Note various painting techniques may require the use of a foam roller to smooth out the paint. Using the proper technique can make all the difference!
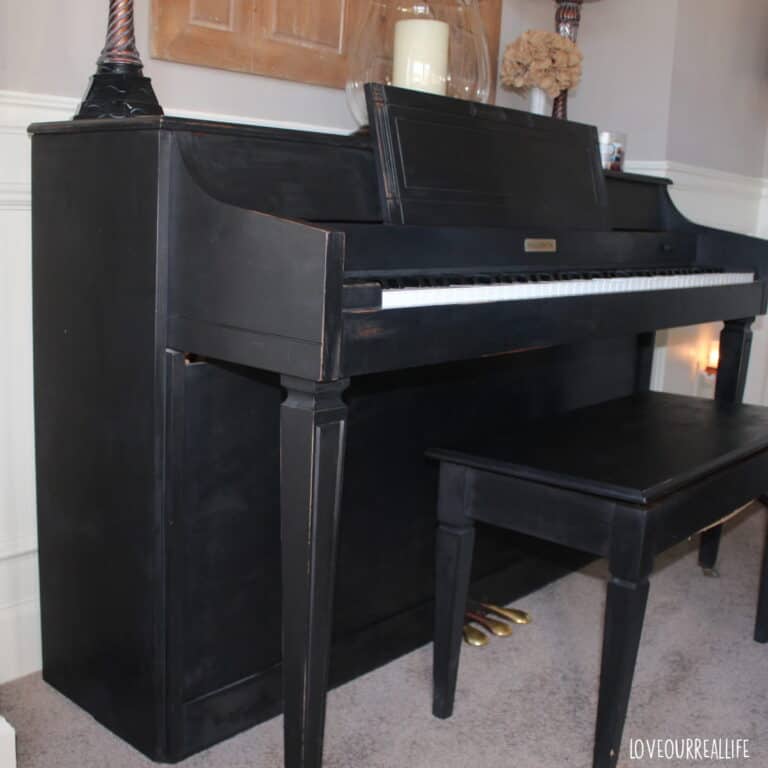
How to paint furniture black distressed?
If you enjoy a distressed or chippy look, simply use a piece of sandpaper (medium grit works well) on the edges and corners to create a naturally used look.
Don’t over do it.
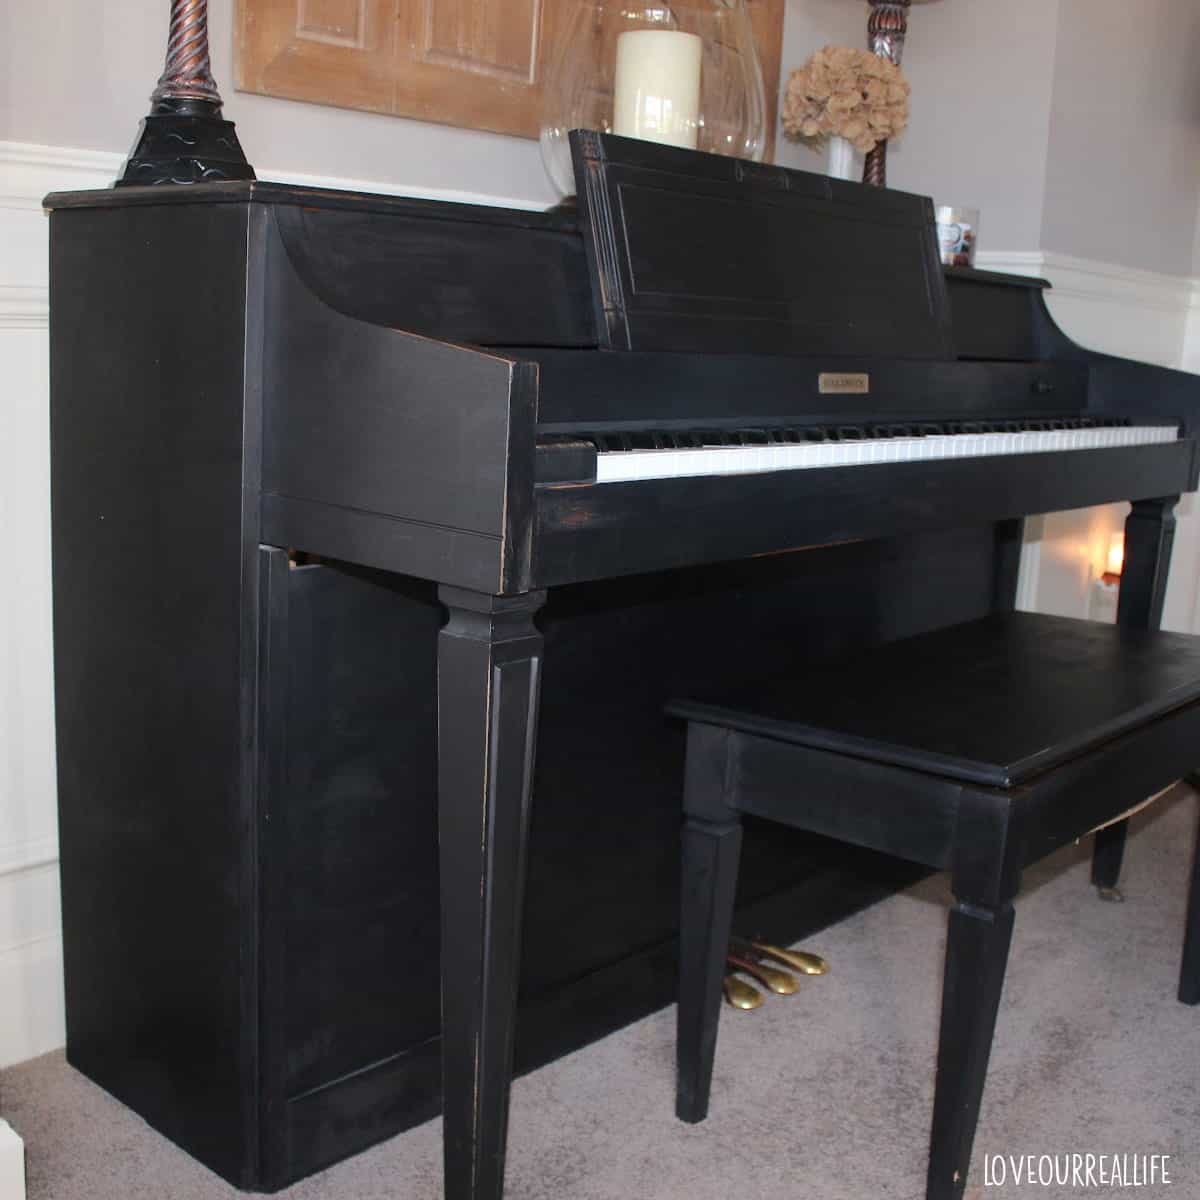
I distressed our piano since I knew our kids use it a lot and would likely scratch it up a bit. Just gives it a bit more character.
The key to distressing furniture if to make the piece of furniture look like the paint is gone from natural wear and tear over the years. This is why you just sand the edges and corners.
It’s easier to take more off later than put it back on!
How do you stain a table black?
If you have a table or other piece of furniture that is already quite dark, you can use a black wax or black stain to create a deeper, darker look.
Sometimes using a stain over dark wood can allow you to keep the look of wood grain if you prefer that over a full coverage black paint.
Some black stains can even be used over previously stained (vs. bare wood) furniture. I would definitely suggest sanding the surface slightly. Just know that you may have streaks if staining over furniture that has a protective coat.
How to Paint Furniture Black
In summary, to paint furniture black, follow these steps:
- Remove hardware. Label location of hardware if needed.
- Remove drawers and label for easy replacement upon completion.
- Sand slightly.
- Thoroughly clean piece.
- Prime if concerned about bleed through of old varnish (this step is often not necessary).
- Apply first coat and allow to dry length of time specified on instructions for paint you select (typically 1-2 hours for many types of paint).
- Apply second coat.
- Touch ups if needed. Third coat is often not needed when painting furniture black.
- Top coat application (may not be required for certain paints such as Heirloom Traditions Paint or Fusions Mineral Paint).
- Allow proper dry time 24-48 hours in most cases, then replace any hardware and/or drawers that were removed. At this time, furniture is ready for light daily use.
- Allow 30 days cure time before rough use such as scrubbing of surface.
How to Paint Furniture Black: Easy Steps and Tips
Black painted furniture can add a timeless look to your home decor. Black paint is a great paint color option that goes with almost everything.
Materials
- Black paint (my pick is Heirloom Traditions Paint in Iron Gate)
- Painter's tape as needed
- Water
- Cleaner such as TSP or Simple Green
- Medium grit sandpaper
- drop clothes
- Primer (optional depending on paint selection)
Tools
- Paint brush
Instructions
- Remove hardware. Label location of hardware if needed.
- Remove drawers and label for easy replacement upon completion.
- Sand slightly.
- Thoroughly clean piece.
- Prime if concerned about bleed through of old varnish (this step is often not necessary).
- Apply first coat and allow to dry length of time specified on instructions for paint you select (typically 1-2 hours for many types of paint).
- Apply second coat.
- Touch ups if needed. Third coat is often not needed when painting furniture black.
- Top coat application (may not be required for certain paints such as Heirloom Traditions Paint or Fusions Mineral Paint).
- Allow proper dry time 24-48 hours in most cases, then replace any hardware and/or drawers that were removed. At this time, furniture is ready for light daily use.
- Allow 30 days cure time before rough use such as scrubbing of surface.
Notes
Personal preference plays a role when selecting paint. My preference currently is HTP (Heirloom Traditions Paint) as it does not require priming or a top coat when using dark colors such as black.