How to Refurbish an Old Dresser with Paint and Stain
When it comes to old, out of date furniture, it can be difficult deciding between spending the time and energy to restore it or just getting rid of it. But with so many options for dresser makeovers, an update can make your dresser look like new.
To refinish a dresser you must first sand off the preexisting layers of stain, varnish, or paint, clean it well, then apply the new finish. You can decide if painting or staining is the best choice for your space or you can do a combination of paint and stain.

Get more furniture makeover and painting tips here.
With patience and an afternoon, you can have, what looks to be, a brand new dresser or chest of drawers!
That leads me to the question, what do you need to refurbish a dresser?
- Sandpaper in fine, medium, and coarse grit
- Hand sander
- Lint free cloth
- General purpose house cleaner
- Drop cloth
- Screwdriver to remove/replace hardware
- Pre-stain wood conditioner
- Wood stain in color of choice
- Paint
- Paint brush
- Painters tape
- Contact paper for drawer liner (optional)
- Face mask (to wear during sanding)
Dresser before:

How to Sand a Dresser or Chest of Drawers
- Remove all dresser drawers.
- Remove hardware.
- Prepare your items to sand outdoors if possible or in a well ventilated space.
- Use a drop cloth for easier clean up.
- Using a palm sander, start with medium grit sanding pad and adjust as needed.
- When all stain/paint is removed, move to finer grit sanding pad for smooth finish.
- Ensure all roughness is gone.
- Clean surface.

I completed the process outside in the month of June. The weather was in the lower 80s and sunny the days (it took me part of two different days) I restored my dresser, so it was great weather to take this project outdoors.
Sanding, staining, and painting furniture can be messy. With the paint/stain there are a lot of fumes that you should avoid breathing in if at all possible.
Use a mask to reduce breathing the dust particles and paint fumes. PK Safety has good tips on what masks to use for sanding.
Using a drop cloth is helpful in ensuring an easier clean up. This is especially important if you are required to complete this project inside your home or even in a garage.
Remove the Hardware
Get the appropriate screwdriver (Phillips or flat head) to remove the hardware from each of the drawers.
You will need to decide if you will be reusing the original hardware or if new hardware is needed for a more modernized dresser update.
Keep in mind, paint is a great way to change the old knobs on a chest of drawers or dresser for a new look without spending a lot of money on new hardware!
Spray-paint or chalk paint and a small paintbrush would both work great for updating hardware
RELATED: 25+ Painted Furniture Before and After Makeovers
Sanding with a Power Sander
I used a Dewalt orbit sander for this dresser makeover and it was relatively fast and easy. I’m not a seasoned wood worker, so it typically takes me a bit to get back into the swing of things each time I use a sander.
But, I will certainly say a power sander makes getting rid of the old finish much faster than sanding by hand or by using a stain/paint stripper such as Citristrip, which is what I used when refinishing the top of our kitchen table.
You can strip layers of paint with a chemical stripper, but if you have access to a sander, it truly is faster.

Since I am an amateur sander, I opted to start with a medium grit (120) sanding pad as I wanted to be certain I didn’t sand too much, too quickly.
For my project the medium-grit sandpaper worked really well.
Be sure to sand WITH THE WOOD GRAIN and wear goggles and a dust mask.
But, if you feel you are not able to get off the old stain or paint with that level of grit, you will need to opt for a more coarse pad.
I personally wouldn’t go any more coarse than 80 grit as you don’t want to ruin your wood.
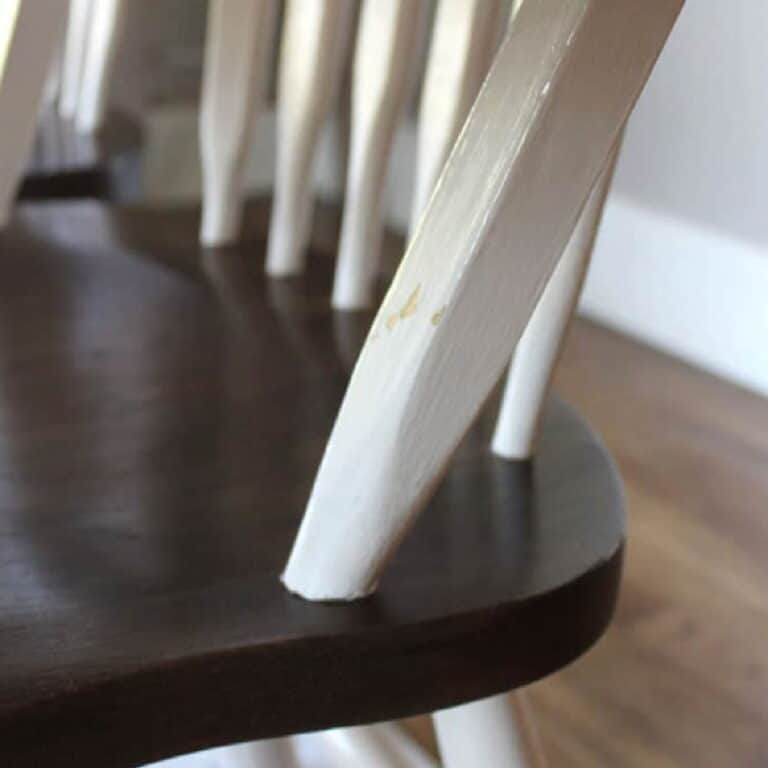
I decided to only sand the dresser top and the drawers as the details of main body of this piece were so intricate, it would have taken an eternity to sand everything. SO, painting the detailed portions of the dresser was an easy choice.
Sanding is not required on the areas you will be painting!

A sanding block or individual piece of sandpaper may be needed to get into little nooks and crannies.
I used a 220 grit piece of sandpaper to help sand around the edges as my sander couldn’t quite get all of the old stain from the hard to reach spaces.
Once you have removed all of the old stain and/or paint, it’s time to smooth it out with fine-grit sandpaper before adding new stain.
Use a fine grit sanding pad (such as 220) to smooth any rough places on the surface prior to staining.
Vacuum dust from dresser and drawers
When you are finished with sanding, there will be dust everywhere. Be sure to vacuum any areas you were sanding. While you are at it, vacuum INSIDE the drawers, too!
A slightly damp rag is helpful in removing any dirt you might have missed when vacuuming.
Then take a lint free cloth to finish wiping down the surface prior to starting the restaining or painting portion of your project. This prep work is important, don’t skip it.
How to Stain a Dresser
- Select Your Stain Color.
- Apply Pre-stain Wood Conditioner.
- Apply Stain of choice with a clean rag or natural bristle brush.
- Stain should be applied going with the grain of wood.
- Wipe away unabsorbed stain once again going with grain of wood; the longer stain is left on, the darker/deeper stain color.
- For darker finish apply second coat allowing dry time.
- Apply clear protective finish.
- If additional protective coats are needed, sand lightly between coats and wipe clean prior to allowing additional coat.
Selecting a Stain
The stain color your select is an incredibly personal decision. I highly recommend Googling images of the wood type of your furniture and various stain color options.
The specific type of wood will make a HUGE difference in the end results of your project.
Chris Loves Julia blog has a great post showing you a variety of stain color options on various wood types.
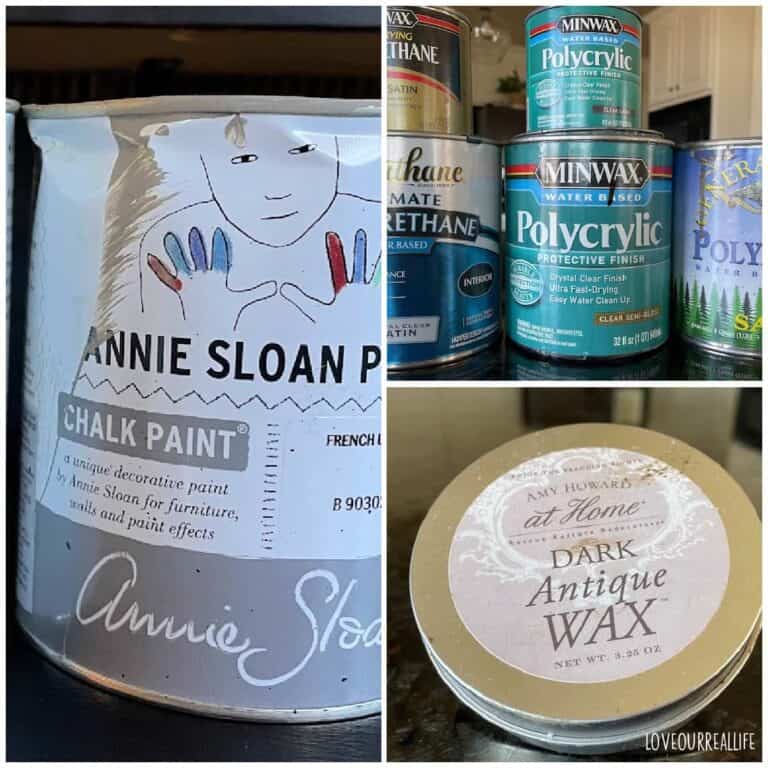
I was torn between using Minwax Classic Gray wood stain or Varathane Weathered Wood Accelerator.

I tested both on a sanded portion of one of the old wooden dresser handles and just fell in love with the weathered wood look.
This process is so fun.
It is much like using the steel wool and vinegar stain that I used on one of my bare wood IKEA tables.

The Varathane Weathered Wood Accelerator goes directly onto bare wood. So, no pre-stain wood conditioner was needed.
Had I opted for the Classic Gray stain, I would have made sure to use the wood conditioner as it ensures a more even staining.
If you are new to wood staining, I get very detailed in my tutorial for building rustic shelves for our bathroom and behind our basement bar.
You can also get a good look at staining pine boards in my post for building a simple frame for a builder grade bathroom mirror.
For the Varathane Weathered Wood Accelerator, just follow the instructions on the back of the can. The process is fast and the finish is easy to fall in love with.
I left my drawers and dresser overnight prior to putting on the protective coat.
Apply Protective Finish over Stain
The color of the weathered wood did deepen somewhat over night. To me, the color was just perfect. I really did not want to change the look by applying a top coat.
BUT, I also know the protective coat would be necessary with the wear and tear a dresser gets.
Types of Protective Clear Coats:
When it comes to selecting a protective coat for wood furniture, there are several options to choose from.
And that begs the question, what is the best protective coat to use when refinishing wood furniture?
The most durable top coat for stained wood furniture is polyurethane. It requires a longer dry time and is oil based. Polycrylic is water based and has a faster drying time. Polycrylic is not as durable as polyurethane, but it is considered durable enough to withstand basic wear and tear.
I chose Minwax Polycrylic in matte finish as the top coat for the stained portion.
While it did deepen the color slightly, it was still beautiful and I knew it would be so much better at withstanding the test of time.

My husband and I are planning on using this dresser, so only one coat of polycrylic should do the trick to give it a nice protection against basic use.
How to Refurbish a Dresser with Chalk Paint
As I mentioned earlier, there was intricate detail work on portions of the dresser that I did not want to deal with sanding. Painting was the perfect solution for this.
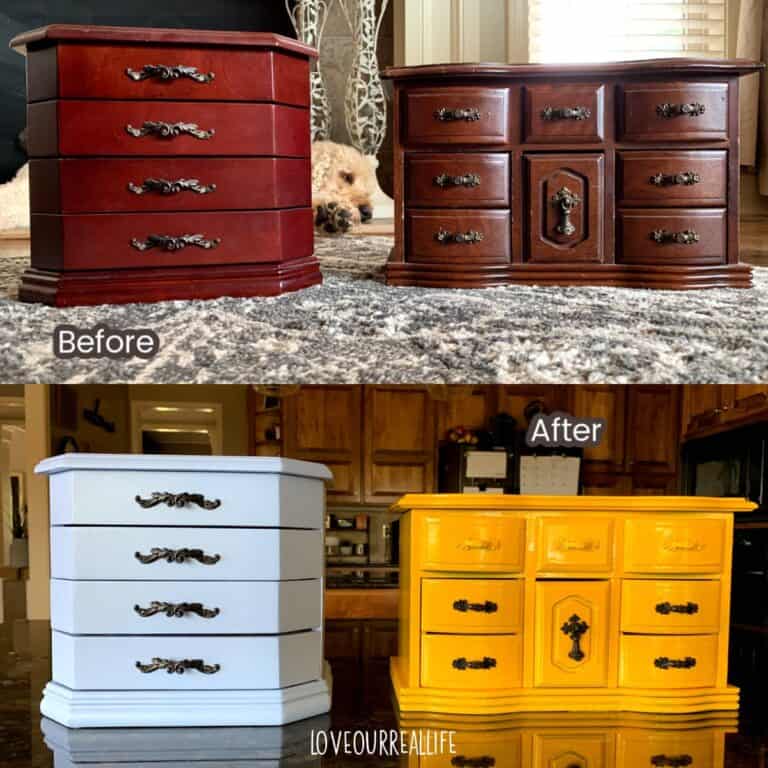
I had not tried the Magnolia Style Paint and thought this was the perfect opportunity. I went with the “Shiplap” color.
It is described as a “creamy weathered white” and I think that is a fitting description.
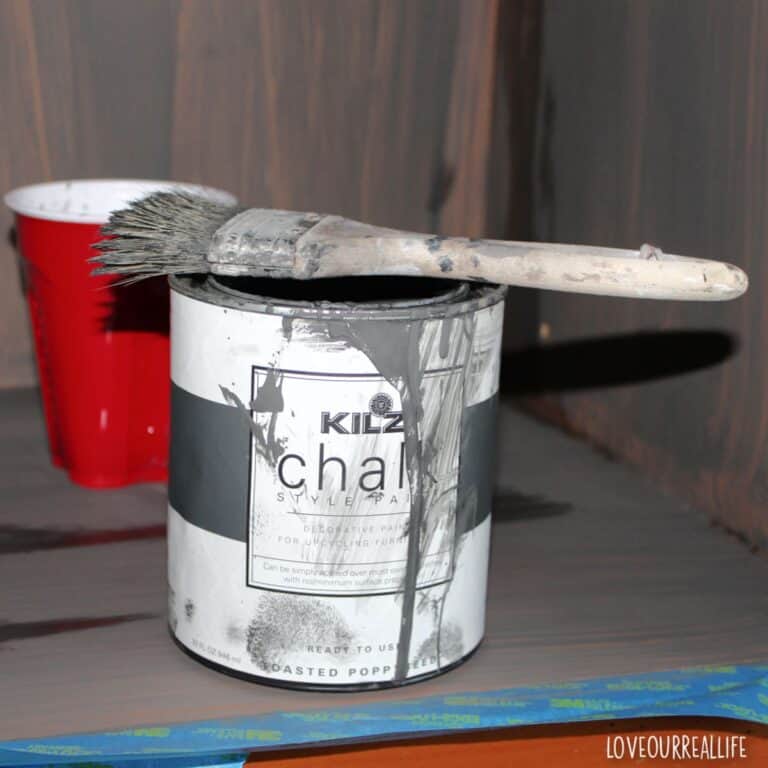
Using chalk paint is so easy. But, there are a few steps that can make the process easier.
Steps for chalk painting a dresser
- No sanding needed.
- Choose your chalk paint color.
- Remove hardware from drawers as needed.
- Clean piece prior to painting.
- Gather supplies including primer, paint, brush, painters tape, drop cloth, lint free cloths.
- If painting over old stain/varnish, apply coat of primer as it is beneficial to prevent bleed through from old stain.
- Tape areas you do not want paint.
- Apply 2-3 coats of chalk paint allowing sufficient dry time between coats.
- Clean brush with gentle soap and water.
- Apply top coat.
- Distress if desiring rustic look.
- Re-attach hardware to drawers.

If you have never used chalk paint, you need to give it a try. My typical go-to is Amy Howard One Step Chalk Paint. It is beautiful and easy to work with.
But, I also love experimenting with different brands.
I thought the Magnolia line of chalk style paint was really good, too. There is a nice selection of pretty farmhouse colors, the texture is good, and the finish is smooth.
It is really important that you select a good paint brush for your projects as this will have an impact on how smooth your finish will be.
You might notice in the steps above, that I suggested using a primer before painting with chalk paint.
Although this is not listed in the recommendations on the can of any chalk paint I have used, I’ve found (with several projects and several different brands) that the old stain will bleed through the paint!
Just save yourself the time and prime it first! One coat of primer is typically sufficient to prevent bleed through with stain.
Learn to make your own chalk paint!
When your piece is completely painted and dry, it’s time to add your top coat. I used chalk paint wax for my piece, but you can select whatever option you prefer.
Polycrylic is also a great choice for white painted furniture because it gives a good protection but isn’t prone to turning yellow like polyurethane.
After allowing sufficient dry time, attach your hardware and your project is complete. Step back and enjoy!
How to turn an old dresser into a new dresser
So, it isn’t technically new. But, with a transformation like this, it feels new!
Did you catch a peek at the painted dipped stools above? I got an inexpensive set of four stools and painted them all a bit different. Love them!

Line drawers with contact paper
This step is optional. If the inside of the drawers of your chest of drawers or dresser are less than stellar, add some pretty contact paper to make them look as good as new.
More Painting Projects:
FAQs
As a general rule, you can expect to spend $50 to refinish a dresser or chest of drawers. However, the actual amount will depend on what supplies you already have.
The main supplies you need to refurbish a dresser are paint, stain, paint brushes, dry rags, and a sander to remove old stain (if you plan to restain any portions of the furniture piece).
If you will only be painting an old dresser during the refurbishing process, sanding is not required. I would recommend using a priming paint over the old stain prior painting, even if using a paint such as chalk paint. This will eliminate the bleeding through of old stain.
How to Refurbish an Old Dresser with Paint and Stain

How to refurbish an old wood dresser using paint and wood stain with step by step tutorial for DIY.
Materials
- Wood stain in color of choice
- Paint
- Dry cloths
- Paint brushes
- Sand paper
- Drop cloth
- Painters Tape
- Pre-stain wood conditioner
Tools
- Palm sander
Instructions
- Prepare for sanding: remove all dresser drawers and hardware, prepare items outdoors or in a well-ventilated space, use a drop cloth to protect flooring (if done indoors or in a garage).

- Sand all portions of furniture piece that will be restained. Use a palm sander with a medium grit sanding pad. Adjust to fine grit sanding pad for a smooth surface.

- Clean surface after sanding with dry cloth to remove all remnants from sanding.
- Prior to staining, apply pre-stain wood conditioner. After this dries apply stain color of choice with clean rag or natural bristle brush. Wipe away excess stain. Apply second coat after allowing dry time specified on stain container should you wish for a darker stain.

- For portions you wish to paint, use a priming paint to block old stain from bleeding through paint.
- Tape areas you do NOT want paint.

- Paint surfaces of dresser, allowing dry time between coats.
- Apply top coat to seal entire dresser.
- Reattach hardware.


Notes
Steps may vary depending on if you select to only restain or paint your furniture. Adjust accordingly.