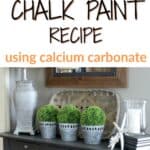
Make Your Own Chalk Paint Recipe in 3 Easy Steps
Chalk paint is a fast and easy way to refresh an outdated piece of furniture. But the cost of this type of paint can be quite pricey. Making your own chalk paint is a great solution.
Steps to make your own chalk paint with calcium carbonate:
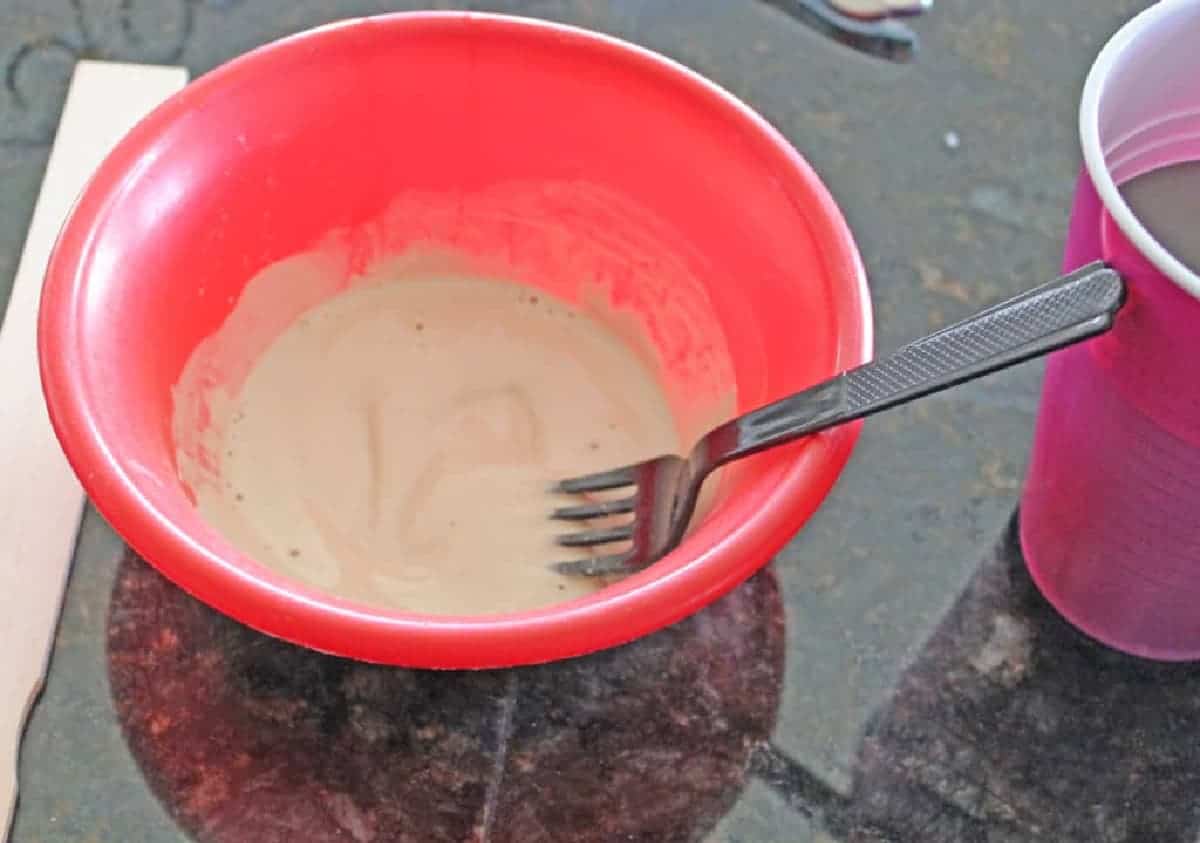
- Mix 4 tbsp calcium carbonate with 2 tbsp of water. Stir well.
- Add 1 cup of flat latex paint. Add paint slowly, thoroughly stirring as you add the paint. This will allow for a smoother finish.
- Stir the paint mixture periodically during your painting project.
Get more home painting tips and ideas here.
Let’s dive into everything you need which truly isn’t much!
Homemade Chalk Paint Materials
- Calcium Carbonate
- Flat Latex Paint in color of choice (I used Sherwin Williams Urbane Bronze).
- Water
- Bowl and Spoon for mixing
To make diy chalk paint, as a general rule start with 4 tablespoons of calcium carbonate powder and mix in 2 tablespoons of water. Slowly add in 1 cup of flat latex paint, mixing thoroughly. Stir mixture periodically during painting process.
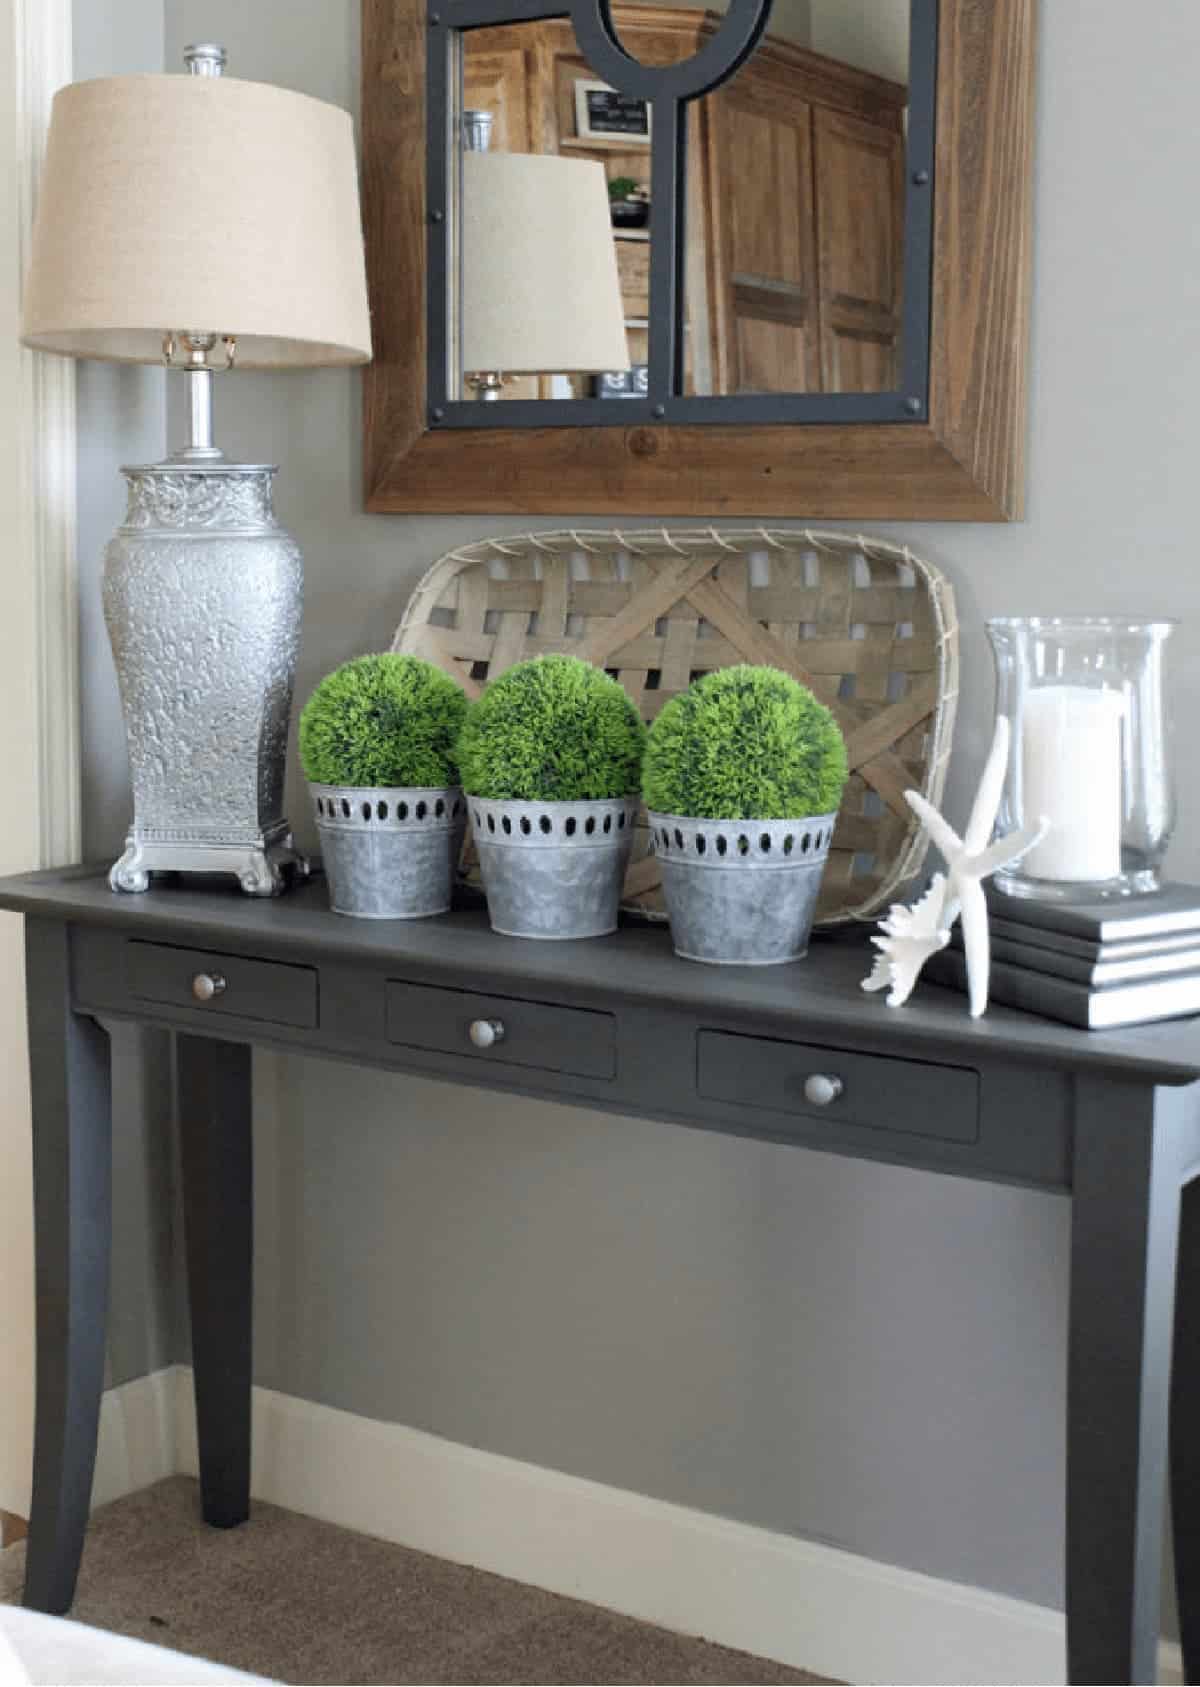
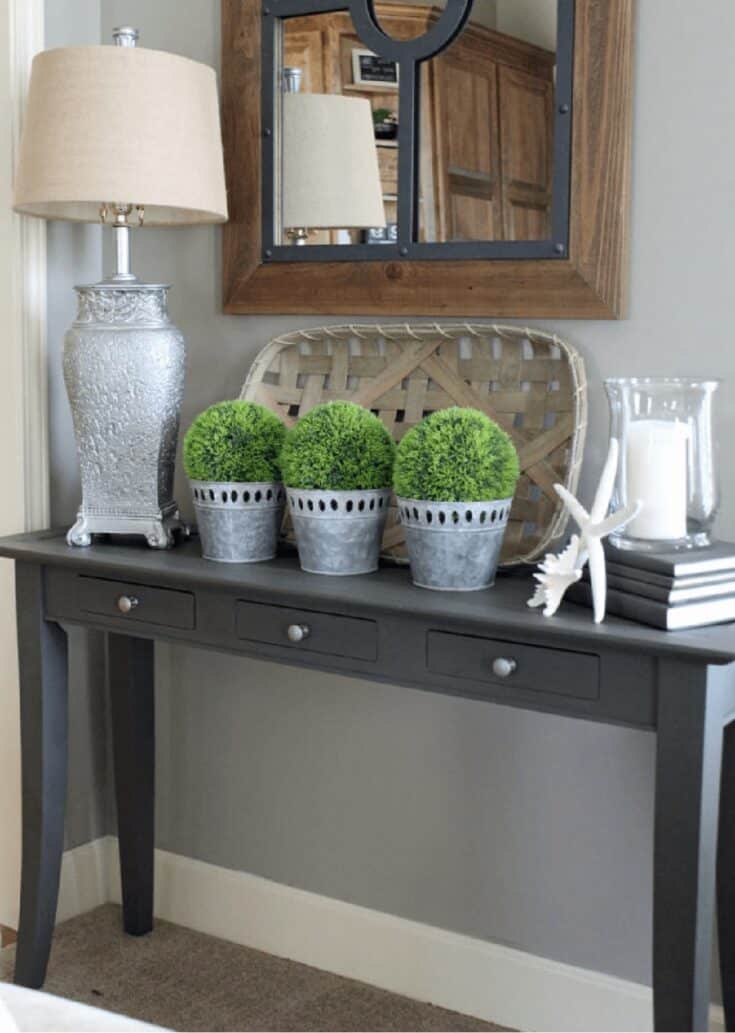
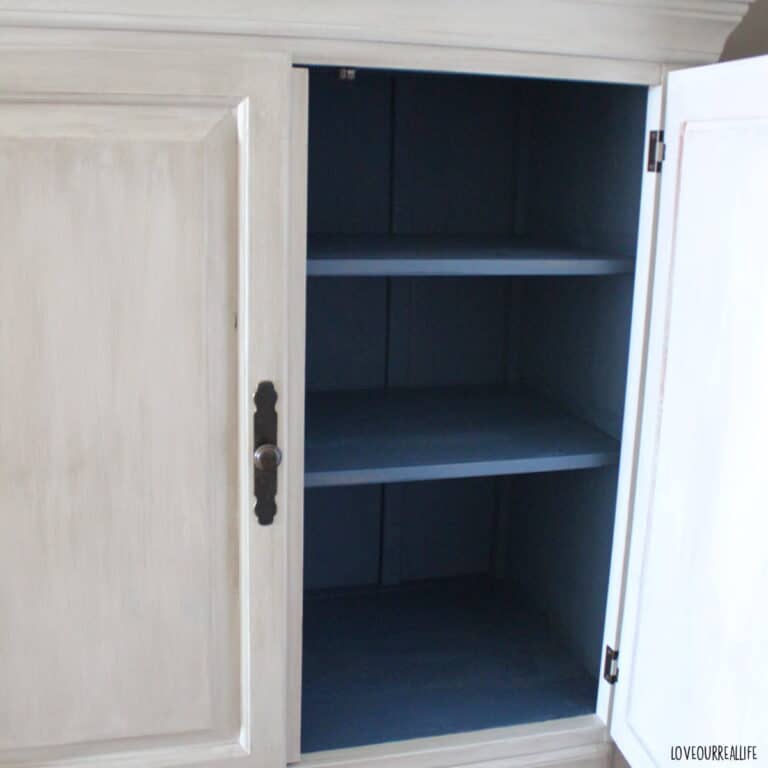
Chalk paint can be used to transform just about anything! I’ve used it to repaint our kitchen table, old metal candlesticks, pianos, baskets…you name it!
For furniture, chalk paint is typically my go-to type of paint because it’s just so easy to use. I don’t always make my own, but if I have a certain color I really want in a latex option, homemade chalk paint works wonderfully.
Some people use plaster of paris in their chalk paint recipe, but I have read it tends to not have as smooth a finish.
Calcium carbonate chalk paint still has a bit of a grit to it. I’ll get more into this later and how to reduce this as much as possible.
Making your own is a cost-effective way to paint all-the-things without breaking the bank.
What is Calcium Carbonate Powder?
Before you use this ingredient, you might be wondering what in the world calcium carbonate actually is.
According to Wikipedia, calcium carbonate is “a common substance found in rocks as the minerals calcite and aragonite (most notably as limestone, which is a type of sedimentary rock consisting mainly of calcite) and is the main component of eggshells, gastropod shells, shellfish skeletons and pearls.”
In a nutshell, it is a natural chalk.
What is Chalk Paint?
Chalk paint was originally created by Annie Sloan to be “easy to use, quick, and reliable”.
It has since been recreated by several other paint companies. It is great for painting furniture because it typically does not require any priming or preparation work which is very appealing for fast DIY painting projects.
Many chalk paints can be used on nearly any surface, indoors or outside!
What is the Difference Between Chalk Paint and Regular Paint?
Chalk paint has a matte finish and acts as a self primer, adhering better to furniture than latex paint.
The finish will have a chalky texture.
Once you have your paint mixed, there are simply steps you can follow to ensure a smooth and beautiful finish for your painted furniture.
How to Paint Furniture with Homemade Chalk Paint:

As with any chalk painting project, the prep work is minimal. Simply ensure your piece is clean and dry prior to beginning. No priming is necessary.
Paint 2-3 light coats, allowing dry time between coats. I only used two coats with this project, but with lighter paint colors, usually three coats are required.
30-45 minutes between coats is typically sufficient dry time unless it is humid where you are painting.
You WILL see brush strokes and the initial wood showing through after the first coat. That is OK! It will be covered with the subsequent coat(s).
Lightly sand with a fine grit sand block between coats, ensuring paint is dry prior to sanding.
With homemade chalk paint, the texture is somewhat gritty. Lightly sanding makes for a much smoother finish, getting rid of most of the gritty appearance.

After sanding, wipe surface with a dry cloth prior to painting other coats. I lightly sanded again after the final coat, ensuring a smoother finish.
Wipe well with a lint free cloth to remove all of the dust produced from sanding.
PRO TIP: Between coats, cover your paint container and paint brush with plastic wrap to prevent your paint mixture from drying.
After paint is completely dry, use a top coat to seal protect your furniture. Great options are polycrylic , a clear wax, or furniture wax.
Allow the top coat to fully dry prior to using furniture. For heavy use, unsure the top coat has properly cured.
If you are looking for a less expensive chalk paint, this is the way to go! I can tell you, sanding is key. Just make sure you take the time to properly wipe all of the dust away for best results.
RELATED: Chalk Painted Furniture Before and Afters
FAQs
You can make homemade chalk paint with baking soda, but it is not as durable as chalk paint made with calcium carbonate. Due to this, it does not work as well when painting furniture.
DIY chalk paint can be made using acrylic craft paint. Mix 2 1/2 teaspoons of calcium carbonate with 1 tablespoon of water. Mix well. Add 2 ounces of acrylic craft paint, mixing thoroughly.
Make Your Own Chalk Paint Recipe in 3 Easy Steps
Recipe for diy chalk paint using calcium carbonate.
Materials
- Calcium Carbonate
- Water
- Latex Paint (flat)
Tools
- Bowl and spoon for mixing
Instructions
Mix 4 tbsp calcium carbonate with 2 tbsp of water. Mix well.
Add 1 cup of flat latex paint. Add paint slowly, thoroughly stirring as you add the paint. This will allow for a smoother finish.
Notes
Mix periodically during your paint project.


Your photos are beautiful. I am a big fan of all the crafts at Hobby Lobby, so this would be a fun DIY.
Thank you for the kind words, Erin!
Perfect timing! I just went to Lowe’s to buy chalk paint and wax and then decided against it after calculating the cost! I’m exciting to try this technique as it will cut the cost in half. Thanks so much for sharing this great tutorial.
Great, Amanda! It definitely is a more cost-friendly option!