Painting Candlesticks and Other Household Items
If I am ever in the mood to shop for new home decor, I start by looking around my house! Yes, I have piles of old home decor items that are unused because they’ve gone out of style and chances are good that you do, too! But alas, with a little bit of paint and imagination, I can typically come up with a new look that I love. Painting candlesticks (and lots of other old decor) makes all the difference!

Get other painting ideas and tips here!
Painting Candlesticks and Other Household Items
About 10 years ago, I was very much into Tuscan decor. I used rust, gold, and brown in every room. My kitchen had gold faux finished walls and my great room was dark brown. It was popular, so I did it. But, I never loved it. This look would have been great in Italy, but I live in the Midwest! It just never felt authentic.
I’m certainly not insulting this look, it just wasn’t for me. Over the past couple of years I have slowly been transforming my home with lighter, brighter colors. I find that I occasionally go overboard and try to paint everything white!
When looking through some of my older household items, I came across several candlesticks and a few other items I thought could use a quick makeover. I grabbed a few supplies and got to work!
RELATED: Painted Furniture Makeovers
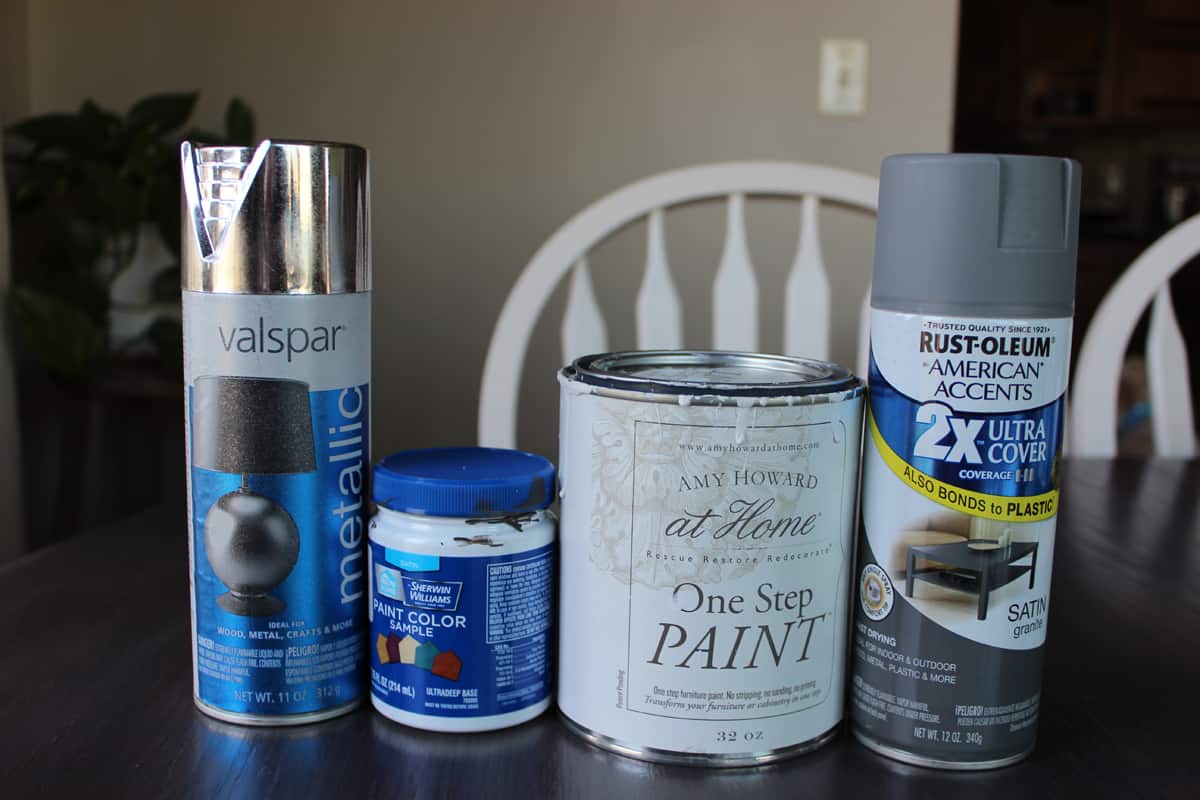
Supplies:
- Rustoleum American Accents spray paint in Granite, satin finish
- Valsar Metallic spray paint in Brilliant Silver (I picked this up at WalMart)
- Amy Howard One Step Paint in Bauhaus Buff (Ace Hardware carried this line of paint)
- Sample pot of Sherwin Williams in Urbane Bronze, satin finish
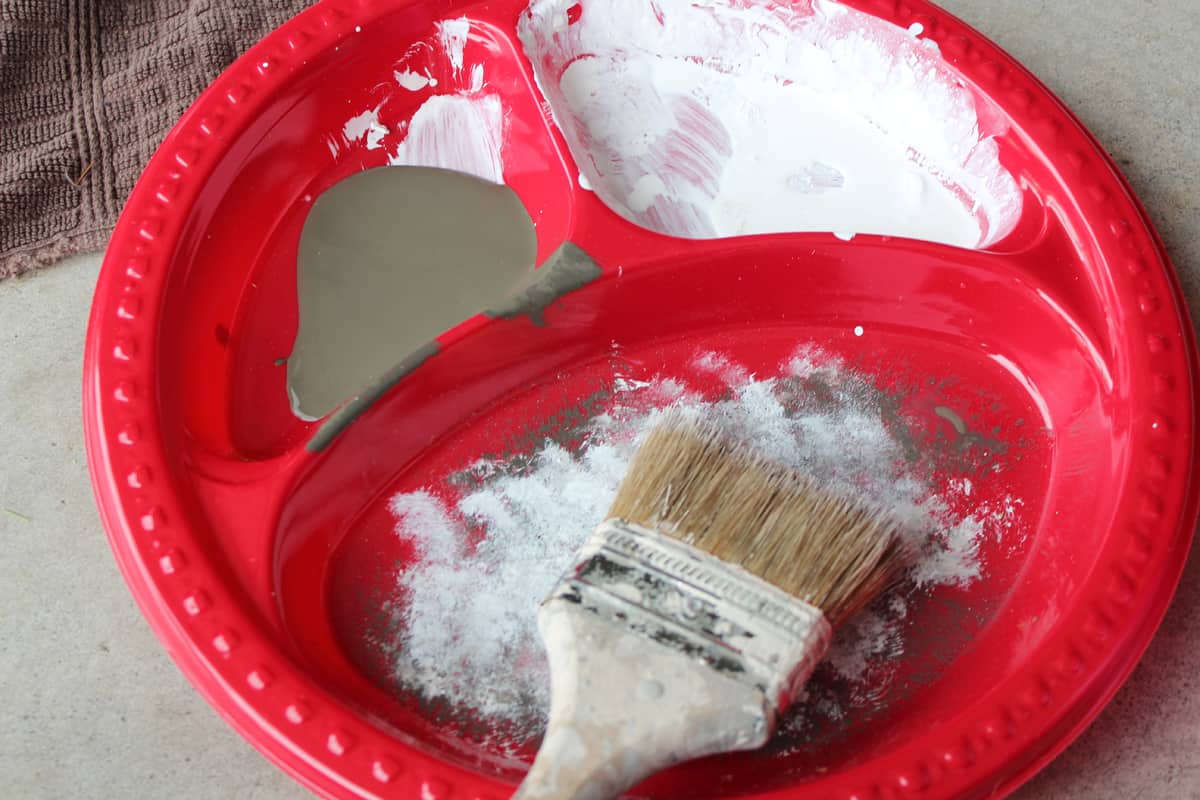
- Paper plate (I use as my paint palette)
- 2 Chip brushes (You definitely do not need a good quality brush for this)
- Clean rags and water
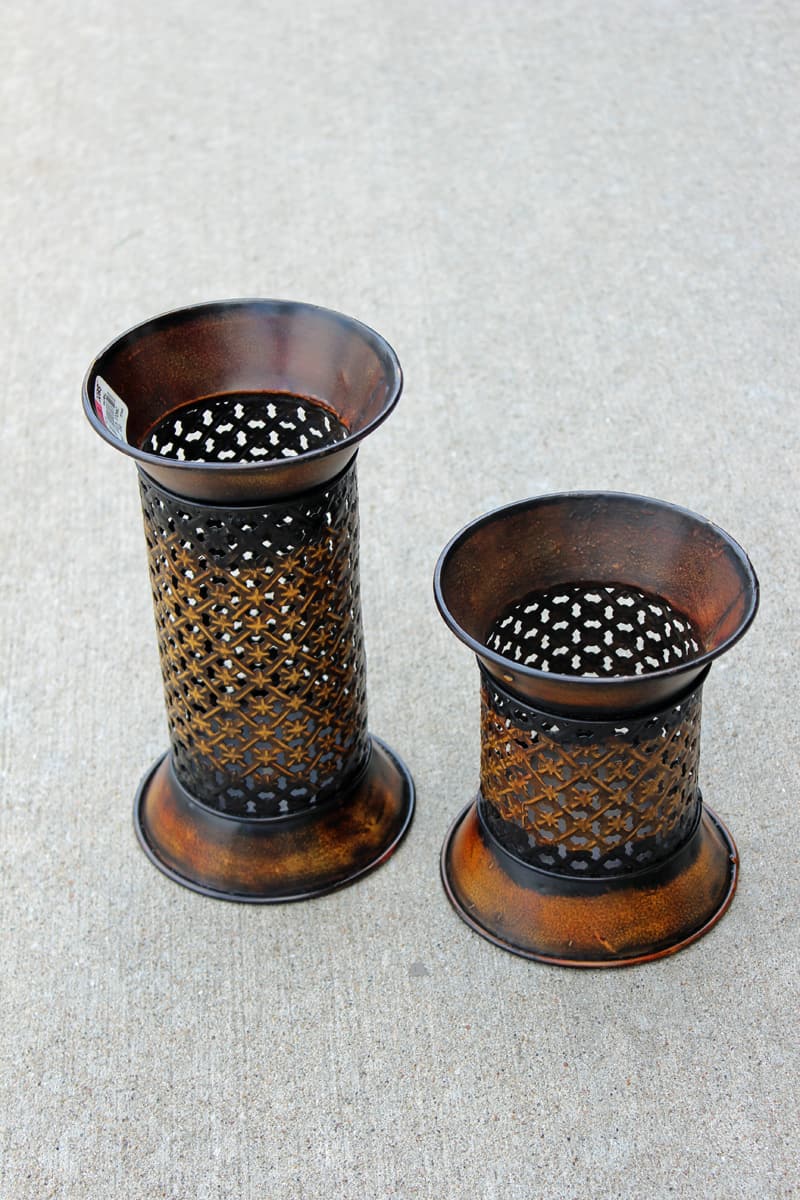
Rust Candlesticks BEFORE:
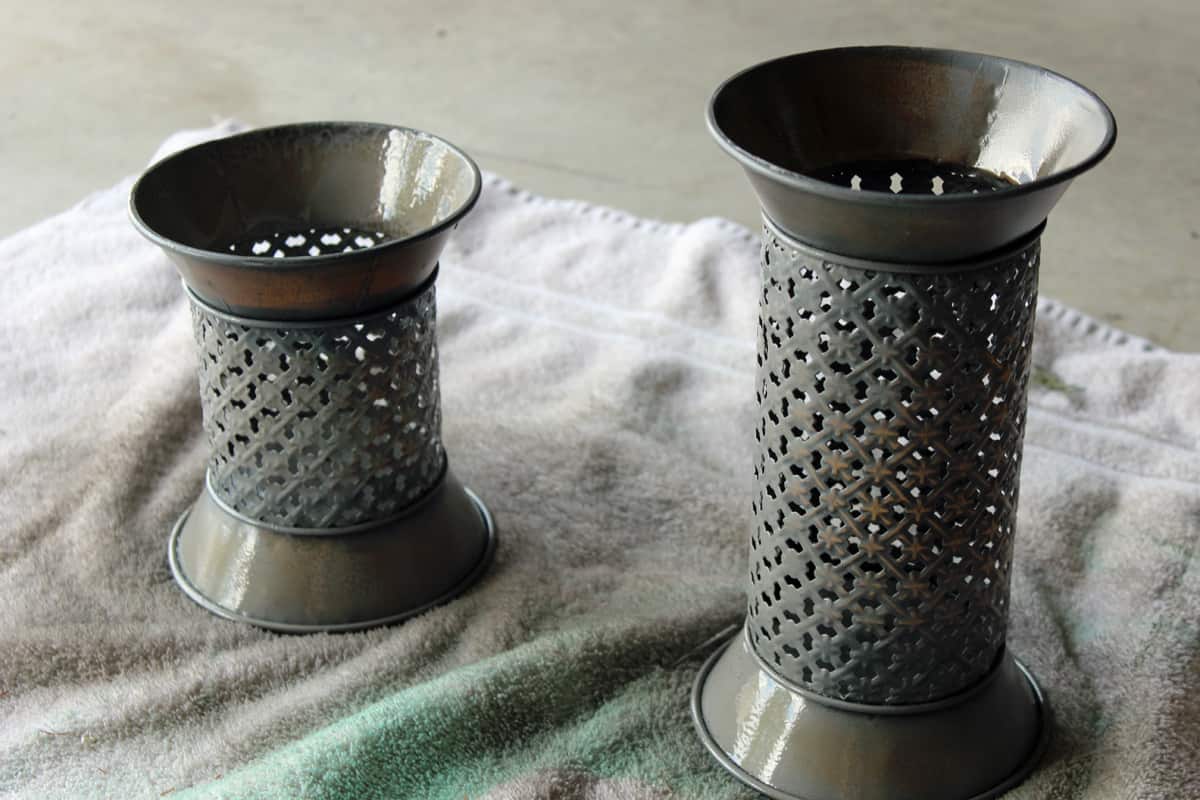
First coat of granite spray paint:
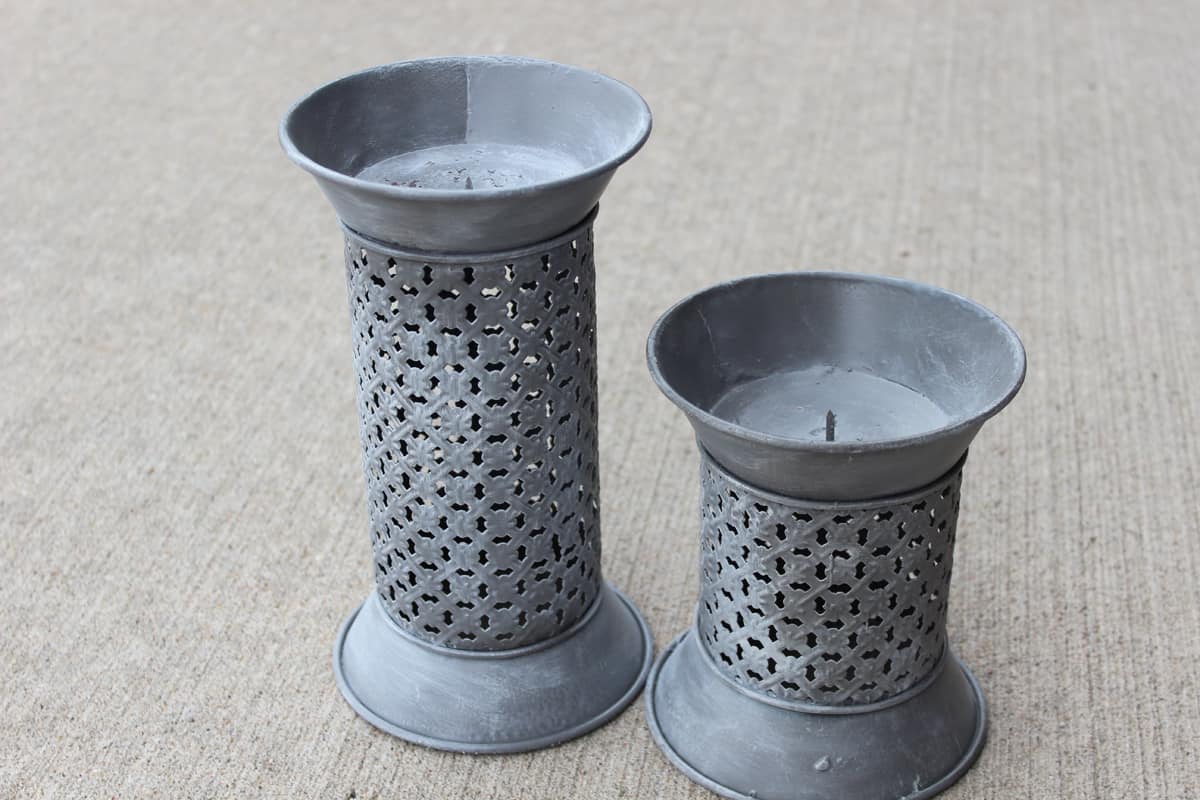
After dry brushing:
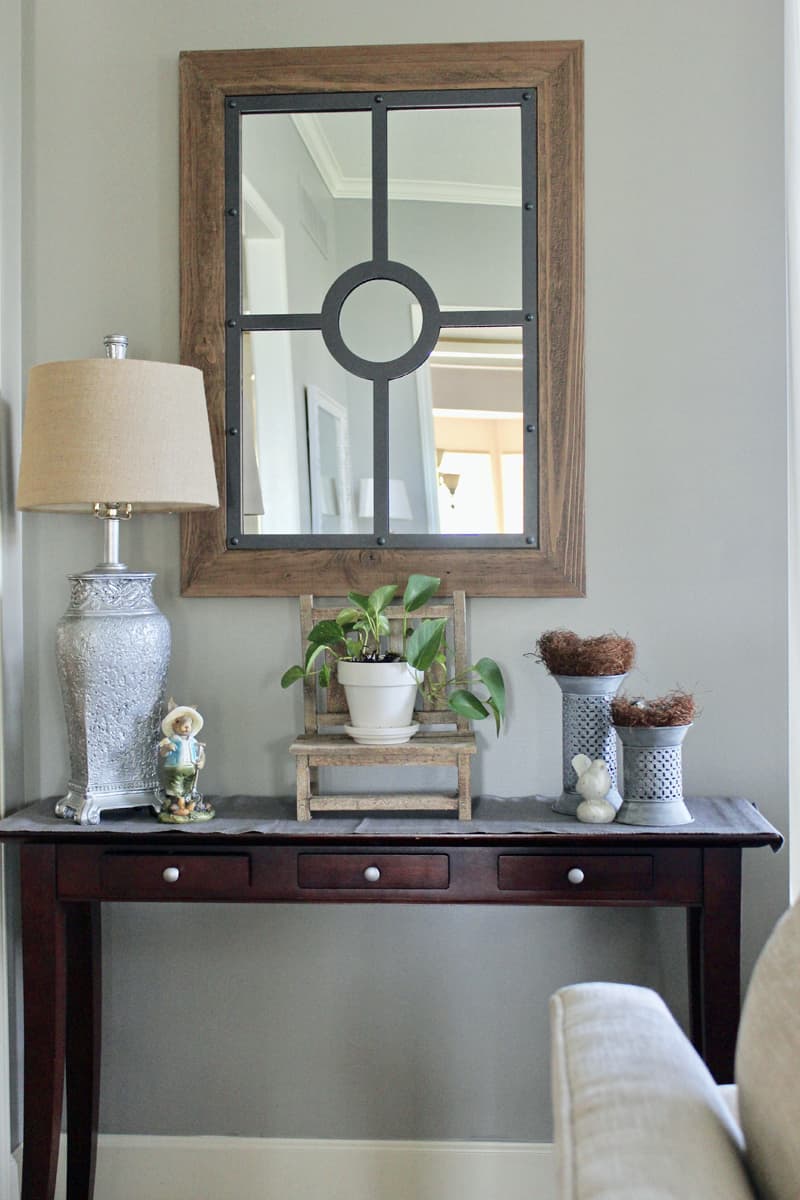
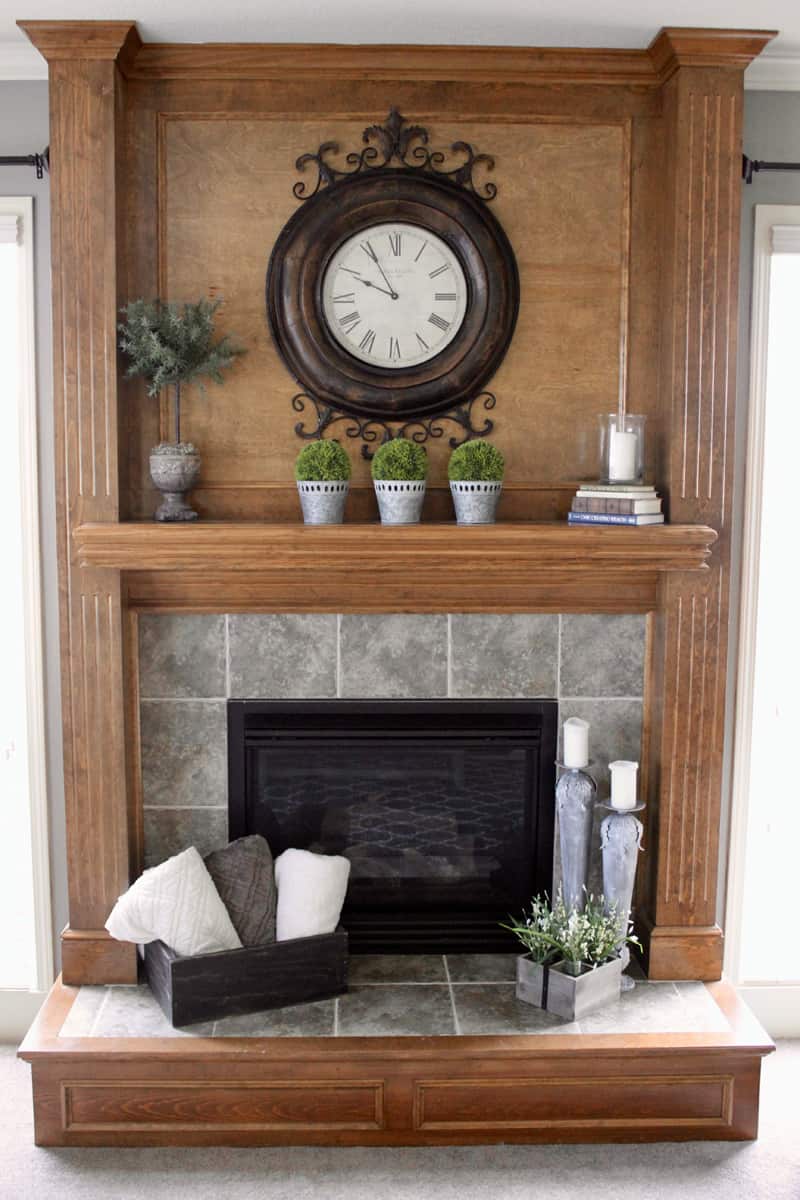
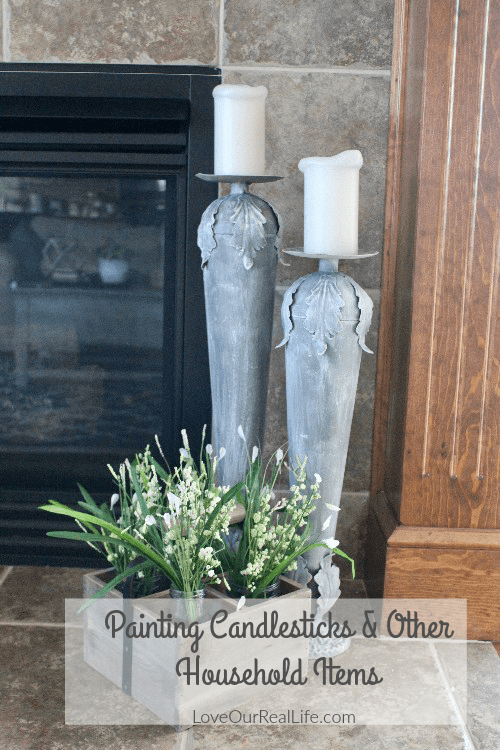
Rust candlesticks AFTER in their new home:
(Notice the lamps, I spray painted them using the metallic spray paint several months ago):
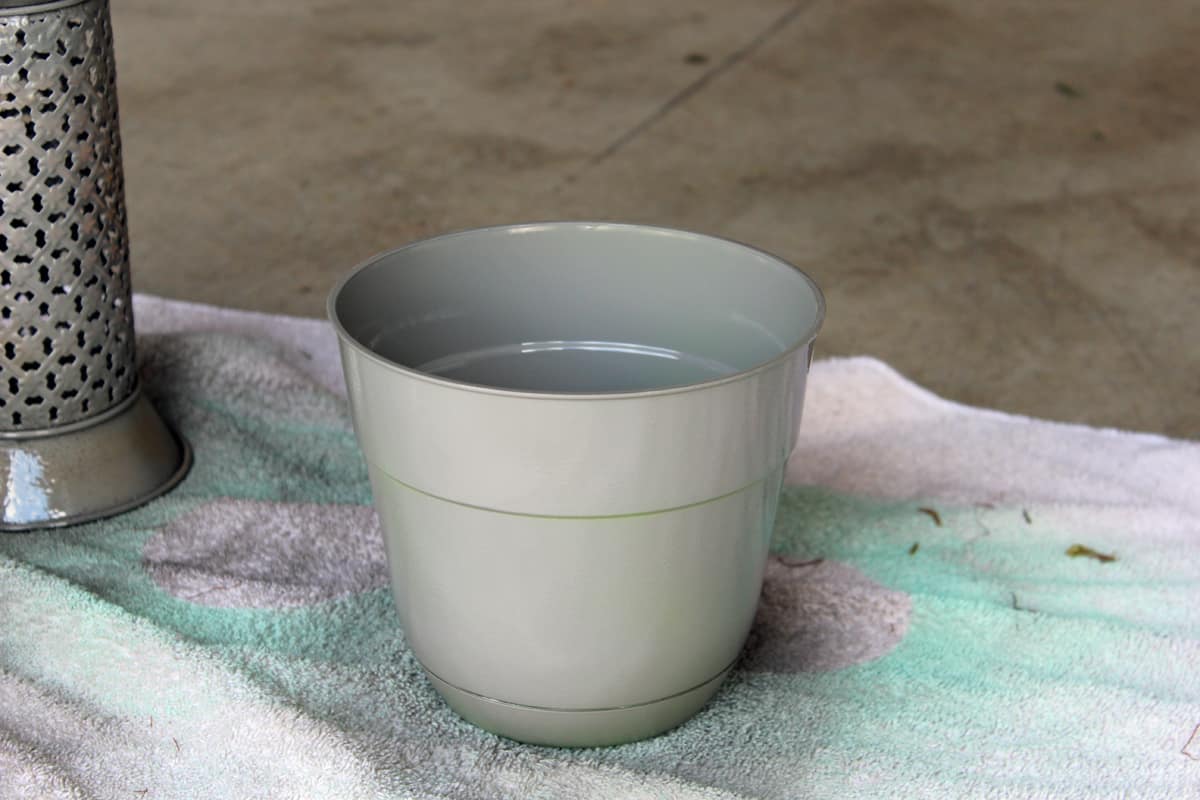
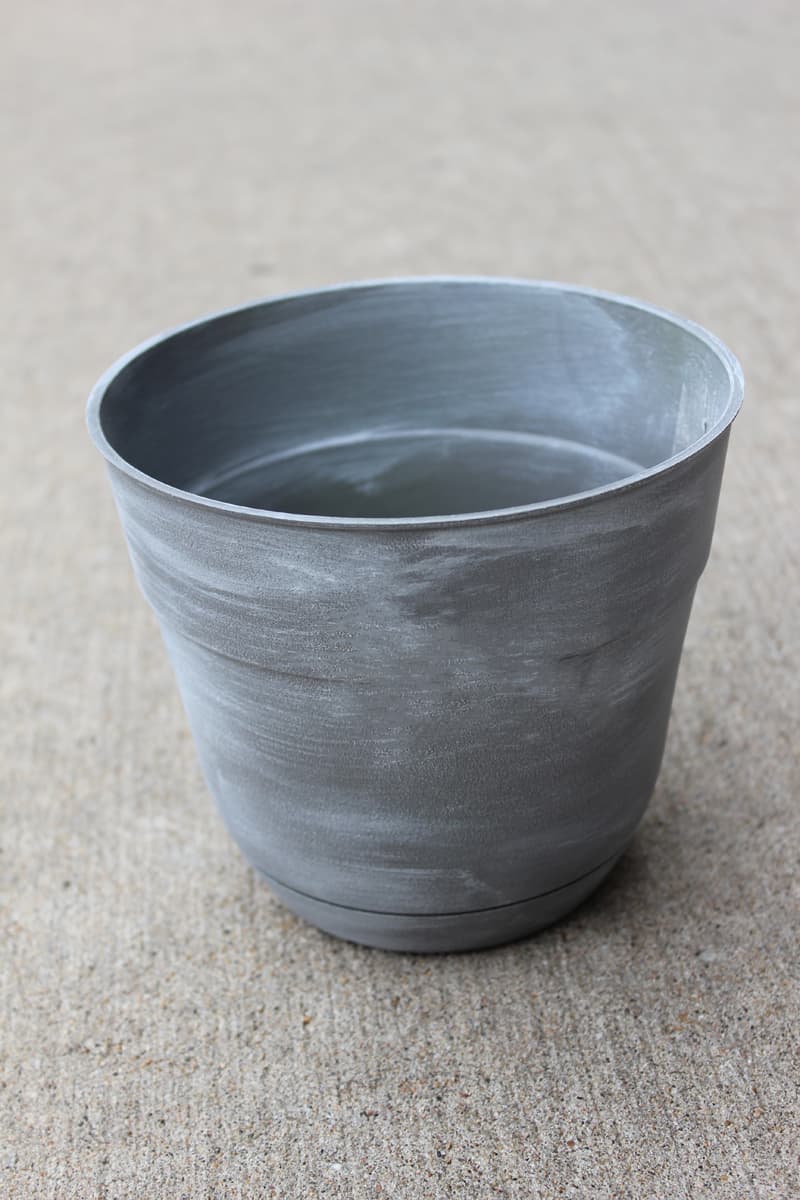
Steps for painting candlesticks and plastic planter:
- Spray paint two light coats of Rustoleum in Granite, allowing dry time for each coat.
- I used slightly watered down white chalk paint as well as a small amount of Urbane Bronze for dry brushing. What is “dry brushing” you ask? I use it to show highlighting on a painted piece and/or to give a distressed look. Dip only the tip of the paint brush into the paint color of choice and offload any excess paint onto a paper towel or a clean portion of the paper plate. Then, use a light feathering approach with your dry brush onto your piece. I used white mainly and very little Urbane Bronze for this process. Use a separate brush for each color you are dry brushing.
- If you get too much in an area, use a damp cloth to wipe/blend. How much you use is truly personal preference.
- No need to put a protective coat on this. I think the chalky/matte look is great and with the spray paint as your base coat, it will be fairly durable.
My Fancy Painting Palette 😉
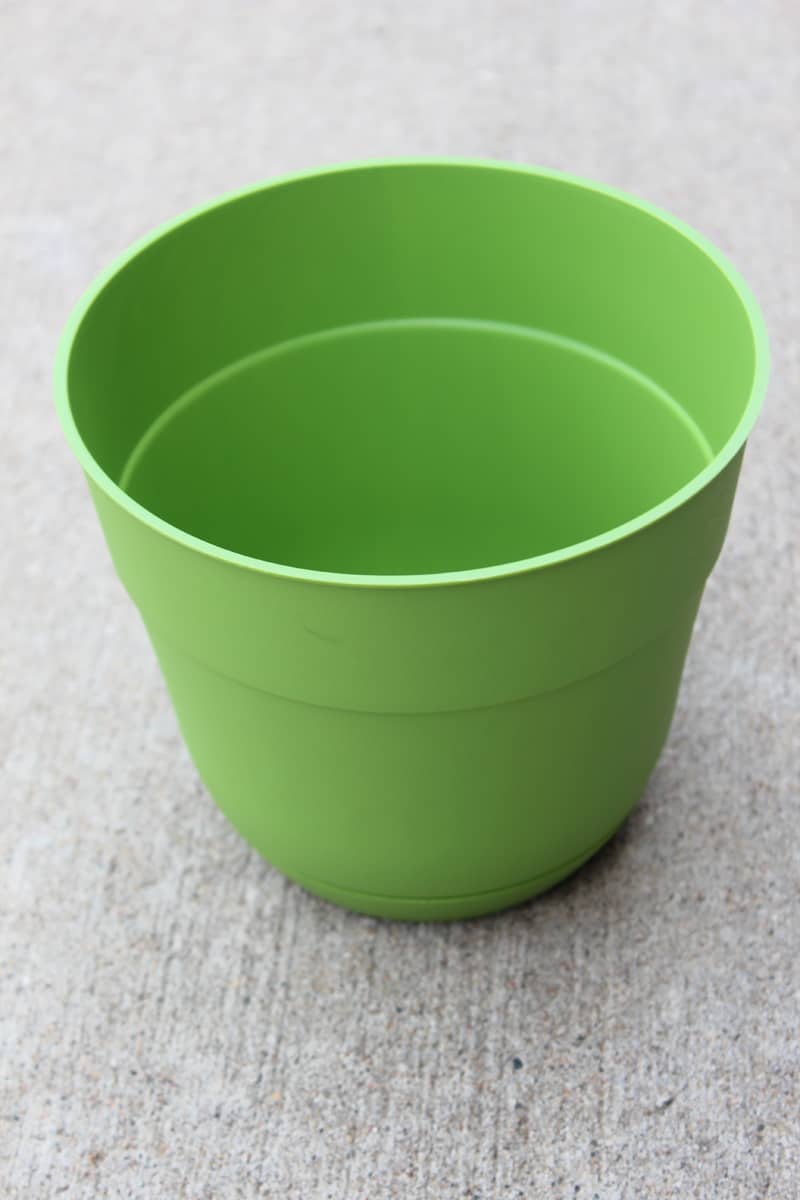
Plastic green planter before:
(I originally got this for a St. Patrick’s DIY that I never completed!:
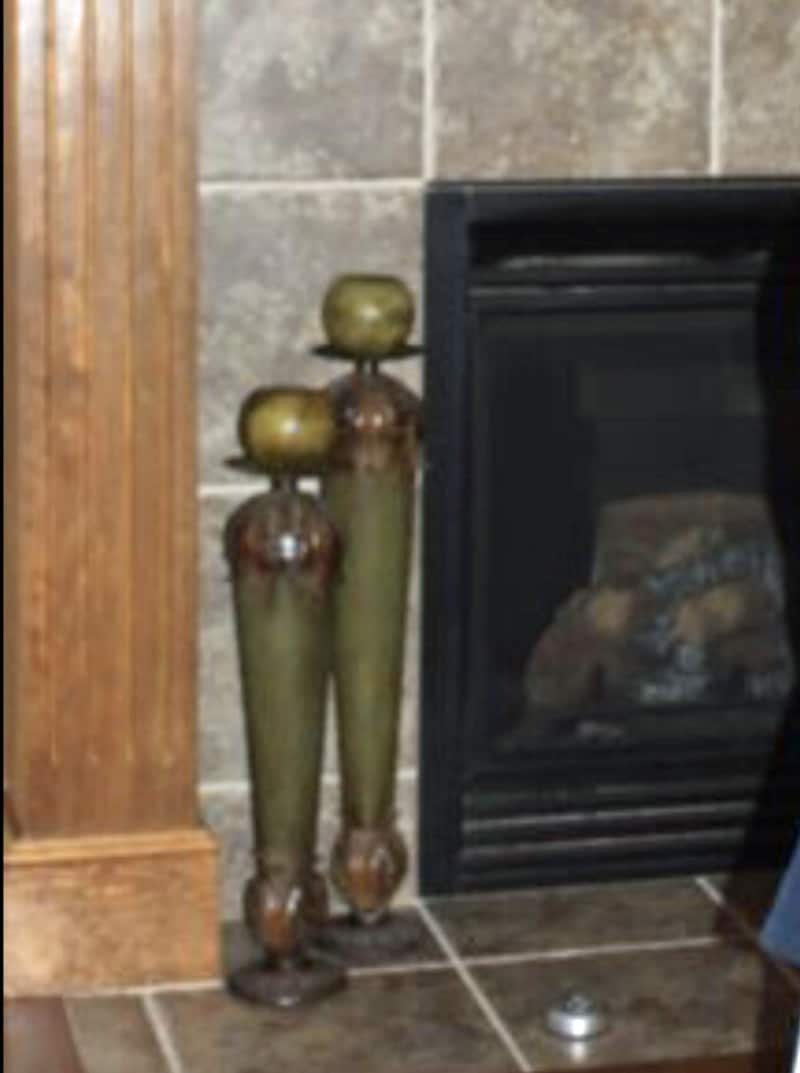
The below candlesticks have been a variety of different colors throughout the years. At one point they were dark green, then they were an off white chalk paint color. After I painted them white, they definitely needed some dimension, I just never got around to doing that! So, I shifted course and used the same process on these as those above.
Dark Green Candlesticks (Before):
Sorry for the blurry photo; it was taken years ago and it was the only picture of the candlesticks I could find when they were still green!
White Chalk Paint application (too boring!):
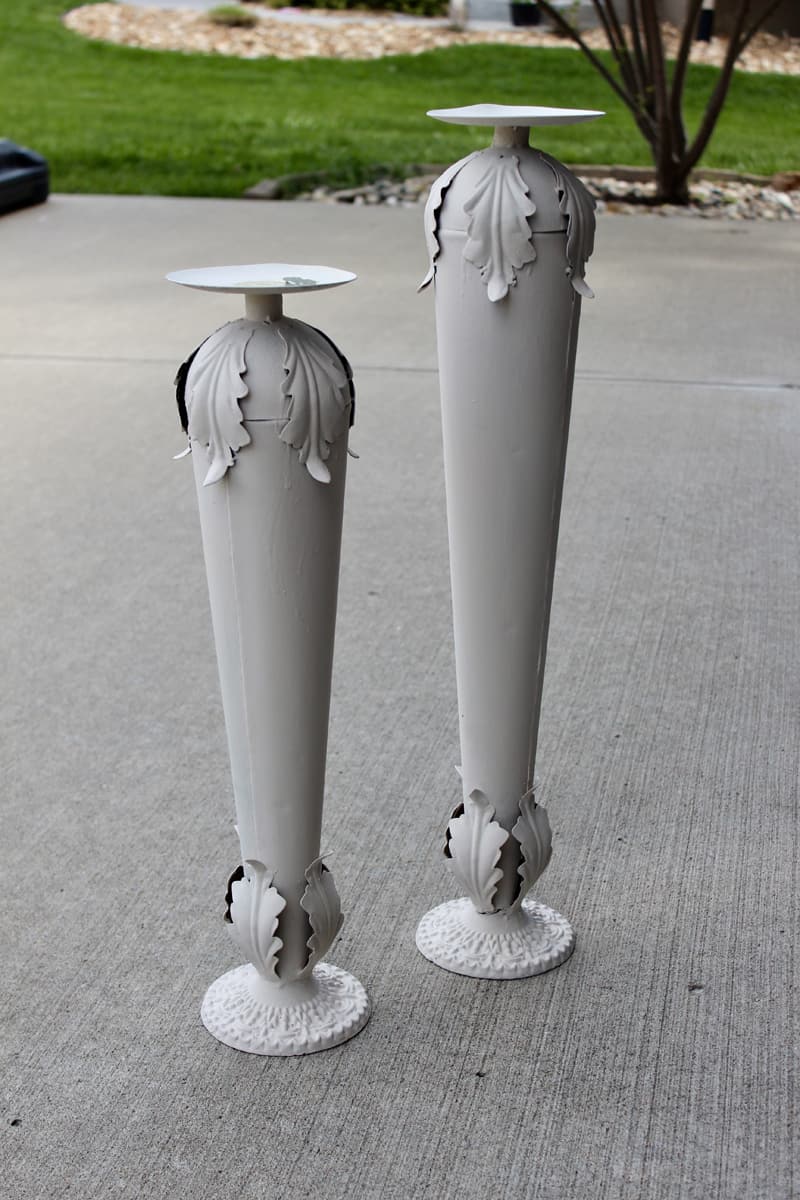
After:

Painted Candlesticks in Their New Home:
Other household items updated with paint:
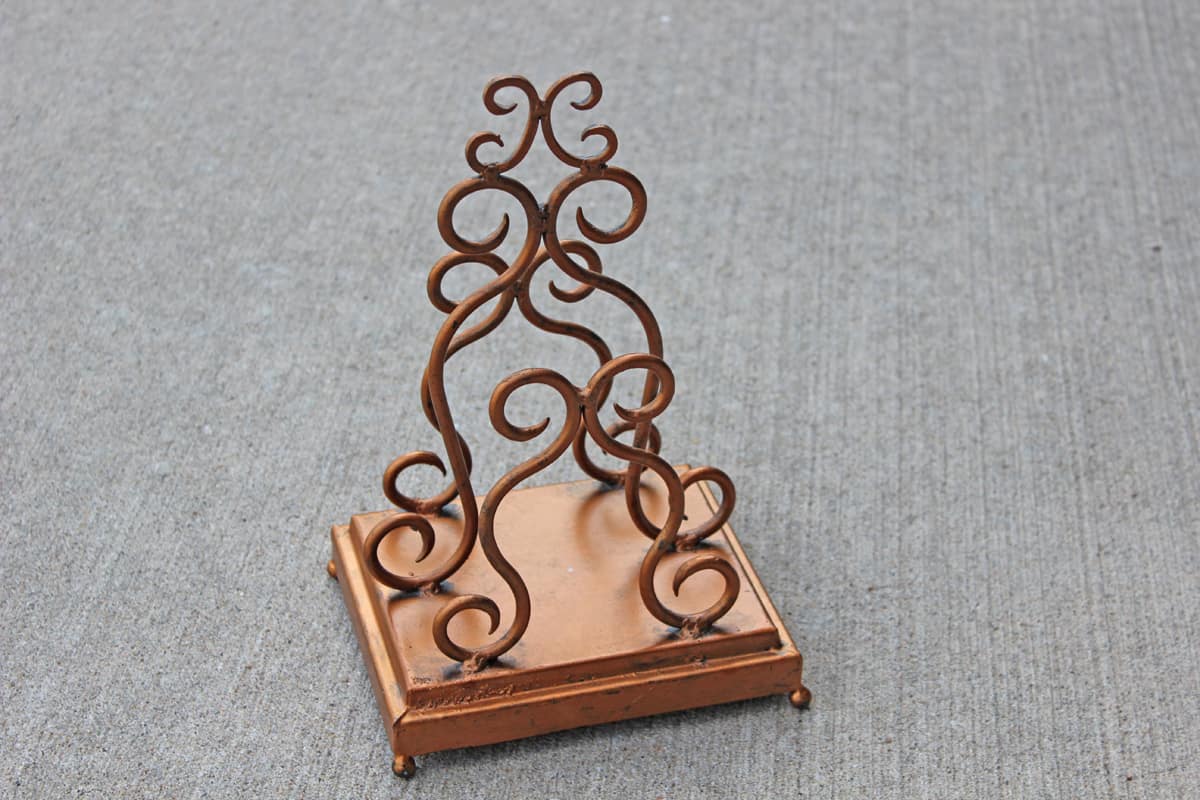
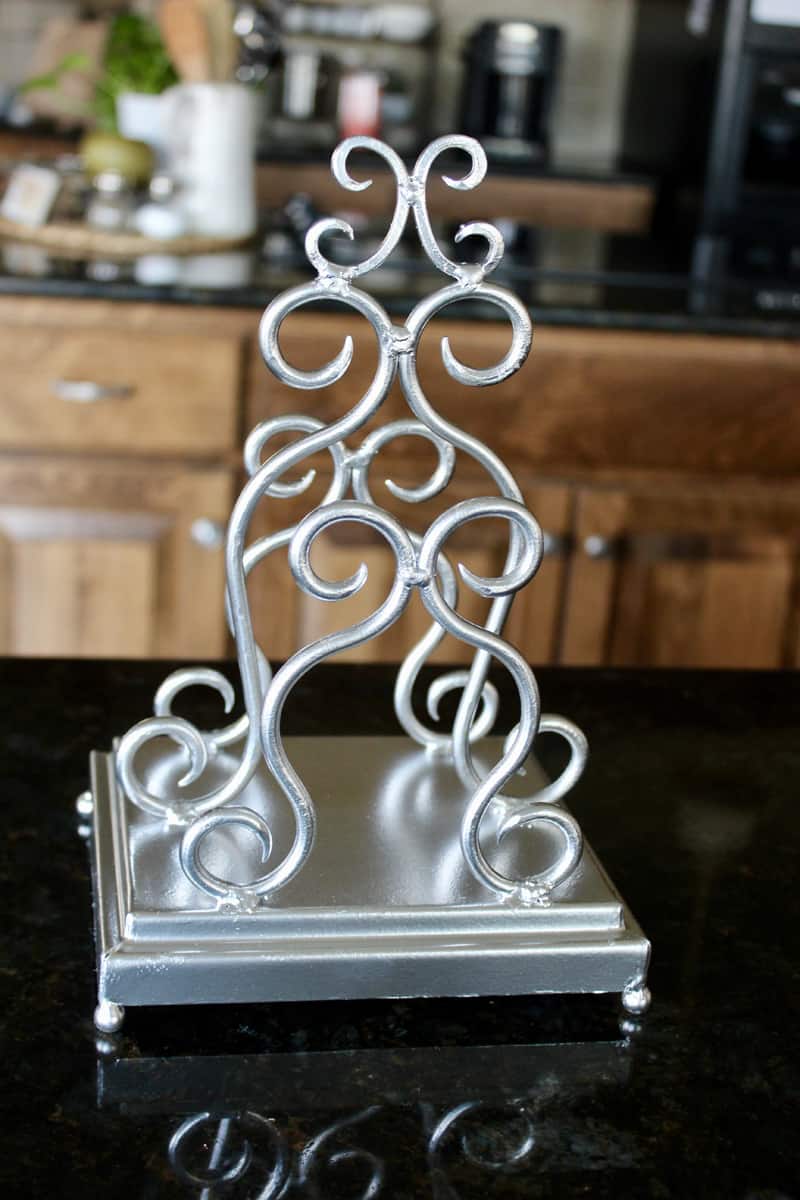
The other paint project I completed was transforming this brassy napkin holder (I use as a mail sorter) into a fun metallic silver. Two light coats of the metallic spray paint provided a great coverage for this piece. I waited 24 hours before using to ensure it was completely dry/cured.
Napkin holder before:
Napkin Holder AFTER:
Don’t forget to PIN THIS FOR LATER!
Decor can be expensive, so finding ways to give your outdated items a new look can really help the pocketbook. Have you painted any of your old decor? Painting candlesticks will just be the beginning!
More ideas to update your home with paint:
- How to Update a Mirror with Chalk Paint
- Kitchen Table Transformation Using Chalk Paint and Wood Stain
- Painting Furniture | A Before and After
- Piano Makeover with Chalk Paint
Leave a comment below. I’d love to hear from you!

These look so great, what a fabulous makeover!!! I love that something so simple can make such a big difference!
Thank you, Tabitha!
Saving this for later because there are several things in my home that could use some sprucing up with a little paint!
Thanks, Nikki!
Super excited about this post! I have been wanting to upcycle a few things around my house…can’t wait to try this out!
Thank you, Clair! It is such a great way to update your decor on a dime!
Those are so pretty! I love that finish! It makes me want to wander around my house looking for things to paint.
Thanks, Vicki! As you might imagine, I do that all of the time😊
Great ideas April! Thanks for sharing. I need to start gathering some outdated items and give them new life.
Go for it, Rehna! A little bit of paint can make a big change. Thanks for visiting my blog:)