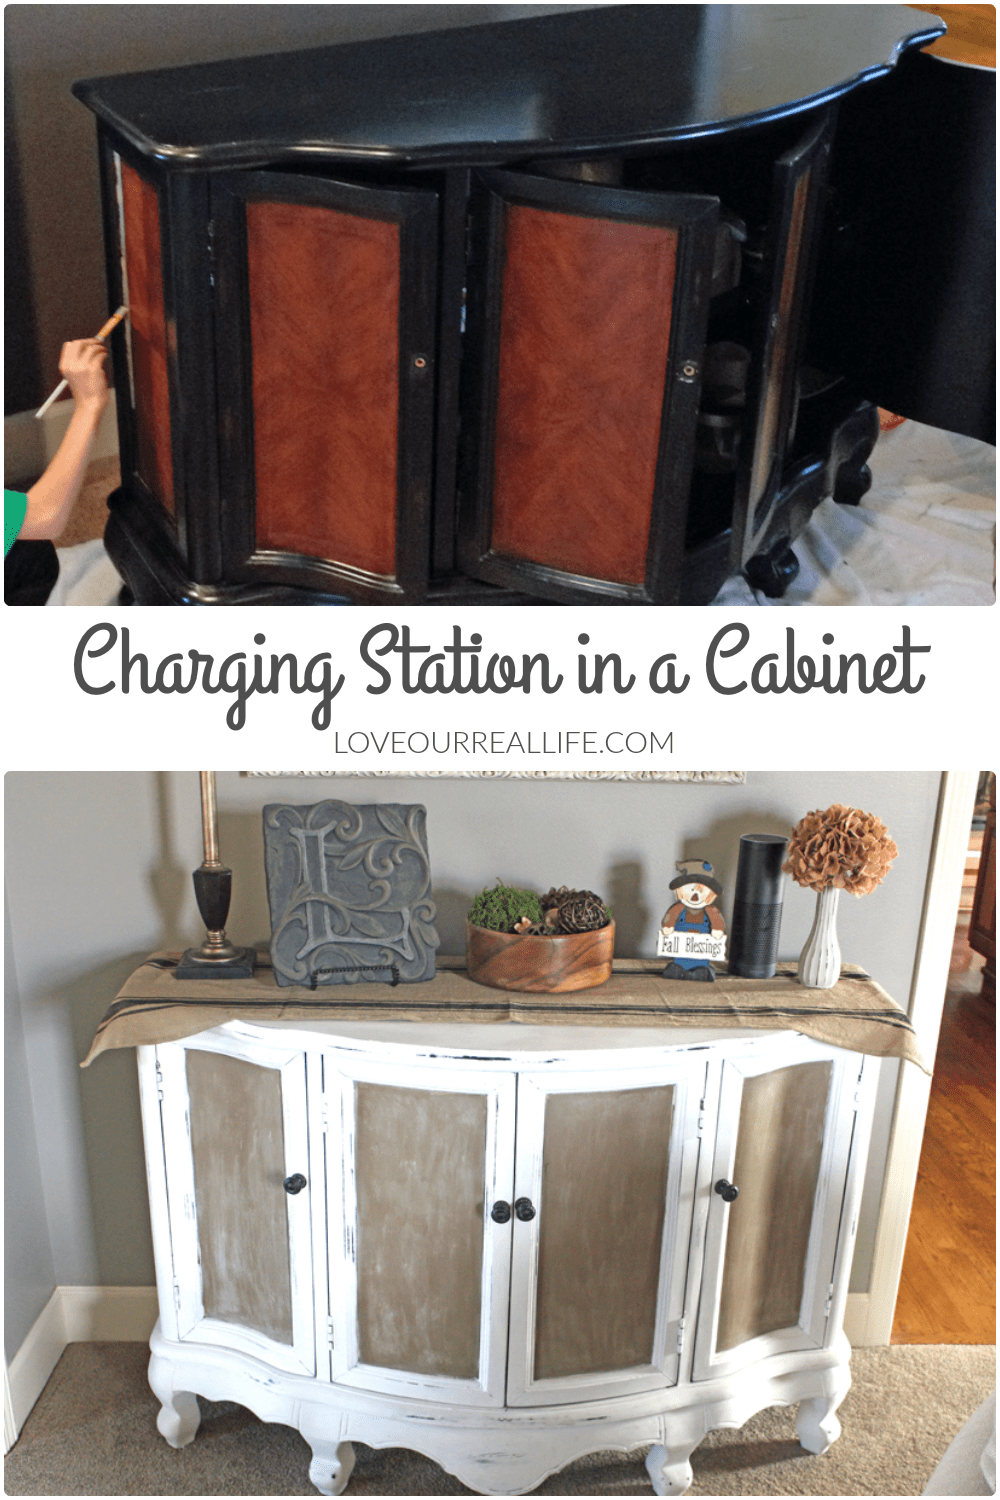
How to Create a Charging Station for your Electronic Devices in a Cabinet
Hey there! I have a fun/functional project I thought you might enjoy. Create a charging station in a cabinet to hide all of those unsightly cords!
I don’t know about you, but we seem to have way too many electronic devices that end up in random places throughout our house.
My kids were always searching for their Kindle or the school-provided Chromebook, usually as we were trying to run out the door in the morning and catch the bus. I was tired of it!
Pin it for later ⤵️

I am not a fan of letting them have screens in their room.
So, I knew I had to have a plan that kept their devices in one location, out of their rooms, and hidden from view. I also knew I didn’t want all of the cords in plain sight.
Get more home organization ideas!
Choosing the Right Cabinet for the Charging Station
We selected a cabinet that was in need of some updating, but had solid doors and overall structure.
Durability was key as the doors would be used frequently by the kids, who might not be very careful.
Preparing the Cabinet
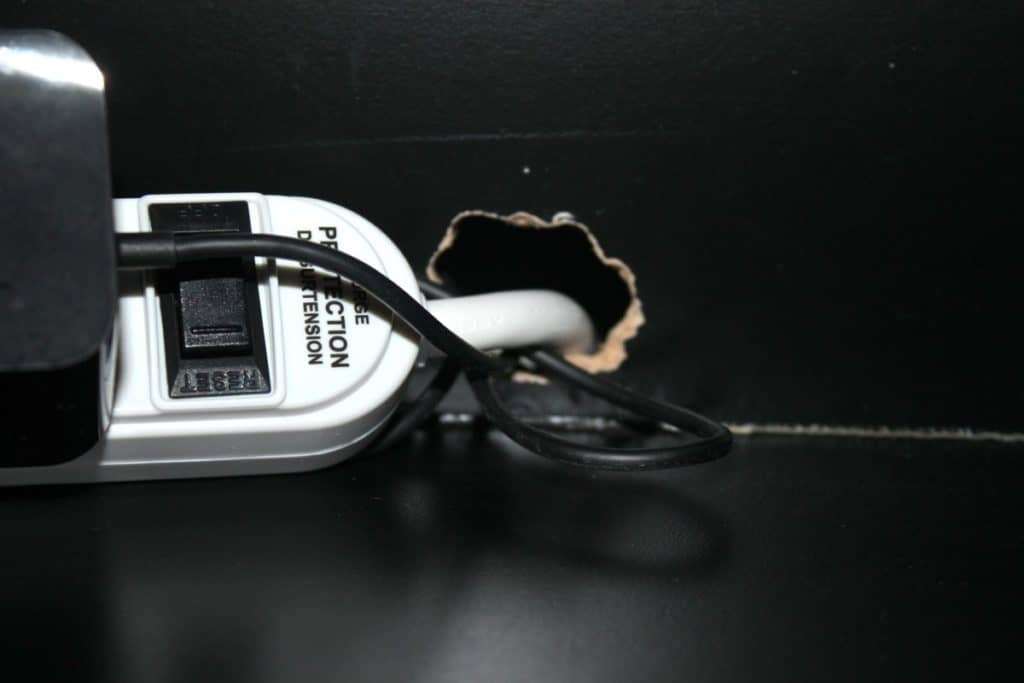
My husband cut a hole in the back just large enough to allow the cord of a power strip to fit through.
Please don’t judge! He didn’t have the tools to cut out a pretty hole, and frankly, I’m not even sure what he did.
BUT, it was going to be hidden against a wall and the hole was big enough to snake the cords through. Good enough!
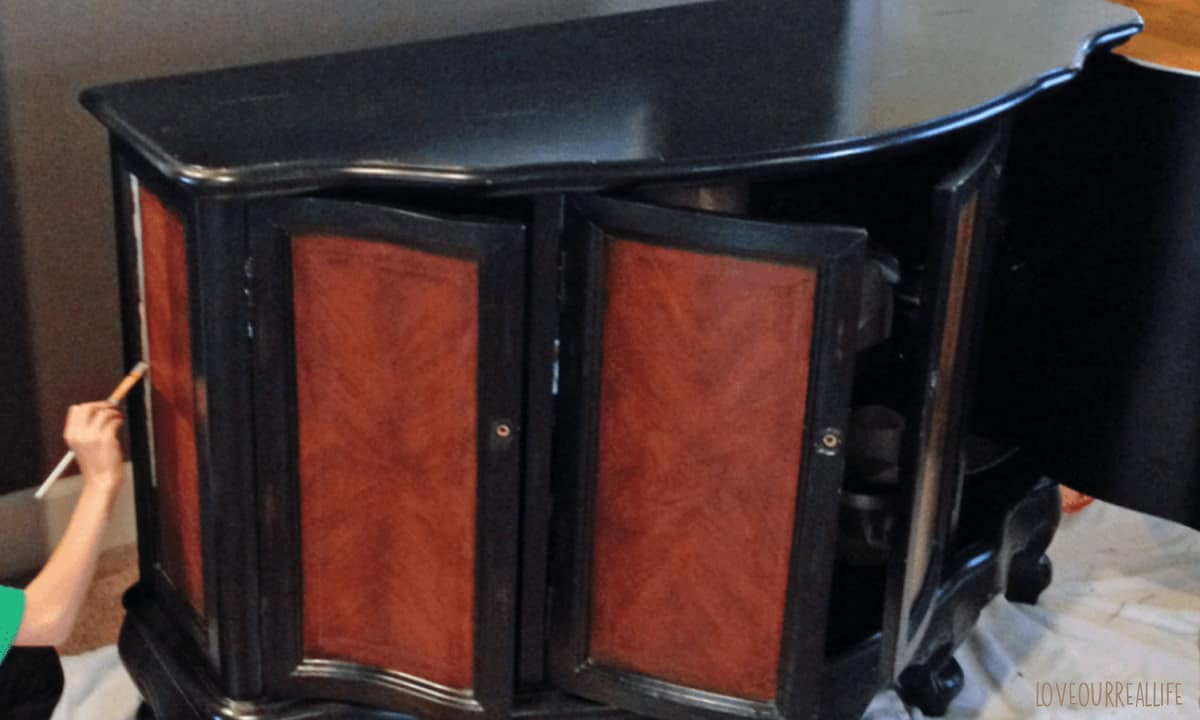
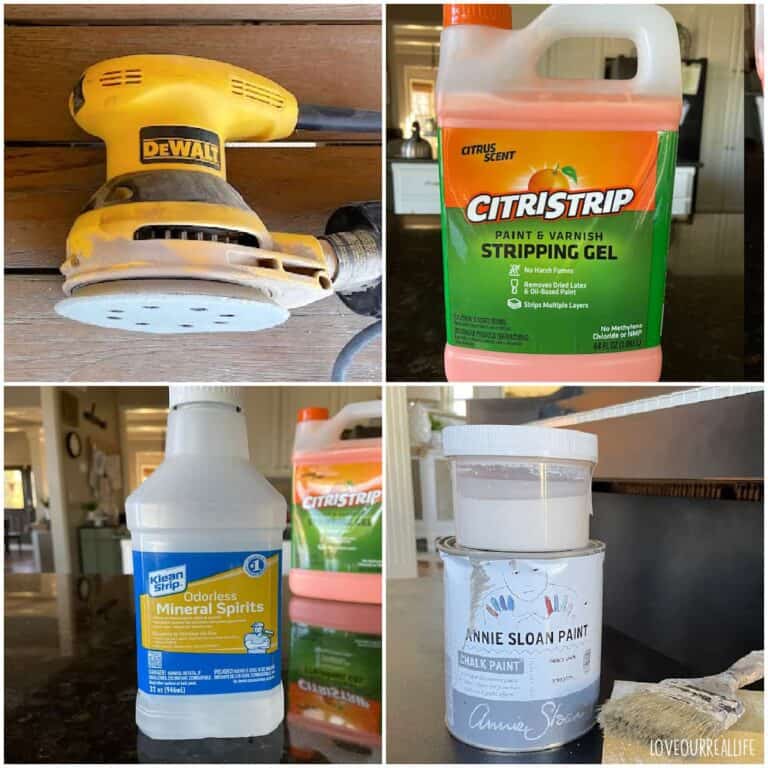
Painting the Cabinet
To paint the doors, we used Annie Sloan chalk paint in Coco.
The body of the piece was painted in Amy Howard One Step Paint (chalk paint) in Bauhaus Buff.
Both of these chalk paint brands are top notch. I have used a lot of the colors and they are so easy and forgiving to work with.
I sanded the doors and body slightly between coats, then wiped with dry cloth prior to painting the next coat to get rid of any dust from sanding. The doors required two light coats and the body needed three.
I find with anything white, it typically needs three coats for good coverage with the chalk paint.
RELATED: Painted Furniture Makeovers
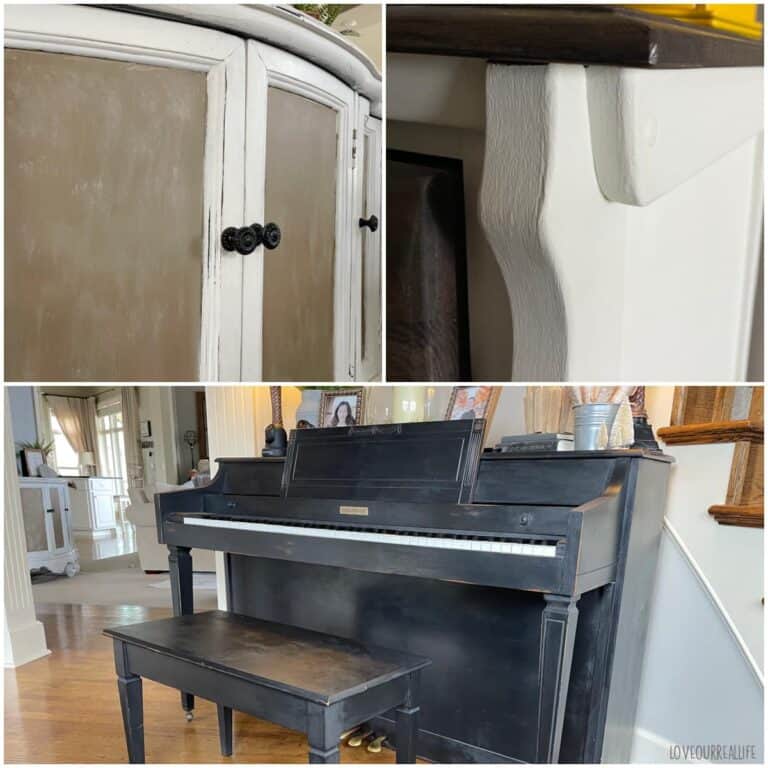
After I finished with the painting, I sanded (fine grit sand paper, nothing too abrasive) some of the edges to give it a distressed look.
I knew this cabinet would be taking a beating with the kids using it to charge their devices, so distressing it was bound to happen at some point.
It just made me feel better having some control over it;)
The next step was to seal it.
I used Amy Howard clear wax on the entire piece, following the directions on the can. On the doors, I used a very light coat of dark wax.
It was a little darker than I was hoping for, so after it dried, I went back and dry brushed just a hint of white onto the doors to lighten it up a bit.
After that, I applied another coat of clear wax to just the doors.
Adding Surge Protector and Charging Cords
The kids and I determined which items we would be storing in our new cabinet.
Then, we added a heavy duty surge protector as well as sufficient charging cords for all of the devices.
This would be a great time to add in a file organizer to keep all of the devices easy to see, yet organized!
For now, we just added in a shelf that we had and will see how it works.
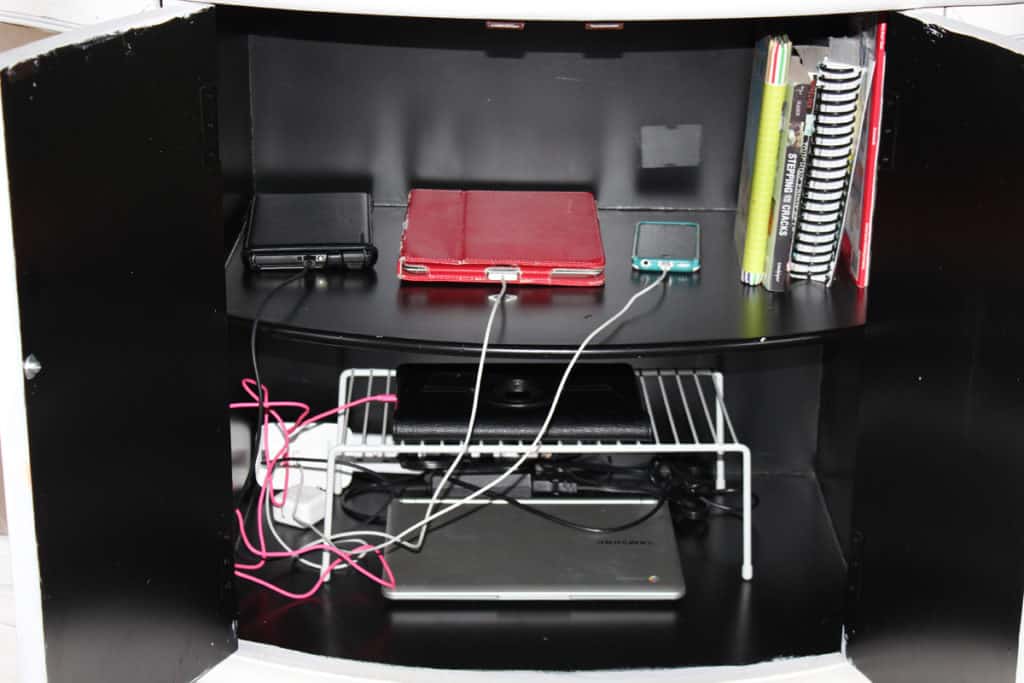
The Finished Project
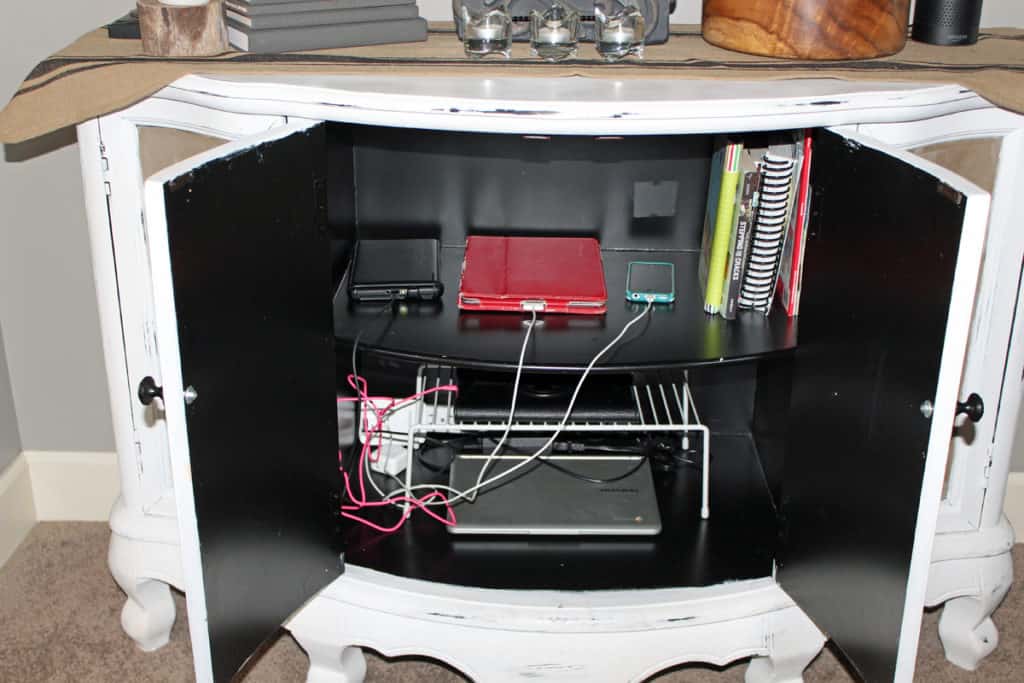
As you can see, the devices are not beautiful. But, that doesn’t matter when they (and ALL the cords) are hidden behind the pretty doors.
The idea is to make something pretty a bit more functional. Most of my projects entail finding ways to make life a little easier for our family.
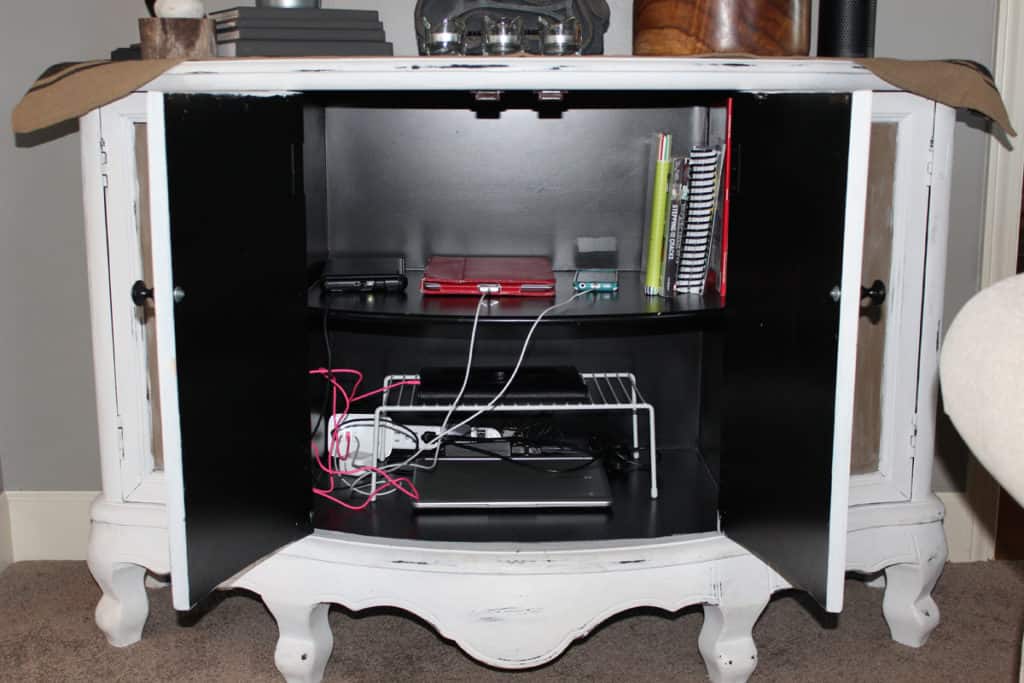
From time to time, the cabinet gets a little cluttered inside and we have to do a clean out. But at least it’s hiding behind closed doors!
Charging Stations Supplies

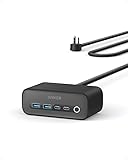
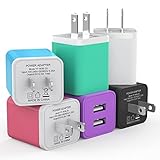
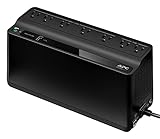
Grab the supplies for your hidden charging station!
Charging Cabinet Before and After
I hope this gave you some ideas on ways to hide the charging cords in your home. An old cabinet that can be updated with paint is the perfect solution!
What do you think?
The kids did a great job! I love letting them help with things they will be using. They appreciate the details so much more and I think they were proud of their work.
Now, we can keep their chromebooks and Kindles where I can’t see them! At least as long as the kids put their things where they belong!
The cabinet is in our living room, so it’s convenient for them to grab their Chromebook for homework.
Plus the charging station is in an area where my husband and I can keep an eye on what they are viewing on the internet. It’s been a win for all of us.
Don’t forget to pin for later! ⤵️
Do you have a charging station in your home? I’d love to hear what works for your family.
Leave me a comment below.


So adorable!!! I love that you let your kids help as well! Great family project!!
Thanks, Kori! Yes, I loved that they helped as well 😊.
What a great DIY and idea! I’m like you, and have so many things to charge between my husband and me! Great (and pretty) way to take care of business without a tangled mess!
Thank you, Patricia! I appreciate the kind and thoughtful comment 😊
This is such a great idea, I hate having all our electronics and their cords all over the counters.
Thanks, Mary! I couldn’t agree more!
This is such an awesome idea! I have to try this so I can keep everything organized! Thanks for sharing!
Thanks, Madison! It saves my sanity😊
This is the coolest! I love how much this unit can hold. Great job!
Thank you, Kerri!
This is such an amazing idea. I’m going to tell my husband about it right now lol. My kids are always losing their chargers for all their electronics so this would be great to have them all in one spot. Thank you so much for this great idea!!
Thanks, Connie! If you try it, I’d love to hear back! Have a great day!
I’m showing my husband this! What a simple thing to do to really spruce up an area! I love the paint job. Now to find a cabinet as unique at that one! Thrift stores here I come! 😉
Thanks, Eryn! Good luck with your cabinet search!
This is great! Right now all our devices charge on the kitchen counter and it drives me bonkers! I really want to keep them hidden.
Yes, Amanda! That’s exactly how ours were. It’s still not perfect by any means, but so much better!
I have a charging station in my home too, but it doesn’t look as fancy as yours. Ours are left on my desk so it’s not very appealing to the eye. Great idea!
Thanks, Stephanie! I just used what I had as I’m practical to a fault;-) Thanks for stopping by!
Love this! We have a makeshift charging station at the bottom of a bookshelf in our bedroom. With six kids (and six tablets), it’s been great. Now…if we could just get them to keep up with their chargers. They manage to lose them when we travel with them.
Thank you! We can’t have it all, can we?! Lol 😉 Baby steps!
I LOVE DIY tutorials and this one is awesome! I like how easily you made it seem to hide all of those unsightly cords. Thanks for the tutorial!
Thank you, Shannon! It has saved my sanity some days. Out of sight, out of mind;-)