Distressing Chalk Paint Furniture: 7 EASY Techniques
Distressing furniture can be a simple and cost-effective way to give your home character. Distressing chalk paint furniture as well as other types of painted furniture is easy – you don’t need to be an expert craftsman to do it.
If you are looking for a way to make new furniture look more weathered and rustic, distressing is for you.

Learn more: what is chalk paint for furniture.
Learn more painting tips and tricks and furniture makeovers here.
What is Distressed Furniture?
Distressed furniture is a technique used to make furniture have a rustic, worn, and aged look.
I like to think of it as well-loved!
Distressing is often completed by removing layers of paint around areas that would naturally get wear and tear.
You will notice a lot of distressed furniture in the popular farmhouse decor trend. Chalk paint works great for distressing and we’ll get into all of the how-to details shortly.
There are a variety of techniques that can be used to achieve an old furniture look. In addition to removing excess paint around the edges of furniture, some will go an extra step and actually dent and mildly damage a furniture piece to make it look old!
I’ve never done that as my furniture tends to get beat up all on it’s own with a busy household with children!
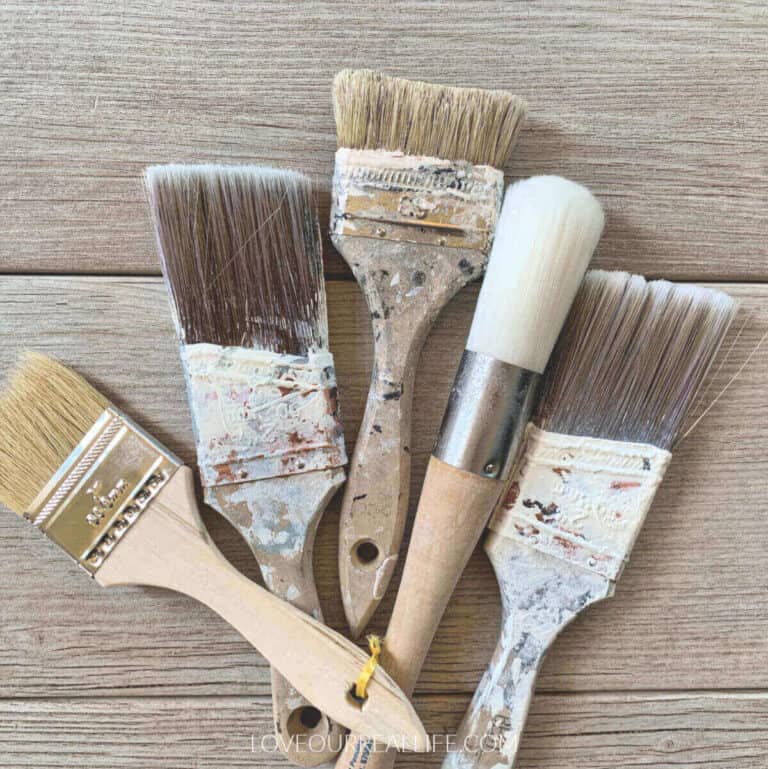
I think the easiest way to achieve good results for distressing is by using sandpaper or a sanding block for your furniture makeovers. But, I will address a few other techniques you can try if you like options.

Begin by Painting Your Furniture With Chalk Paint
If you have used chalk paint on furniture and feel comfortable with that part of the process, you can just skim this section on how to apply the paint.
I provide a fairly detailed tutorial on painting with chalk paint when I discuss black chalk paint furniture, so you might want to check that out if you have further questions.
Before painting, you will need to thoroughly clean the furniture. Prep work can make all the difference with any painting project.
Primers are typically not recommended or needed for chalk paint. But if I use a really light colored chalk paint, especially white paint, I will often go ahead with priming it prior to starting the first coat of paint.
Then, when the primer is dry should you opt for using primer, grab a good paint brush and apply 2-3 thin layers of chalk paint to your piece, allowing sufficient dry time between coats.
Thin coats are best and will dry most quickly.
I’ve found 30 minutes is usually good prior to jumping in with the second coat of paint! If you use a thin coat, that should be sufficient.
Keep a damp rag handy to catch any drips. I also like to keep a spray bottle with water close by in case the chalk paint it too thick.
When working with chalk paint, be sure you keep the lid on the paint when not in use to avoid drying out.
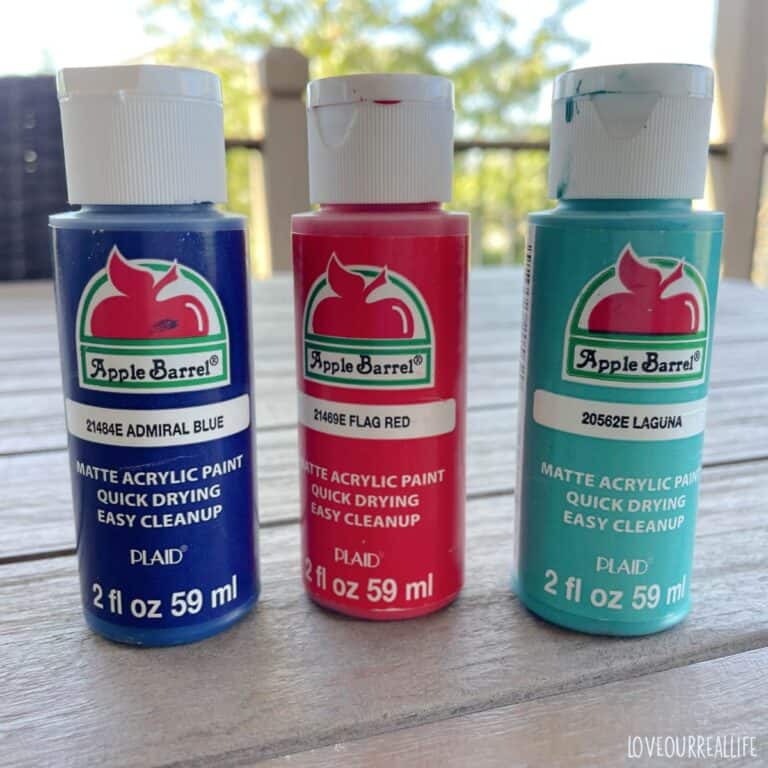
My favorite brands of chalk paint:
- Annie Sloan Chalk Paint
- Amy Howard One Step Paint
- Heirloom Traditions Paint (while not technically a “chalk paint”, however it works very similarly and I’ve had very nice results)
Note, you can certainly distress furniture when painting with other types of paint, such as latex paint (what most people call ‘regular paint’), milk paint, chalk spray paint, or regular spray paint.
It may be more of a challenge to get latex to look “chippy”/ shabby chic look, but you can definitely do it.
Chalky paint finishes are just easy to work with when it comes to distressing. The good news is chalk painting is easy to do with a beautiful end result and smooth finish.
RELATED: How to Make Your Own Chalk Paint
Distressing Techniques
There are a number of ways to achieve the distressed look and make newer furniture look more like an old piece of furniture with a rich history!
Or course distressing can be done on old furniture too to give it a more modern look. Especially if the furniture needs a little love to make it looked refreshed.
Below are 7 different popular techniques for distressing chalk paint furniture.
- Sandpaper
- Wet distress
- Layer paint
- Dry brush
- Dark wax
- Glaze
- Petroleum Jelly
Every professional or DIY painter has their favorite methods to achieve the looks they love. Different ways are good to know as different styles of furniture may call for something different.
For distressing, I personally prefer sanding in most situations as I feel I get good control with this technique.
All diyers know you should experiment and practice before you jump into the paint job of an entire piece if at all possible.
But, the great thing about chalk paint is that most “mistakes” can be fairly easily remedied by simply doing touch ups when needed.
Also note that flat surfaces present a bit more of a challenge.
When distressing, the best way to make the piece look like it has more natural wear and tear if by applying the distressing techniques somewhat sparingly.
Distressing can be completed on any paint color and on a number of different types of paint finish.
This beginner’s guide to the different methods of distressing can help you get good results, even if this is your first time distressing wood furniture.
Be sure to check out How to Restain Worn Leather Furniture
Sanding
My preference for distressing chalk paint with sandpaper is to distress BEFORE adding the top coating (i.e., clear wax, polycrylic, polyurethane, etc.).
When sealing has been completed, it can make you work a little harder to complete the distressing. AND no one wants to work harder.
Or perhaps that is just me!
Sanding is a bit of a mess and produces dust that will require clean up. So, select an area you can clean easily later. Good ventilation and a drop cloth to protect your surface is also recommended.
But, you will love the results!
Ensure you have a variety of grit levels, from course, to medium grit, to a fine-grit sanding block or piece of sandpaper.
This will allow you the exact level of distressing and control you are hoping to achieve.
Beginning with the medium grit paper, wipe away paint on areas that would normally have daily wear (i.e., edges, corners, etc.).
Adjust to different levels of grit as needed depending on your results.
For example, if the paint is not removing easily, go with a more course sandpaper pad. If too much paint is coming off, go with a finer grit.
Initially, I would suggest less is more. Then, if you desire, you can always go back and remove more paint to give you the antique furniture look you are hoping to achieve.
Once you have reached your desired level of distressing, wipe away the dust with a lint-free cloth or tack cloth and you are ready for your top coat.
Just be sure you remove all the dust prior to adding the topcoat.
Wet Distress
The trick with wet distressing furniture is ensure the last coat of chalk paint applied is not allowed to fully dry.

Once you have finished painting the piece, jump in immediately with a rag dipped in water. Wipe away the paint in the areas you wish to give the “distressed” look.
You might need to dip the edges of the rag in water (remove excess water) to ensure you are really allowing the wood to show through.
In my opinion, this requires a bit more skill than regular sandpaper distressing and there is more of a margin for error.
BUT, the paint does remove quite easily when the slightly wet rag is used.

Layer Paint
If you want different layers of paint to show through following distressing, this is for you.
To do this, after covering your piece with the first color of chalk paint, then add some wax (either chalk paint wax or even candle wax) on edges or areas you will distress.
Paint the next, different color of chalk paint. Upon drying, use sandpaper to remove the top color so the under color is revealed.
Dry Brush
While using the dry brush technique is not technically distressing, it can give the appearance of such.
You can see on my coffee table how I used two different colors of gray/beige chalk paints to add dimension to the table.

Dry brushing simply means using a dry brush with only a tiny amount of paint to highlight various areas.
Typically I get only the tips of my brush in paint and off-load the brush onto a paper towel or paper plate. This ensures there is only a little bit of paint on the brush.
Then, working in small sections, use the dry brush to add more dimension. Remember this isn’t even adding light coats, merely highlights.
Have a damp cloth handy to use to wipe any excess paint from the distressed area if needed.

Dark Wax
Adding dark wax on the edges and crevices of furniture will create a look of distressing with a nice patina.
Add a coat of clear wax first, then apply the dark wax on top of the clear wax using a wax brush. Steel wool can be used to remove the excess wax as you don’t want full coverage with the dark wax.
I’ve said it before and I’ll say it again, less is more.

I used dark wax on the brown area of this cabinet. But, the edges are where it looks more like “distressed” wood.
Glaze
Distressing with glaze is much like dark wax with the look it creates. Except many of the glazes are water-based and easy to use.
After the base coat is fully dried, work in one small section at a time to ensure the glaze stays wet during the distressing process. The glaze can. be applied with a chip brush, foam brush, or even a clean rag.
Once the glaze is applied, use a rag with good pressure to wipe away the glaze. The glaze will give dimension to the nooks and crannies and give it a beautiful distressed appearance.
Glaze is often used on kitchen cabinets for a pretty farmhouse style look.
To learn more about using furniture glaze, you’ll want to check out my post of describing the how to process.

Petroleum Jelly
Vaseline can also be used to distress furniture. An easy way to use petroleum jelly for distressing is by brushing it onto the edges of a piece prior to painting.
Then when the paint is dry, simply use a dry cloth to wipe away the areas where the Vaseline is underneath. The Vaseline keeps the paint from adhering the the surface, therefore allowing you to wipe it away.
RELATED: How to Paint on Wood Using Acrylic
How Do You Lightly Distress Chalk Paint?
Regardless of the method you select with distressing chalk paint furniture, so easy initially, especially if you are hoping for a light distress.
If using sandpaper and you want only light distress, start with a finer grit sandpaper to see if you like it before diving all in.
Once you are happy with the way the furniture looks, you can then distress it further is desired.
What grit sandpaper do you use to distress chalk paint?
When distressing chalk paint furniture, it is best to have a variety of grits of sand paper so as each piece of furniture might respond somewhat differently.
Grit sandpaper to have on hand: 40-60 grit (course), 80-120 grit (medium grit) and 180-220 (fine grit).
This will allow you to adjust as needed.
Begin sanding with the medium grit on a lesser conspicuous area of the furniture. Once again, complete light sanding in areas where the pieces of furniture would naturally get a lot of use.
This will give you a gorgeous farmhouse style, distressed piece.
How do you make chalk paint look weathered?
Distressing chalk paint is a great way to give it a weathered look. While the type of paint does not have to chalk paint when distressing furniture projects, but chalk paint does have a pretty matte finish that looks great when distressed.
Using methods described such as sandpaper distressing, using dark wax or glaze will help you create the weathered, antique look you’ll love.
How long after chalk paint can I distress?
There is all sorts of information out there about how long to wait prior to distressing furniture. I’ve found waiting 30 minutes works really well, specifically when using sandpaper, wax, or glaze.
It is dry but not fully cured, so it is still easy to work with, making distressing a fairly simple task.
However note, if you are using the wet distressing method, you will want to start distressing or removing the paint while it is still somewhat wet.
How do you make wood look distressed?
If you want to take distressing a step further, you can distress the bare wood prior to painting. Chains, screwdrivers, nails, etc are often used to damage the wood to give it a well aged appearance.
Gently hit and/or dent the furniture with the above items to get the gently used look.
Then you are ready to add distressing in all the right places with your technique of choice from above.
Distressing truly is quite easy and fun to do! If it is your first project, it can feel somewhat stressful.
It’s a good ideas to start with a small piece. You’ll soon find that it doesn’t take much time at all to create a beautiful piece you love. Just remember that you have to be slightly judicious when distressing as you can’t sand the entire area:)
Get lots of painted furniture ideas here.
LEARN MORE
Click here to read more: What is Chalk Paint for Furniture
7 EASY Techniques to Distress Chalk Paint Furniture

7 different methods to distress chalk painted furniture. My personal favorite is sandpaper as I feel it gives more control. But, the other options also work well and provide a bit of a different look.
Different materials are needed based on the specific method chosen for distressing.
Materials
- chalk paint
- sandpaper (course grit, medium grit, fine grit)
- dark wax
- glaze
- lint free cloth
Tools
- paint brush
Instructions
- Sanding. After furniture has been painted with chalk paint and allowed sufficient dry time, grab a medium grit sand paper. Gently rub away paint in an area that would receive natural wear and tear. Remove paint as desired on various portions of the furniture piece until you have achieved the level of distressing desired.
- Wet distress. Paint 1 layer of chalk paint and allow to fully dry. Apply second coat of chalk paint. When this coat is still wet, take a damp rag and go over edged to remove paint for distressing.
- Layer Paint. Apply initial layer of chalk paint and allow to dry. Apply wax in areas you wish to distress (once again, edges, etc.). Wax can be chalk paint wax or wax from candle. Then paint second coat of chalk paint. When dried, rub areas where wax was applied and the second coat will rub off, displaying the initial color.
- Dry Brush. Paint initial color of chalk paint. When dried, use different color to dry brush and give highlights or dimensions along edges for a distressed appearance. Ensure only a little bit of paint is on brush so you do not get a full coverage during the dry brushing process.
- Dark Wax. After chalk paint base has dried, apply clear wax. Then use dark wax along edged, crevices, nooks and crannies. Wipe away with a clean lint-free cloth. Remove as much dark wax as needed to provide the level of distressing desired.
- Glaze. Glaze provides a similar look to dark wax but is somewhat easier to work with than wax as it is water-based. After chalk paint has dried, apply glaze with paint brush or cloth along edges or areas where you are adding "distressing" then wipe away excess with clean rag.
- Petroleum Jelly (Vaseline). Apply initial layer of chalk paint and allow to dry. Then apply Vaseline on edges where you will distress. Paint next layer of chalk paint. After allowing to dry, use rag to wipe over edges where Vaseline was applied. You will find the paint in that area rubs off to reveal the underneath.