Easy Way to Paint Wicker Baskets using Wood Stain
Do you have old wicker baskets that need some love? Read on to see how fast and easy it is to paint wicker baskets with driftwood stain, gray wood stain, or gray craft paint to give them a brand new look!

Get more furniture makeovers and painting tips here.
I’ve mentioned it more times than I can count , but I’m slowly getting rid of lots of dark brown decor in my home to lighten things up. Many of you have indicated you can relate!
Some of our home updating projects include:
My latest projects are mostly focused on our basement. It was so dark it almost looked like a dungeon.
This simple DIY was fast and easy – my favorite!
As a matter of fact, after I completed this basket makeover, I’ve gone on a search in closets for more wicker pieces to update. Gray was my focus for this basket, but I’m anxious to try it with white, tan, and a mix of all of the above.
Thrift store baskets would be great for diy projects like this.
Gather up your supplies and let’s get started with this easy makeover!
SUPPLIES for Painting Baskets
- An old wicker basket to update
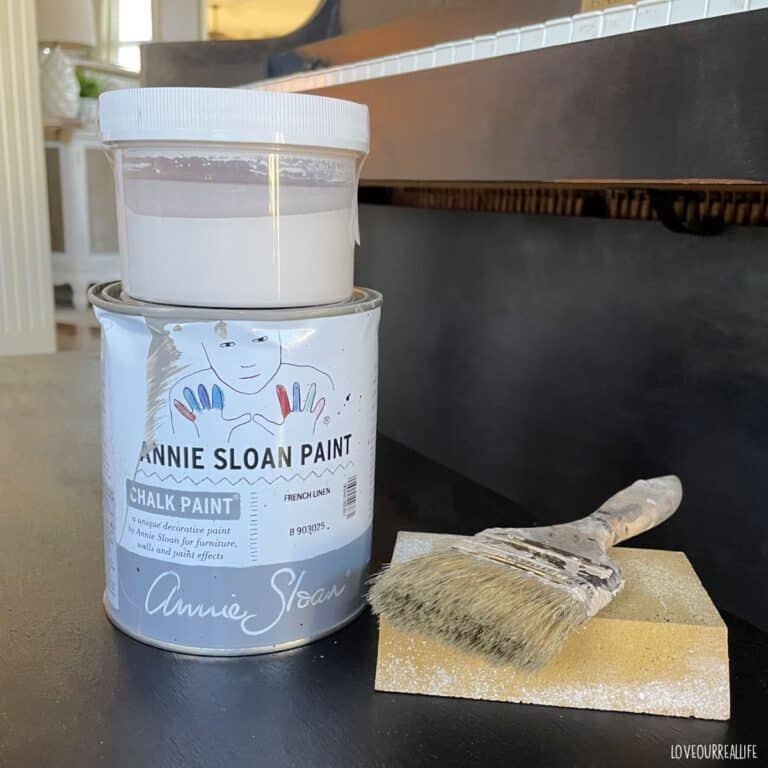
- Rust-Oleum Driftwood Stain (I’m not able to find it anymore so I linked to some similar options), Minwax Classic Gray Stain, or gray craft paint or chalk paint.
- Small Craft paint brush. I had several from previous projects that I used, but these look awesome!
- Towels or drop cloths
NOTE: Spray paint is a good option for a wicker basket makeover IF you want full coverage. Spray paint (i.e., Rust-oleum All Surface Spray Paint) is perfect for getting in all the nooks and crannies. But, for this particular project, a full coverage look was not the goal.
Also note, acrylic paint could be used, especially if you want to dry brush white or gray paint.
NOW…step to update old baskets with wood stain.
Clean basket
Grab an old basket that no longer fits in your decor style or color scheme.
Give it a good wipe down with a slightly damp cloth. Be sure and clean the inside really well as well as the outside.

This brown basket of mine is definitely in need of some updating.
You can see the chaos in the background from all of my basement projects. Painting the fireplace is done, but I have lots left to go!
I love decorating with baskets, especially tray style baskets. Trays are a great way to group things together in a fun little vignette.
If you want some ideas on grouping decor items, check out this post.
Protect and Prep Work Area
Drips and spills can happen. Take a moment to put down a drop cloth to protect your floor and/or work space.
If there are areas of the basket you do not plan on painting, tape that off using painter’s tape / frogtape.

No primer is needed, nor is it recommended with the dry brushing of stain for this project.
However, if it is your taste and you prefer full coverage when you paint your basket I would suggest priming to ensure it is durable.
A spray primer would be your best bet. This will ensure good adhesion of the paint. Once again, Rustoleum spray paint would be the kind of paint I recommend should you prefer full coverage.
RELATED: Painted Furniture Makeovers
Paint Light Coat in Sections
Grab an inexpensive craft brush, dip it into your stirred can of wood stain, and get started. Be sure to complete this project on a drop cloth or an old towel as the stain is thin and will likely drip.

I promise, there is no real science involved with this. Paint a very light coat of stain, occasionally wiping away areas you feel are too heavy.
Stain wicker on the outside of the basket as well as the inside. Turn the baskets upside down as needed to get any of the bottom or edges of the basket that will be seen.
Get into crevices with your brush.
RELATED: How to Paint on Wood with Acrylic Paint
Wipe Away Excess Paint if Needed
My goal was to have some of the original color peeking through, so I went very light on the stain.
If you have an area where you get more stain than desired, wipe away the excess.

Painting the entire basket with wood stain probably took me 10 minutes!
Dry brushing gives such amazing finishes and this pretty wicker basket will add great texture to any space.
Allow to Dry Overnight Before Use
The can of stain indicated a dry time of 1 hour, but my basket was still sticky at that point. I would let it dry at least over night before using.
Such a subtle difference, but SO much better! Now to decide where I will put it!

For this picture, I put it on our outdoor table with my new air plant. I’m still really loving our updated outdoor space and string lights. It’s the little things, you guys!
Do you have any old baskets you were considering trashing? Give this a try first! You might just love it.
FAQs
For dry brushing technique on wicker baskets, nearly any kind of paint or wood stain will work great. Other options are latex paint (house paint), a general matte paint, acrylic paint, etc. If you need full coverage paint on a wicker basket, the best paint is spray paint.
You can paint a wicker basket with a brush if the intent is to dry brush paint or stain or if you intend to only change the color of the basket slightly. If full coverage is needed for a wicker basket update, spray pain or a paint sprayer is recommended.
If you are planning to paint wicker furniture, I would highly recommend a paint sprayer or compressor sprayer to provide full coverage. However, if the goal is to slightly change the color of a wicker basket or to give highlights (as described in this tutorial), painting with a brush works well.
How to Update Old Baskets with Driftwood Stain Or Other Gray Stain

Paint a wicker basket in minutes to get a more modern look for your old baskets. The dry brush technique is used vs full coverage.
Materials
- Wood stain or gray paint
- Drop cloth
Tools
- Craft paint brush
Instructions
- Clean basket. Use a slightly damp cloth to clean dirt or debris from basket. Allow to dry prior to painting.

- Protect and Prep Work Area. Use a drop cloth to protect the floor and general work area of drips. If there are areas of the basket you do not want paint, use painter's tape or frogtape to tape them off.

- Paint light coat of stain in sections. Using the small craft brush, apply small amount of stain using the dry brush method. Off load any excess stain from brush prior to painting it on. Get into nooks, crannies, and crevices.

- Wipe away any excess paint or stain. Using a dry brush, wipe any areas where stain is too heavy.

- Allow to dry overnight before use. Ensure the basket is fully dry prior to using. Overnight to 24 hours is recommended. If basket is sticky or tacky to the touch, allow longer dry time.

Notes
I used Rustoleum Driftwood stain for this project, but any gray stain or paint would provide similar results. If full coverage painting of wicker basket is prefered, use spray paint or paint sprayer.


Love it! I have a collection of baskets in the storage room that could use this.
So simple, yet makes such a difference. It’s the little things!
Thanks, Jenifer! Little things are everything!