How To Apply Chalk Paint Wax: Tips to Use
Applying chalk paint wax as a topcoat to your painted furniture is a great way to enhance its color and texture and protect it against bumps and dings. Tackling a furniture painting project can be intimidating at first, yet applying chalk paint wax is a relatively simple process that anyone can do successfully. So, how’s it done?
To apply chalk paint wax:
- Spread a thin layer of clear wax over your furniture project with a wax brush.
- When using the wax, work in small sections and lightly wipe away any excess wax with a cloth.
- If using a dark wax, apply before clear wax has dried.

In this article, I’ll thoroughly detail each step of applying chalk paint wax to a piece of furniture and offer tips throughout the process for the best results. These steps are for indoor use only, as chalk paint wax is not durable for outdoor use.
Learn more: what is chalk paint for furniture.
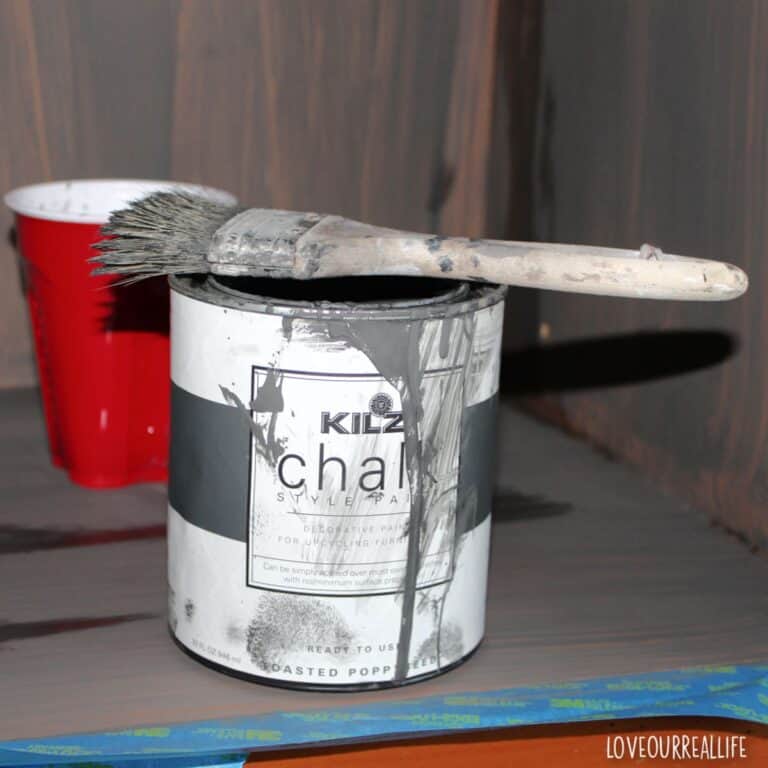
Supplies Needed to Apply Chalk Paint Wax
As with any project, it is a good idea to gather all the supplies you will need to work with before diving into the project. You will need the following materials:
- The piece of furniture
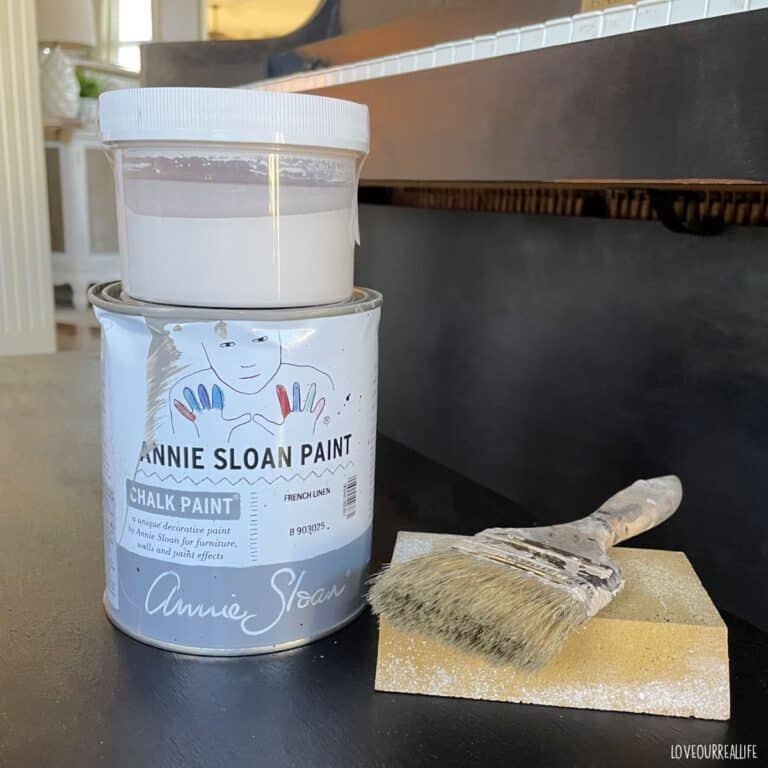
- Clear wax
- Dark wax (optional)
- Multiple lint-free cloths
- A wax brush for each container of wax
Use Chalk Paint to Apply 2-3 Coats of Paint
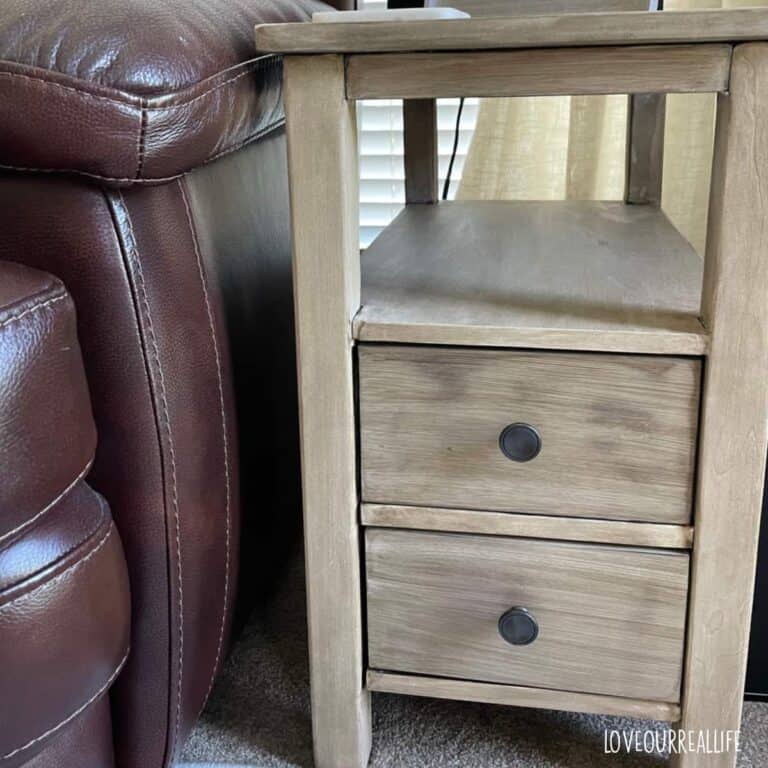
Before applying a wax finish to your project, you must have completed the task of painting your piece of furniture with chalk paint.
Light colors often require two thin layers plus a final touch-up coat. This was the case for my kitchen table makeover.
If you still need to do this and need some guidance, check out this article on painting a dining table with chalk paint.
Distress the Painted Furniture if Desired
If you are planning a distressed look for your project, you can accomplish this by rubbing the areas of the furniture that would naturally show wear with a cloth.
Examples of areas of distress include the piece’s corners and handles and some edges.
The best option for distressing chalk paint furniture is lightly sanding before applying a protective finish. It is harder to remove paint after the curing process is complete. For tips on distressing techniques, check out this helpful article.
Wipe Away Dust
After distressing your project, wipe away all the dust and dirt with a clean, lint-free cloth. A slightly damp cloth is the best way to remove additional dust.
Allow wood furniture to dry entirely before waxing.
If you choose not to distress your project, still ensure you wipe it down very well with a clean cloth. You would be surprised at the amount of dust and dirt hiding in the hard-to-reach areas, even when you think it’s thoroughly cleaned.
It is now time for the protective coating!
Apply a Layer of Clear Wax
It is now time to apply a layer of clear, soft wax. The clear wax will enhance the color of the chalk paint, provide a durable finish, and keep it from getting scratches with daily use.
Tip – Scoop out a desired amount of wax onto a paper plate. This way, you are not applying wax directly from the can to the furniture and then placing the brush directly back into the can again.
As previously stated, even spotless-looking furniture can still have some dust. You want to avoid getting dirt or dust into your can of clear wax.
Likewise, if the furniture paint rubs off a little onto your brush when you are rubbing on the wax, you don’t want the decorative paint color to end up in the can of clear wax, either.
Tip – When applying the wax, start with a small amount and add more as needed.
Refrain from over-saturating your brush in wax to avoid wax buildup on your project. You only need the tip of your brush to have wax on it.
When applying the clear wax, you want to use a thin layer and work in small sections. Rub a thin coat of wax onto the small areas.
Stroke your brush in various directions and in a circular motion to ensure all the nooks and crannies are covered. Make sure you cover the entire surface of the section.
Wipe Off Excess Wax
As soon as you apply the clear wax to the section you are working on, ensure you wipe off the excess wax before moving on to the next area.
Continue in this pattern until you have finished applying wax and wiping the excess away over the entire surface of the project.
Tip – You will want to remove the excess wax gently so that you don’t rub off too much or take some of the paint off with it. This could cause the furniture to have an uneven sheen or look blotchy when you are finished.
To do this, use a lint-free, soft cloth and gently wipe off the excess wax. Wipe in the same direction each time, so you have more control over how much wax you remove. If needed, slightly wet your cloth for more control.
Tip – Run your finger across the section to ensure you removed all excess wax.

If you see a trail or streak, you’ve missed some, and more wax should be removed.
A second coat of wax is likely unnecessary, but you may wish to add dark wax.
If Using Dark Wax, Apply it Immediately
If you prefer a darker color, apply dark wax over the first coat of clear chalk paint wax before it dries.
Tip – When using dark wax, use an entirely different brush than the one you used with the clear wax to avoid color contamination between wax brushes.
When using dark wax as the second coat, there are a couple of techniques to do this. Just as with the clear wax, start by scooping some dark wax onto a paper plate.

If you like a more distressed look, apply a thin layer of dark wax to a small furniture section.
When wiping the excess away, leave more dark wax in the seams, crevices, and edges, and wipe away more dark wax on the rest of the surface.
If you want an even layer of dark wax instead of a more prominent distressed look, apply a thin layer to each section, wiping away the excess until the entire piece of furniture is evenly covered.
The dark wax will affect the final color that the piece turns out with by providing a slightly darkened tint to the color the piece had before.
White wax is another option. You would complete this process just as you did the dark wax.
Allow the Wax To Completely Dry
Once the entire surface has been covered in wax, and the excess has been wiped away, allow the wax to dry completely before moving on to the next step.
Tip – The wax should not feel sticky or tacky to the touch once it has dried.
If it has been 24 hours and the wax has a sticky or tacky feel, then some excess wax was left behind to dry. This can be corrected by applying another coat of clear wax over the area just as before and re-wiping the excess, ensuring it is all removed this time.
Buff the Wax With a Lint-free Cloth
Once you have allowed the wax to dry for a couple of hours, a minimum of an hour, you can move on to buffing the wax on your project.
More buffing will lead to a high sheen, moderate buffing = a satin sheen, and minimal buffing = a matte finish.
For buffing, you should use a lint-free cloth to rub over the entire surface of your project.
Tip: The longer you rub and the more pressure you apply, the shinier the finish will be in the final result. So, if you want it to look very shiny, you will repeatedly rub your lint-free cloth over the entire piece until you get the desired results.
If you want the outcome to be only slightly shiny without creating a higher sheen, you will rub the lint-free cloth over the furniture for a shorter time, with less vigorous buffing.
If you prefer a more matte look, then use your cloth to go over your piece to buff it one time, and that should be enough to give you a look you desire.
The best thing is to practice. Chalk painting is so fun, and wax is the perfect partner to create extra durability for the chalk-painted surface.
Curing Time
Once wax has been allowed for 1-2 days to cure, it is safe for light use. Allow an additional two weeks before heavy use.
It could take slightly longer to cure in high humidity or cold temperatures.
How to Clean Wax Brushes
To clean paint brushes used with wax, wash them in warm soapy water/dish soap.
A mild soap with a tough degreaser, such as Dawn, works great. Rinse with warm water and allow to dry completely.
It is best to separate wax brushes from those used for actual paint projects.
Other Sealer Used with Chalk Paint
Chalk paint wax works great for everyday use. But if you need a more durable topcoat, look into these options to seal chalk-painted furniture:
- Chalk Paint® Lacquer water-based polycrylic (for outdoor use or heavy use)
- Polyurethane (use caution with white or light-colored paint as it can yellow over time)
- Varnish
- Polycrylic
Final Thoughts
Using chalk paint wax effectively seals and protects the chalk paint on your furniture projects while enhancing its beautiful color and texture.
Fortunately, applying chalk paint wax to the chosen piece of furniture is relatively easy if you follow this guide, and looks lovely over all different colors of paint.
Remember that less is more when applying your separate coats of wax. Only use a thin layer before wiping away the excess each time before moving to the next small section, and good luck with your chalk paint projects.
FAQS
Working in small sections, apply chalk paint wax with a wax brush or lint free rag. Using a thin layer of wax, use brush to cover entire surface area, moving brush in all directions using a circular motion.
You can use a lint free cloth or rag to apply wax on chalk paint furniture.
Leave wax on chalk painted furniture for a minimum of two hours before beginning the buffing process. Buffing more vigorously will produce a higher sheen.
Yes, you will need to wipe off excess chalk paint wax to achieve a smooth surface. Work in small sections at a time for best results.
LEARN MORE
Get more in-depth tips: what is chalk paint for furniture here.
How to Apply Chalk Paint Wax to Chalk-Painted Furniture

Steps to apply wax (clear and dark or white wax) to chalk-painted furniture.
Materials
- Clear chalk paint wax
- Dark or white chalk paint wax (optional)
Tools
- Multiple lint-free cloths
- Wax brush for each canister of wax used
Instructions
- Apply chalk paint to furniture as directed on can. Distress if desired. Allow to fully dry and ensure furniture piece is free of dirt and dust.
- Apply clear wax: Use small amount and add more as needed. Work in small sections, applying thin layers of wax with wax brush. Move brush in various directions and in circular motion ensuring entire surface is covered with wax.
- Wipe off excess wax. When wiping away excess wax, use lint free cloth to wipe in same direction. If waxed furniture is not tacky to the touch, it should be free from excess wax.
- If using dark wax or white wax, apply immediately after clear wax. Wipe away excess as needed.
- Allow 24 hours dry time then buff to desired sheen with clean, lint-free microfiber cloth. More buffing with result in higher level of sheen. Less buffing will result in more matte finish.
- Allow 1-2 days to cure for light use. Allow additional 2 weeks to cure for heavy use.
Notes
Click here for more information on chalk paint for furniture.