How To Seal Chalk Paint Furniture (3 Top Ways)
Chalk paint is a popular choice for painting furniture and other home décor items because of its matte finish and ability to distress easily. While the finished product looks great, it is not durable if you don’t seal it. So, how do you apply a sealant after painting?
You can seal chalk paint by preparing the surface, applying wax, buffing it, and giving it time to cure. You can also opt for polycrylic or polyurethane to seal chalk paint by lightly sanding the surface, applying a sealant in thin coats, and letting the surface cure between each coat.

The rest of this article will expand on the basic steps above and other techniques for sealing chalky paint using wax, polycrylic, and polyurethane sealants. Read on if you want to know how to seal your project correctly and make it last for years.
Learn more: what is chalk paint for furniture
Types of Sealants for Chalk Paint
There are three main types of sealants to protect surfaces after using chalk paint:
- Wax. Wax is great for creating a subtle sheen on your project and is the recommended option for pieces that will only be exposed to a bit of wear and tear.
- Polycrylic. Polycrylic is the best sealer for moderate use.
- Polyurethane. Polyurethane is ideal for painted items directly exposed to liquids, as it’s more durable and water-resistant. It comes in a water- and oil-based version, and while they work the same way, use water-based polyurethane over water-based paint and oil-based polyurethane over oil-based paint. Chalk paint is water-based paint, so it’s best to use water-based polyurethane.
How To Seal Chalk Paint Using Wax
Wax is a good choice for most chalk-painted pieces that will only receive light use. It is also the best way to add dark wax for an aged look. I have an entire post about how to apply wax, but these steps will show you the basics.
Here’s what you need to do to seal chalk-painted surfaces using a clear coat of wax.
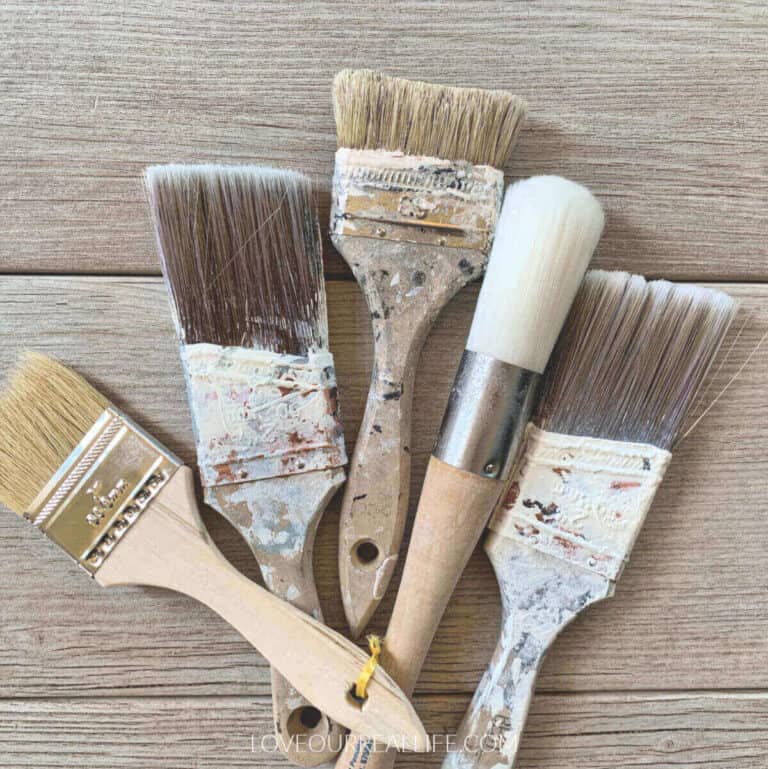
1. Gather Your Tools and Materials
Before starting your project, gathering all the necessary tools and materials, you’ll need to complete the job is essential.
For sealing chalk paint with clear wax, you’ll need the following items:
- Wax
- A sheet or drop cloth
- A wax brush
- A lint-free rag
If you will be selecting wax as your topcoat for chalk paint, Annie Sloan has a beautiful soft wax that is the best choice. Amy Howard clear wax is a great alternative.
It is worth mentioning that the kind of sealant used does not have to match the paint brand. So even if you choose Annie Sloan Chalk Paint, you can select a sealant from a different brand.
2. Prepare the Surface
Before applying the wax, ensure the area is clean and free of dust or debris left behind after sanding if you distressed the piece. Use a damp cloth to wipe down any dirt or debris on the surface and let it dry completely.
Once the surface is dry, place a sheet or cloth on the surface to protect it from any drips or spills. Working in a well-ventilated area is also recommended to avoid inhaling any fumes.
Read more: how to clean chalk paint furniture.
3. Apply the Wax
Once you’ve prepped and readied the surface and you know the chalk paint is dry, you can apply the clear wax. To do this:
- Dip your wax brush into the clear wax, scooping up a small amount.
- Apply a thin layer of wax, covering the entire surface evenly.
- If the surface is wood, apply the wax in the direction of the grain of the wood. For other surfaces, such as metal or plastic, apply the wax in a circular motion to ensure even coverage.
- Touch up any areas if you notice gaps or uneven coverage to ensure you’ve applied the sealant evenly across the entire surface.
- Wipe away excess wax.
4. Buff the Surface
Buffing the surface of the wax ensures that it is evenly distributed and will bring out its shine, making it smooth to the touch.
To do this, use a lint-free rag and a circular motion to carefully buff the wax until you reach the desired level of shine. You’ll want to pay extra attention to any areas with visible brush strokes, as these may need a bit more buffing to bring out the shine.
5. Allow Time To Cure
While the wax may seem dry, it’s essential to give it time to fully cure before use. The curing process is necessary to ensure that the wax sets properly.
Be patient and allow the wax to dry according to the instructions on the wax container for better results. Curing times can take anywhere from 24 to 48 hours and even up to two weeks for wax, depending on the humidity and temperature of the room. The wax will harden entirely during this time and be ready for use.
6. Repeat the Process for Additional Coats (Optional)
Depending on the level of protection or sheen you’re looking for, you may need to apply additional coats of wax. If you choose to do so, you can repeat steps 3-5 for each additional layer of wax you’d like to apply until you reach the desired level of protection and/or shine. Ensure that you allow the wax to cure between each layer for the best results.
Once the wax is thoroughly dried and cured, you can enjoy your finished project! You’ll be amazed at how the clear wax can bring out the beauty of your piece, whether it be furniture or décor.
Wax is not for outdoor use. A varnish or lacquer is typically the go-to method for protecting outdoor projects.
Get more ideas for furniture makeovers and paint projects here.
Benefits of Using Wax To Seal Chalk Paint
Using wax is a beautiful finishing touch for any painted project and will help protect the piece from light wear and tear.
Here are the benefits of using wax to seal chalk paint:
- Wax complements chalk paint beautifully. The clear wax will seal the chalk paint while also adding a subtle sheen that highlights the rustic color of your piece.
- Wax is available in a range of formulations. You can customize your project’s look and feel using matte, satin, or glossy finishes.
- Using wax to seal chalk paint is an excellent option if you don’t want an oil-based finish. It offers the same benefits without the fumes that oil-based finishes can produce.
- Wax deepens the color of the chalk paint. Sealing your chalk paint with wax will make the colors richer and more vibrant.
- Wax works well for antiquing furniture or achieving a farmhouse decor vibe.
Drawbacks of Using Wax To Seal Chalk Paint
Here are a couple of disadvantages to using wax:
- Wax takes more time to apply and cure than other finishes. If you’re rushing to finish your project, using wax to seal chalk paint may not be the best option.
- Using wax sealant can make surfaces more sensitive to scratching. Because of this, you may need to reapply the wax periodically in high-traffic areas.
- Wax is not durable for daily wear. A poly topcoat is a good idea for furniture items that get heavy use.
How To Seal Chalk Paint Using Polycrylic or Polyurethane
Knowing when to use each possible sealant is the key to ensuring the beauty and durability of painted furniture. We’ve discussed the use of furniture wax. As mentioned, it works best to seal chalk-painted surfaces that will be getting only light use.
Polycrylic and polyurethane are the best choices when sealing painted furniture that will receive heavier daily use.
Polycrylic is more user-friendly and provides good durability.
But polyurethane is even more durable, especially if looking for proper sealers for chalk paint kitchen cabinets or dining table. However, polyurethane does have its drawbacks! More on the differences in a little bit.
One of the polys would be the best thing to cover a table top that gets a lot of use, such as a kitchen table or dining room table.
Polycrylic vs. Polyurethane
When selecting a water-based topcoat for chalk-painted furniture (or milk paint), you must decide between polycrylic and polyurethane.
Polycrylic Sealer
- Water-based top coat
- Durable
- Water resistant, but not waterproof
- Less prone to yellowing or turning an amber color
- Easy clean up
- Fewer fumes than most polyurethane top coats
My favorite polycrylic is Minwax Polycrylic in clear matte.
Polyurethane Sealer
- Water-based (water resistant) or oil-based (waterproof)
- Water-based is recommended for a chalk paint topcoat
- Oil-based is the most durable, but more prone to yellowing
- Strong smell
- Exceptionally durable: suitable for high traffic and frequent use
Once again, stick with water-based if you opt for polyurethane for chalk paint topcoat on wood furniture. Oil-based polyurethane provides the most durable finish but isn’t the best match for chalk painting since chalk paint is a water-based type of paint.

Polyurethanes also tend to yellow over time, especially noticeable over white paint.
Some polyurethane top coat options I like and recommend for your furniture pieces include:
- General Finishes Comes in various sheens. Flat is my personal preference.
- Flat Out Flat This poly finish is also by General Finishes.
Supplies
Just like with wax, you should ensure that you have the following supplies on hand before starting your project:
- Water-based polyurethane or polycrylic
- Sandpaper (220 grit)
- Vacuum cleaner
- Lint-free cloth
- Fine brush
Steps to Apply Water-based Topcoat
After gathering the necessary materials, you can do the following steps to seal chalk paint using polyurethane or polycrylic:
- Ventilate the room. Ensure the space that you’re working in is well-ventilated. This will help decrease any fumes. Open windows or use a fan to keep the air circulating.
- Sand the surface. Before applying any sealant, prepare the surface by sanding it. Use fine-grit sandpaper (220 grit) for sanding the chalk paint’s surface lightly. This will remove any rough spots or drips and create a smooth surface for the sealant to adhere to.
- Vacuum the surface. Use a vacuum cleaner to remove any dust or debris from the surface to ensure that you have a clean surface to work on.
- Wipe the surface. Once you’ve vacuumed the surface, use a lint-free cloth, such as a microfiber cloth, to wipe down the surface. This will remove any remaining dust, dirt, or debris the vacuum cleaner might have missed.
- Let the surface dry completely. Before applying the sealant, let the surface dry entirely because any moisture on the surface can affect the adhesion of the sealant and the project’s outcome.
- Apply the first coat. Using a fine brush, apply a thin, even coat of water-based polyurethane to the surface. Follow the manufacturer’s instructions and allow the first coat to dry completely before moving on to the next step.
- Buff the surface. Once the first coat has dried, use fine-grit sandpaper to lightly buff the surface. This will remove any dust or debris that may have settled on the surface during the drying process and create a smooth finish for the second coat.
- Wipe or clean surface with lint-free cloth. Remove any dust created from light sanding.
- Apply additional coats (optional). Depending on the level of protection or sheen you’re looking for, you may apply additional coats of poly. Again, ensure that you let the sealant dry completely between each layer for the best results.
After the additional coat has cured, you can enjoy your freshly sealed chalk paint surface!
Benefits of Using Polycrylic or Polyurethane To Seal Chalk Paint
Using poly to seal chalk paint has its benefits, including the following:
- Easy to apply. You can easily apply polycrylic or polyurethane with a brush, making it an ideal option for those looking for a quick and easy way to seal their chalk paint project. You can also spray it on for a smoother finish.
- Durable finish. Unlike oil-based polyurethane, water-based polyurethane and polycrylic will not likely turn yellow over time. This makes it an excellent choice for projects that must remain vibrant and bright in the long run. Additionally, scratches and dents are much less likely on surfaces sealed with polyurethane.
- Low odor. Water-based poly is much less odorous than oil-based polyurethane, making it an excellent option for those sensitive to smells.
- Affordable. Polyurethane and polycrylic are typically more affordable than other sealants, making them an excellent option for those on a budget.
Final Thoughts
Sealing chalk paint is essential to ensure it will last and look its best.
Using wax, polycrylic, or polyurethane is a great way to get the job done and can each provide a unique look to any project. However, all have pros and cons.
Ultimately, it’s up to you to decide which seal coat works best based on your specific project, budget, and preferences. If you take the time to prep and seal your chalk paint project properly, the result will surely impress. Good luck, and make sure you protect your hard work.
Learn more:
What is chalk paint for furniture