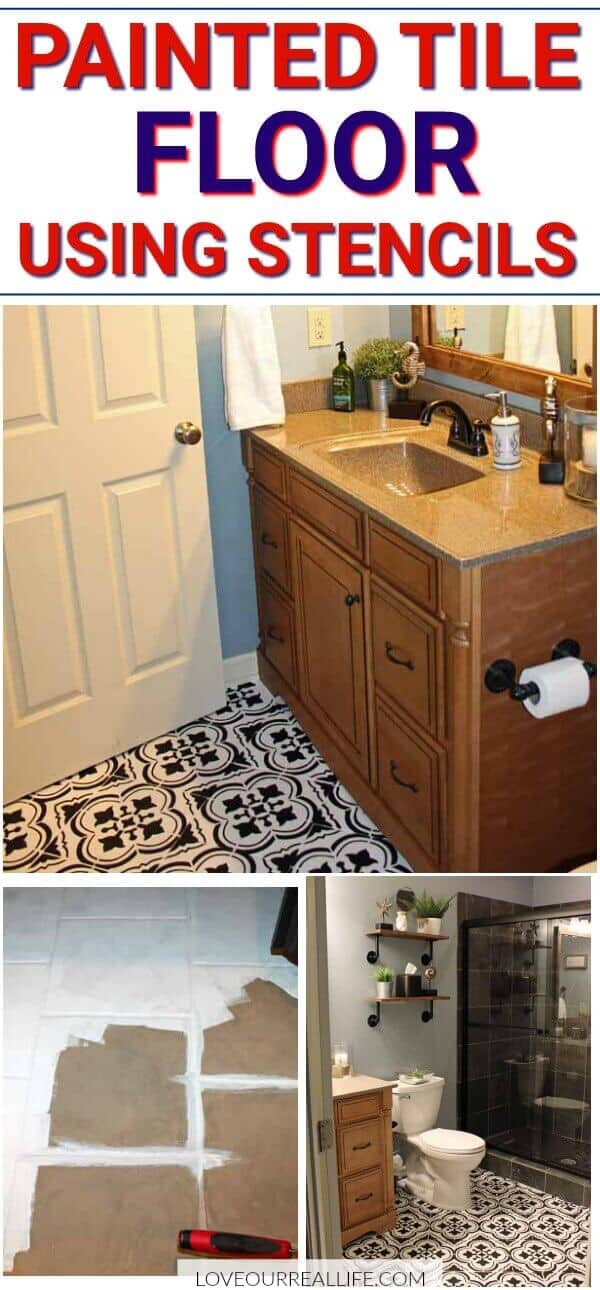
How to Paint Tile Floors using Stencils
If you have outdated tile floors and lots of patience, you will love learning how to paint tile floors using stencils. This project definitely has the WOW factor, but it is incredibly time consuming.
Just trying to keep it real. Updating your home on a budget isn’t always easy. This is most definitely a huge impact for very little cost. If you are willing to put in the time, keep reading. This project made an incredible difference in our basement.

Get more painting project ideas and tips here.
How to Paint Tile Floors using Stencils
Just like many of you, I want my home to be pretty. BUT, I believe you do not have to spend tons of money to create a space you enjoy. If the quality is still good, it’s hard for me to justify getting rid of something, just for the sake of change.
Our basement has been going through a ton of makeovers lately and my goal is to keep the cost down as much as possible. Paint is a game changer!
I have managed to update our fireplace stone, walls, cabinets, barstools, accessories, and countertops with paint. If something is in decent condition, it’s great to find a way to extend its life AND save you money.
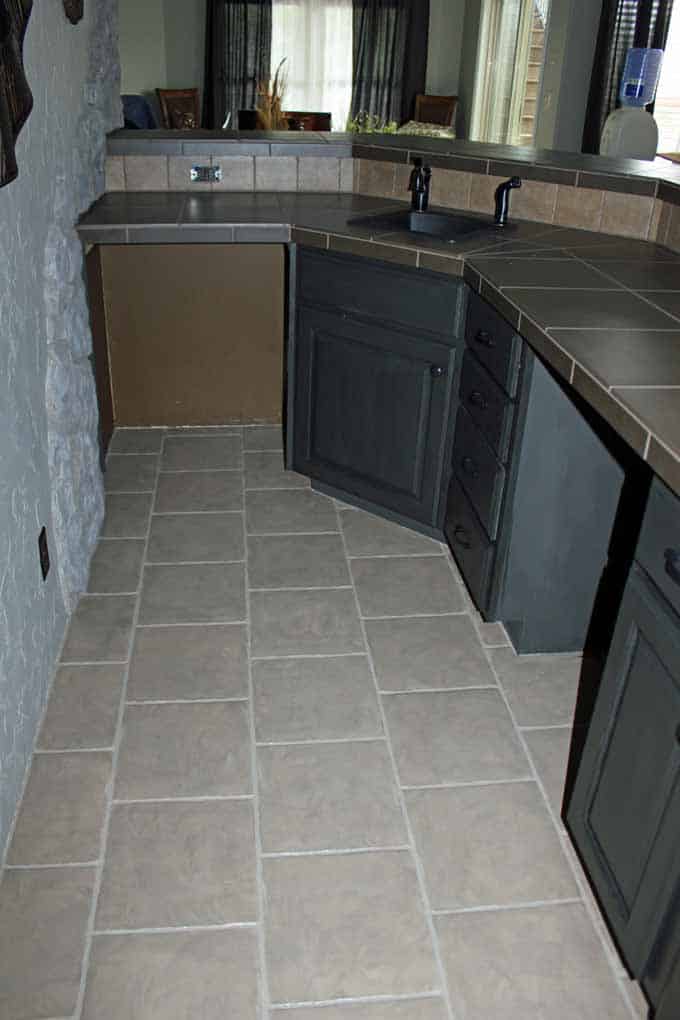
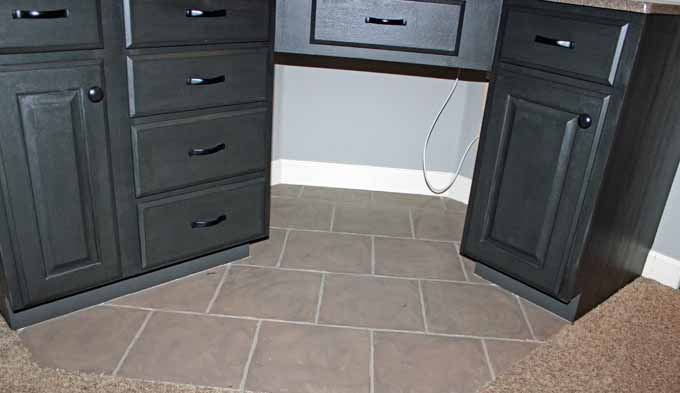
This brings me to our floor. Our basement tile floor was not at all our taste. About five years ago, I painted the tile a brown faux finish.
Outdated, brown faux finish painted on tile:
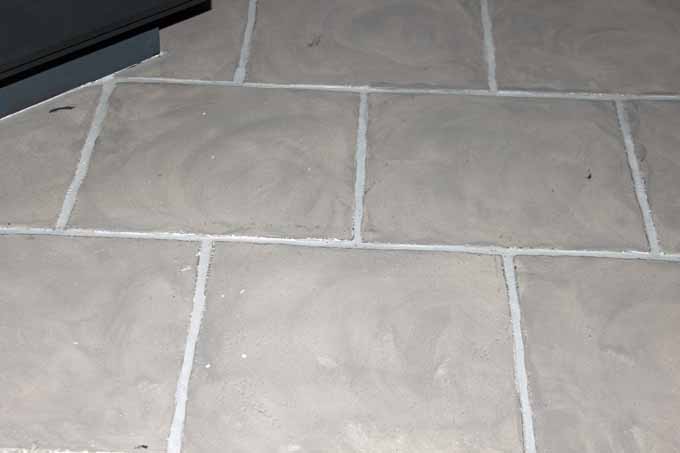
It had held up well in most places. The above picture was tile that took a beating with our computer chair constantly rolling all over it.
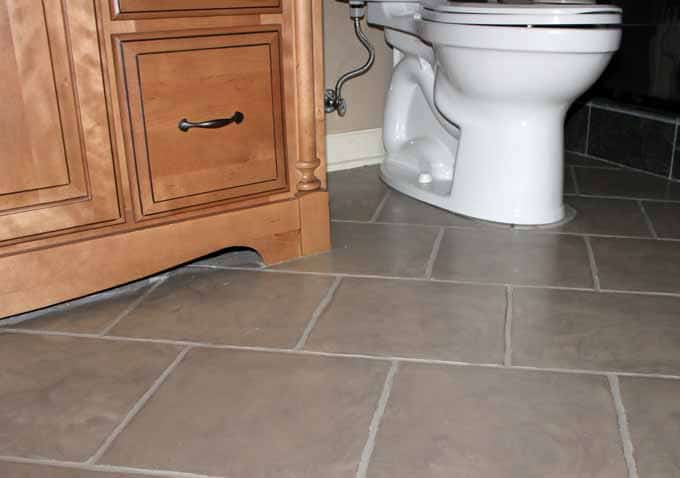
In the below image, you can see the only remaining remnants of what the tile initially looked like, prior to my faux finish. This was only visible because we changed out our toilet and the new toilet was a different size at the base.
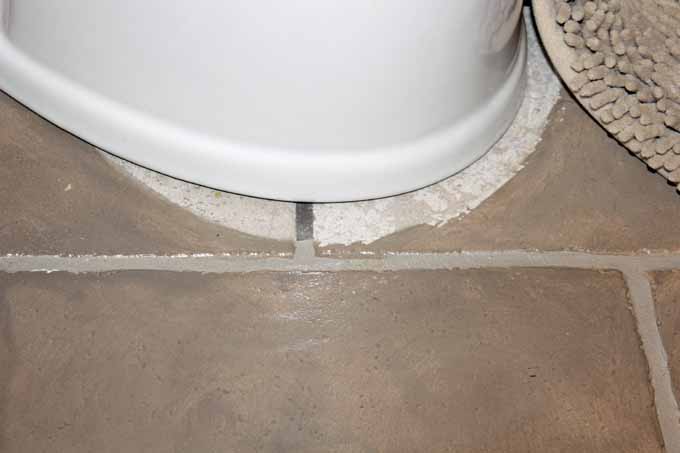
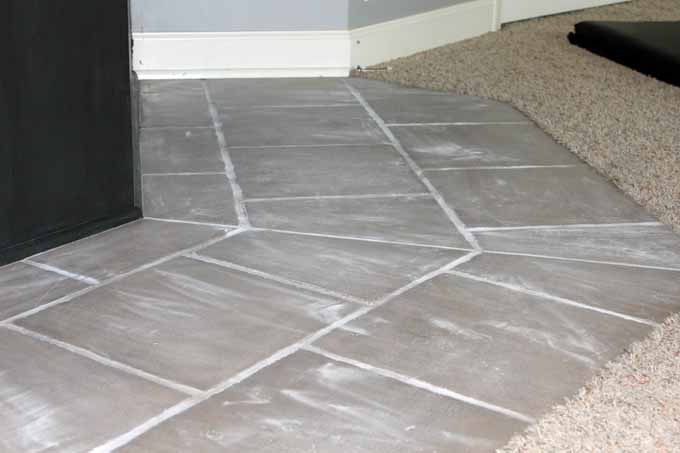
It wasn’t horrible, but the dark (almost black) grout always looked dirty to me. When I painted the tiles brown, everything else in our basement was brown, so it flowed nicely. BUT, since then I have updated with more gray tones.
So, time for yet another change!
SUPPLIES FOR STENCIL PAINTED TILE FLOORS:
This post contains affiliate links. Should you make a purchase after clicking through one of my links, I might make a small commission at no extra cost to you. Please see my disclosure policy for details.
- Stencil (Cutting Edge Stencil in Santa Ana was my selection)
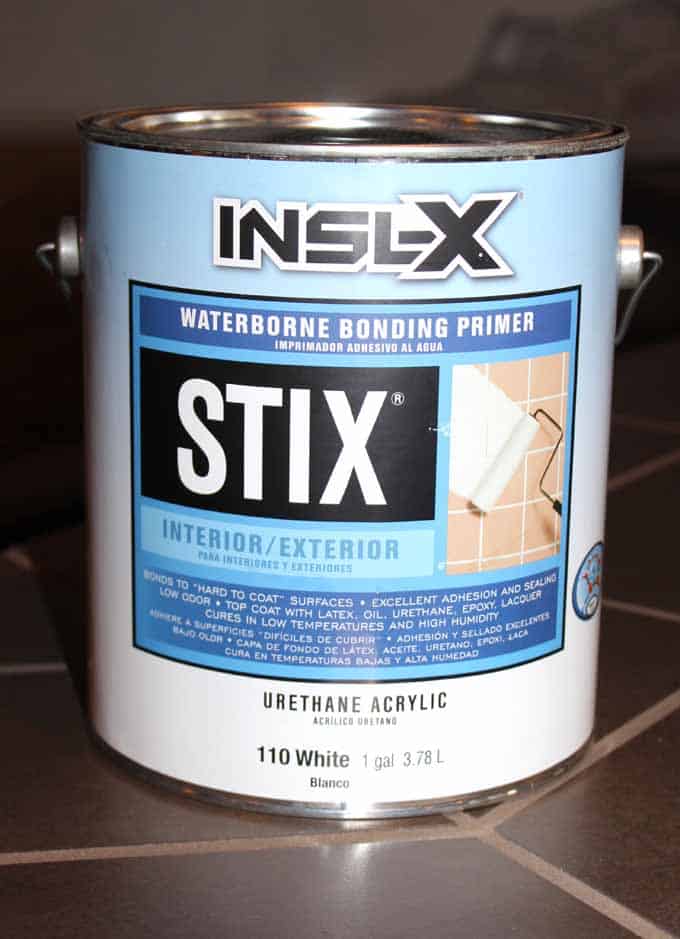
- Primer (I really love STIX primer)
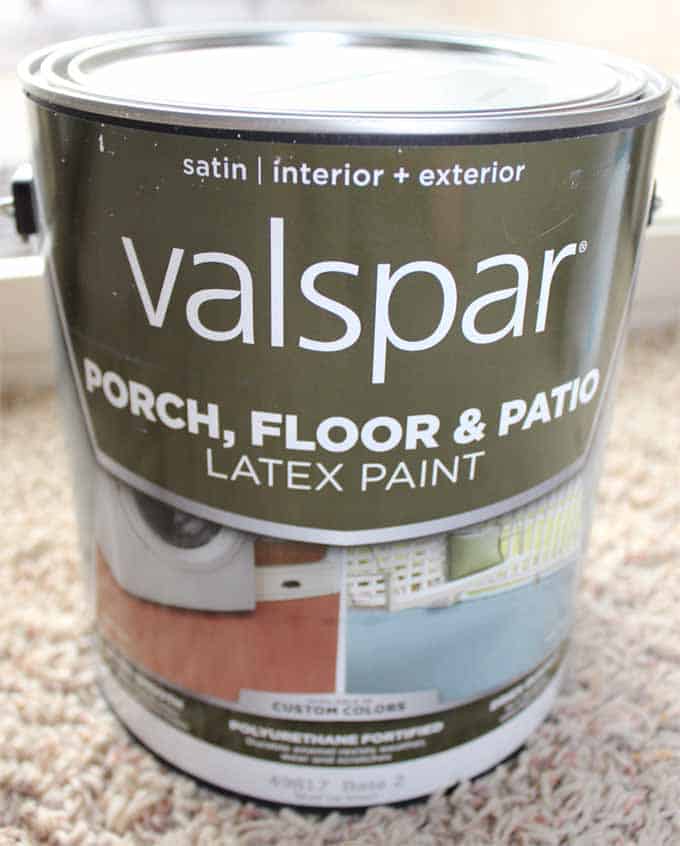
- Porch Paint for base (I used Valspar Porch, Floor, and Patio Latex Paint in white)
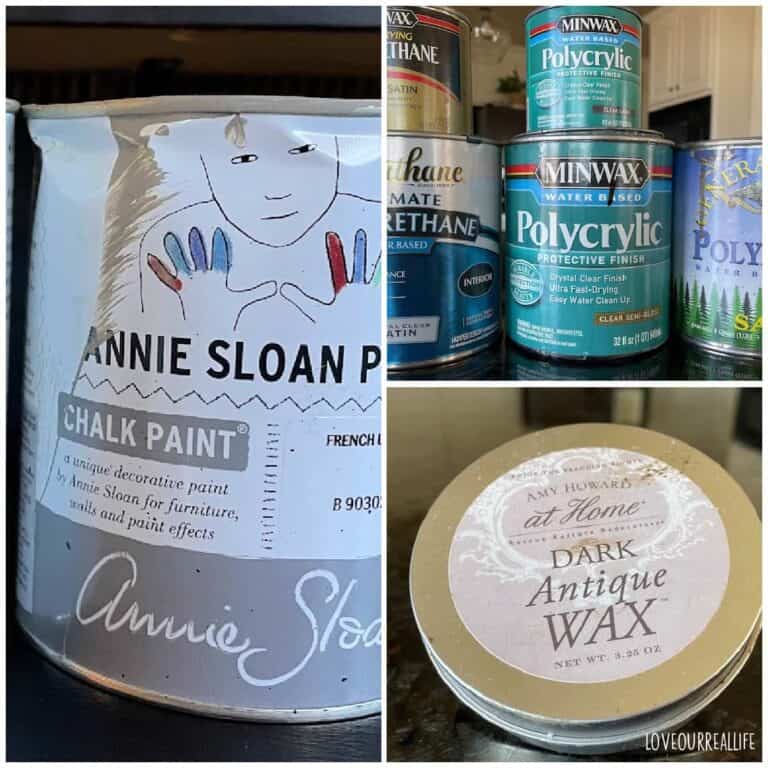
- Amy Howard Chalk paint in black
- Polycrylic Protective Finish
- Medium grit sand paper
- Paint brush
- Paint roller
- Painter’s tape
- Vacuum
- Soap, water, and cloths for clean up
Steps to Paint Tile Floors using Stencils:
1. Sand floors with medium grit sand paper.
Since I had already painted my tiles in the past, I spent a decent amount of time sanding down the tiles. But, I think this step is important, even if you are starting with regular floor tiles.
Sanding just helps the primer get a good grip, meaning less chips later.
2. Clean floors well after sanding.
After all of the sanding was complete, I vacuumed the tile. Then I went over the tiles with soap and water to ensure they were nice and clean prior to applying any paint.
You may wish to use a TSP solution to clean your tiles.
The prep work is not fun, but you definitely want to ensure you get up any grime as that will definitely affect your project!
3. Tape off around the floors.
Use painter’s tape around the floors. This always seems to take longer than I expect!
When I’m painting walls, I don’t really use a lot of painter’s tape as I’ve learned how to edge pretty well. BUT, taping was really important for this project as manipulating the stencils adds another tricky element.
It’s a lot easier to get the paint on the baseboards when a large stencil is being moved from place to place.
4. Prime your floors!
As I mentioned earlier, I used INSL-X STIX primer. It’s the same primer I used when painting my bar countertop.
The regular paint brush was used around the edges and in the grout lines. Then a paint roller was used on the rest of the tiles. This portion of the project went pretty fast.
Only one coat of primer was needed.
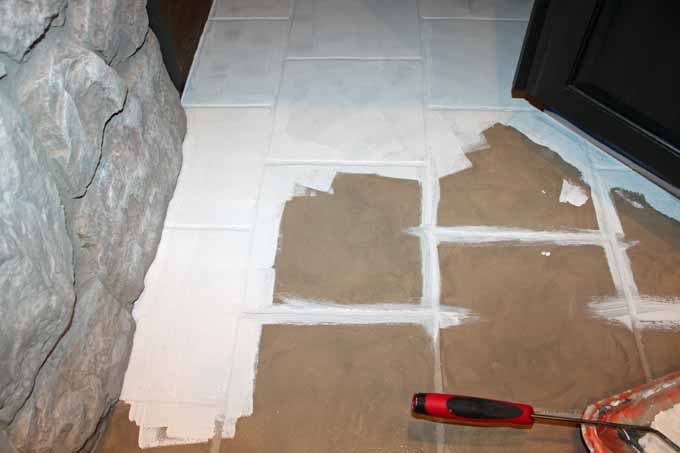
5. Paint with 2 coats of Valspar Porch, Floor & Patio paint.
I painted two coats, allowing a day dry time between coats as it was fairly humid when I was painting.
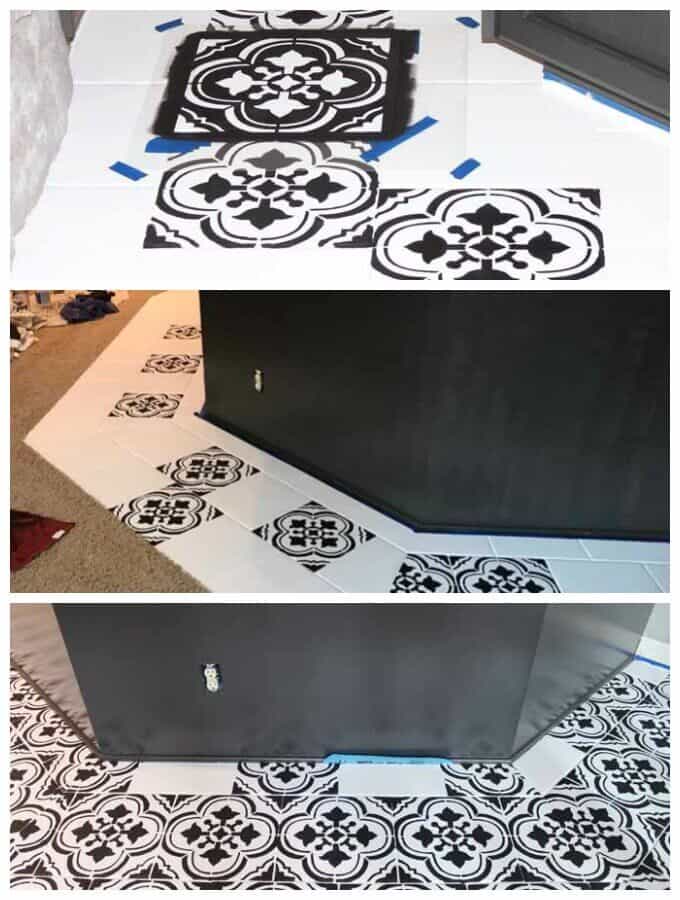
6. Begin stenciling!
I selected the Santa Ana Tile Stencil from Cutting Edge Stencils. They have SO many options, so if you are considering using stencils for your floors, you should check out their website.
Stenciling was already on my radar because about 8 years ago, I used fairy stencils from this company to paint my daughter’s bedroom walls. They were absolutely darling, but we have since updated the look (Tween Bedroom Makeover) as she decided she was too grown up for a fairy bedroom. Sniff, sniff.
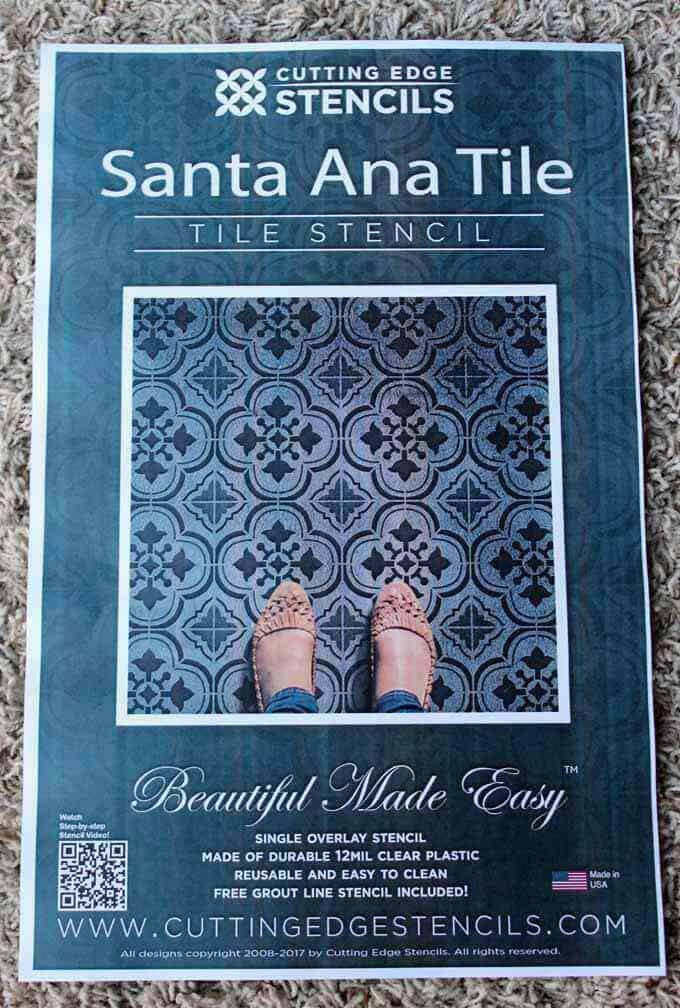
It didn’t occur to me that my tiles were off-set prior to ordering my stencil. This affected the end pattern (note how it’s intended for the corner of each tile to meet to form a design), but I think it turned out nice anyway. The pattern doesn’t flow exactly how it was intended, but good enough!
When I started, I began using black porch paint. BUT, it has a slow dry time and was hard to work with.
So, Amy Howard One Step Paint (chalk paint) in black is what I used. This chalk paint drys very quickly, allowing me to move faster.
THIS. TAKES. FOREVER.
I cannot stress the amount of time it took to complete this project. Now that it is finished, I love it. But, I want you to know what you are getting into.
Granted, I was stenciling all of the tile in my basement – my bathroom, bar area, AND computer area. I would suggest selecting ONE room and doing something more simple in the others. Just my two cents as there were several times I thought I would lose my mind.
But, once I got started, I had to finish!
Painter’s tape was used to hold the stencil in place. I purchased two stencils to allow me to be more efficient. Every other whole tile was done first to allow good dry time.
The chalk paint dried to the touch in about 10 minutes.
You’re probably wondering about the method I used to paint using the stencil. I can assure you, I tried it all! I tried a roller (big and small), a foam brush, stencil brush, regular brush. So, what worked the best?
TIPS – How I painted with the stencil:
- Use a good quality brush with fairly stiff bristles.
- Get very little paint on the brush and off load onto a paper towel prior to painting on the stencil. Too much paint on the brush was almost always the cause of any bleeding I experienced.
- Do two light coats. This is where having two stencils came in handy. I could do my first coat on one of the stencils, then shift to the other stencil on a different tile, allowing the first one to dry. By the time I come back to it, it was dry enough to take the second coat. This wouldn’t have been possible had I not used chalk paint.
- I did not use spray adhesive to hold my stencil in place. Up to you to experiment with this. My theory was that I knew this project would take me several different days to complete. I didn’t know how well the adhesive would wash off between uses.
- Wash the stencil as needed with soap and water as the chalk paint will build up, potentially affecting the crispness of the edges. There are several places I had to go back and do touch-ups because of this. See below.
One of the biggest challenges was stenciling the partial tiles. I did have to cut my stencils to fit into awkward spaces. Save this until the very end as once you cut it, there is no going back!
7. Do any touch-ups needed.
The beauty of the chalk paint over the porch paint was that I could use a damp, slightly soapy wash cloth to clean up some of the intricate edges. The chalk paint washed off pretty well when scrubbed and left the porch paint in place since it is so much more durable.
A tiny paint brush was perfect to touch-up the design edges as needed.
8. Use a top coat to seal your floor.
Use two coats of Polycrylic Protective Finish (Matte is my favorite) to seal your floors. Allow several hours between coats and at least 24 hours prior to using after last coat.
Now, it’s time for some before and after shots after all of that work!
I’ll break it down by space;-)
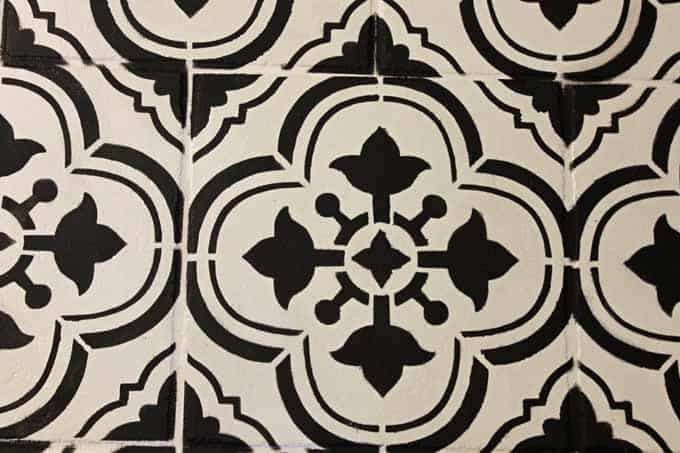
BATHROOM BEFORE:
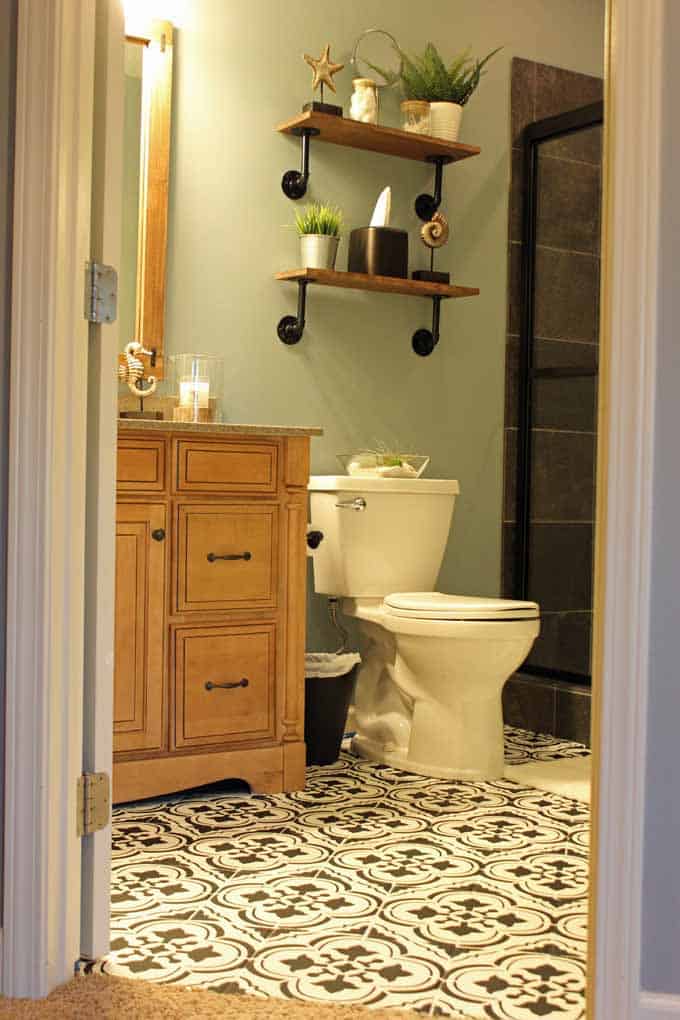
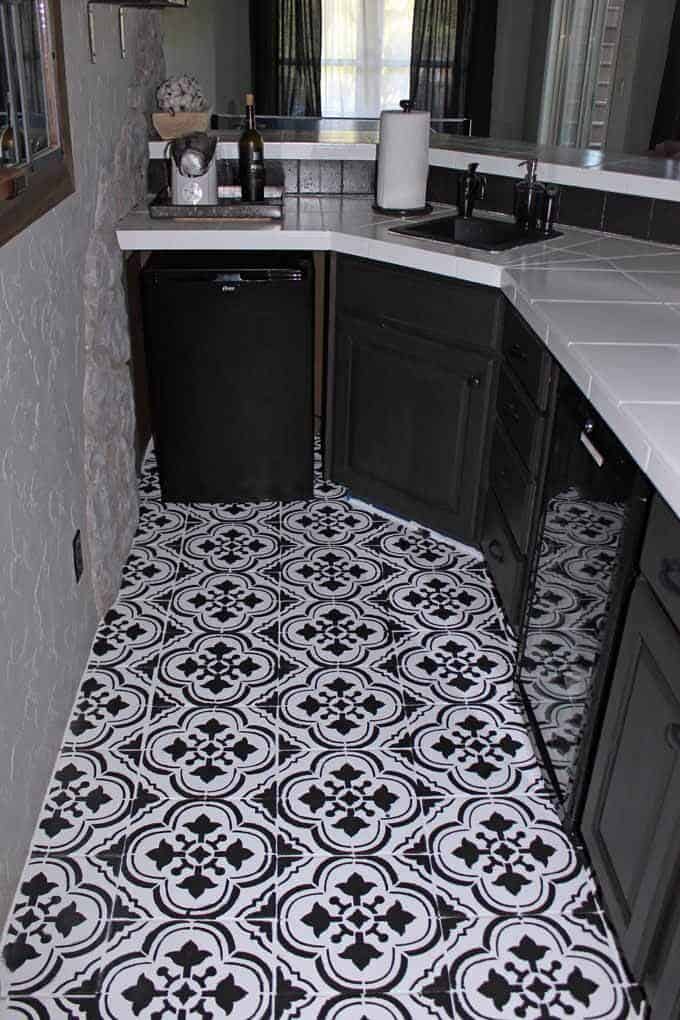
BATHROOM AFTER:
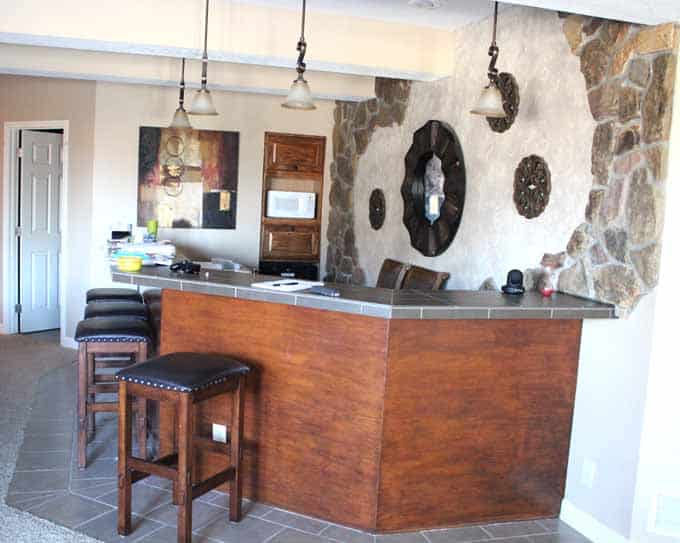
BEHIND THE BAR BEFORE:
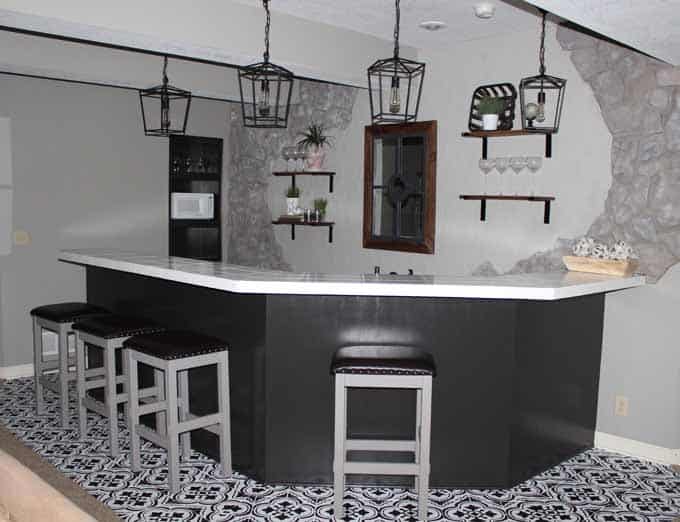
BEHIND THE BAR AFTER:
OUTSIDE BAR SPACE BEFORE:
OUTSIDE BAR SPACE AFTER:
COMPUTER SPACE BEFORE:
COMPUTER SPACE AFTER:
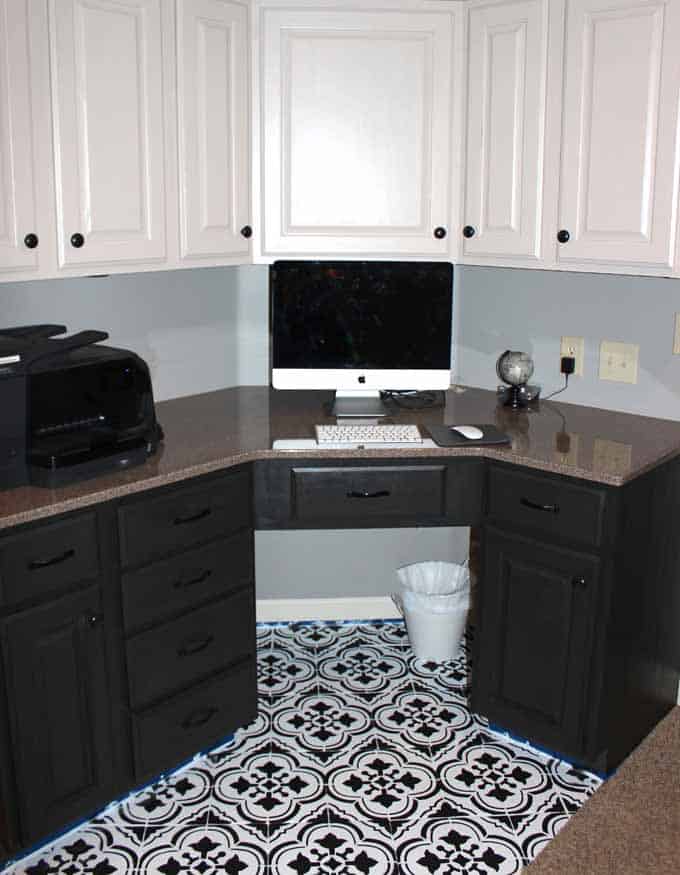
That is a lot of painting, my friends. I didn’t take the time to remove the blue painter’s tape for the ‘after’ pics. This project was exhausting!
Now you officially know how to paint tile floors using stencils.
Painting / stenciling tile is a fantastic option for updating floor tile. BUT, be ready for a tedious project. It’s worth it, though. I love ours!
Connect with me: PINTEREST / FACEBOOK / INSTAGRAM
PIN THIS


I’ve been wondering what I could do to make my builder’s grade beige tile like snazzier. You presented the solution! Thanks so much.
My pleasure! Thanks for stopping by, Terry!
Wow! Looks like brand new tile! What a fabulous idea!
Thank you, Jenifer! It made such a difference!
That looks so beautiful! You never cease to amaze me!
Thanks for the sweet comment, Alissa 😘
I absolutely love the final result. It makes the room so much more appealing. Thank you for your honesty about the time, but I can tell it was well worth it. I will saving this for future renovations!
Definitely a commitment regarding time. But, now that it’s been a few weeks since I’ve completed it, I can really enjoy it! It’s like childbirth…the pain is over, now I can just love it;-). Thanks so much for stopping by and taking the time to comment!