How to Make a Fancy Bow With Wire Ribbon
Do you love the look of fancy bows, but feel like you just aren’t crafty enough to make them yourself? I can tell you, it is actually really easy! Check out my step-by-step tutorial on how to make a fancy bow with wire ribbon.

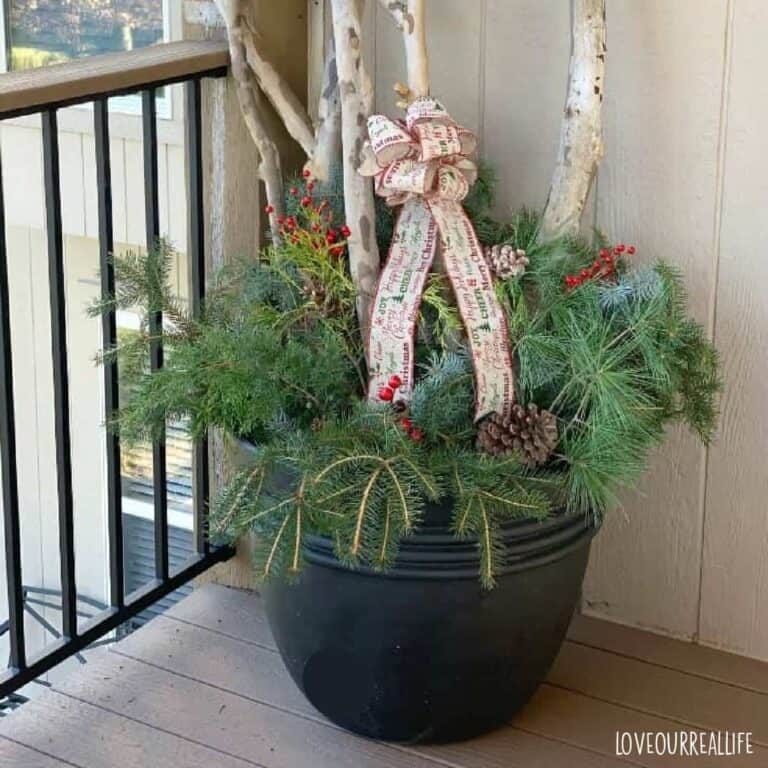
See more Christmas crafts and DIYs.
Tying a fancy bow for gifts looks like a lot of work, but I promise it’s not as hard as you might think! After you get the hang of it, you can make them in just a few minutes.
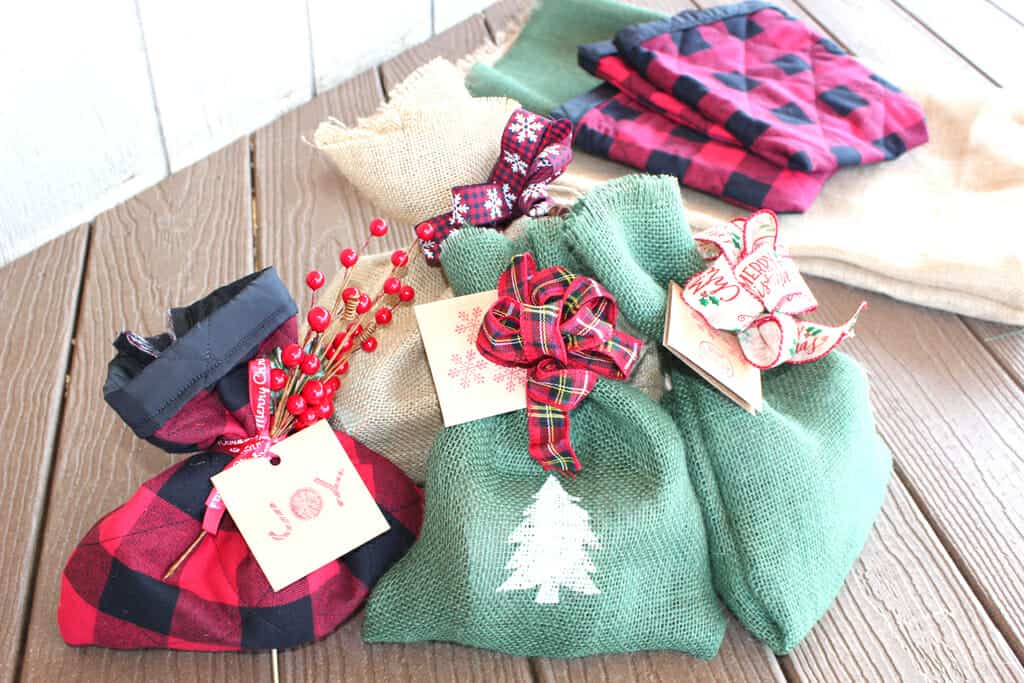
I posted a few days ago about making the gift sacks. Check out How to Make Reusable Gift Sacks for All Occasions!
This post contains affiliate links which means should you make a purchase after clicking through one of my links, I might make a small commission at no extra cost to you. Please see my disclosure policy for details.
SUPPLIES FOR MAKING BOWS:
- Wire ribbon (Here is a link to some pretty ribbon I saw on Amazon, but it’s a bit pricey). I got mine as a doorbuster deal at Michael’s. If you look around, you can often find ribbon at a very reasonable price this time of year)
- Jute twine
- scissors
- Measuring tape
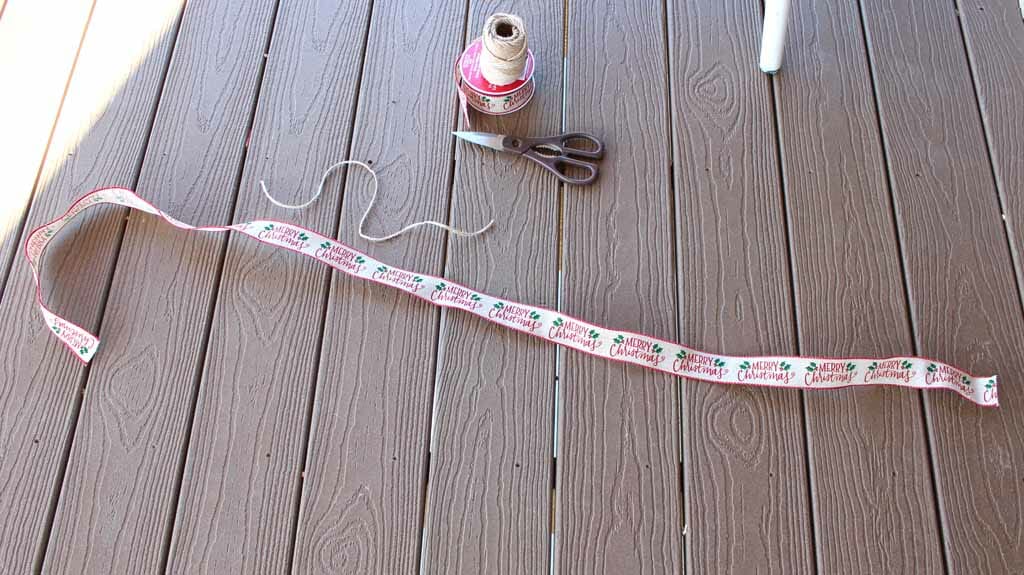
STEP 1 – Cut your ribbon:
Cut 4 1/2 – 6 feet of wire ribbon for a medium-sized bow. The longer your ribbon, the fuller the bow will be.

Step 2 – Make a zig zag with your ribbon:
Begin zig-zagging your ribbon back and forth. This zig-zag is ~5 inches long. Do this for the entire length of you ribbon.
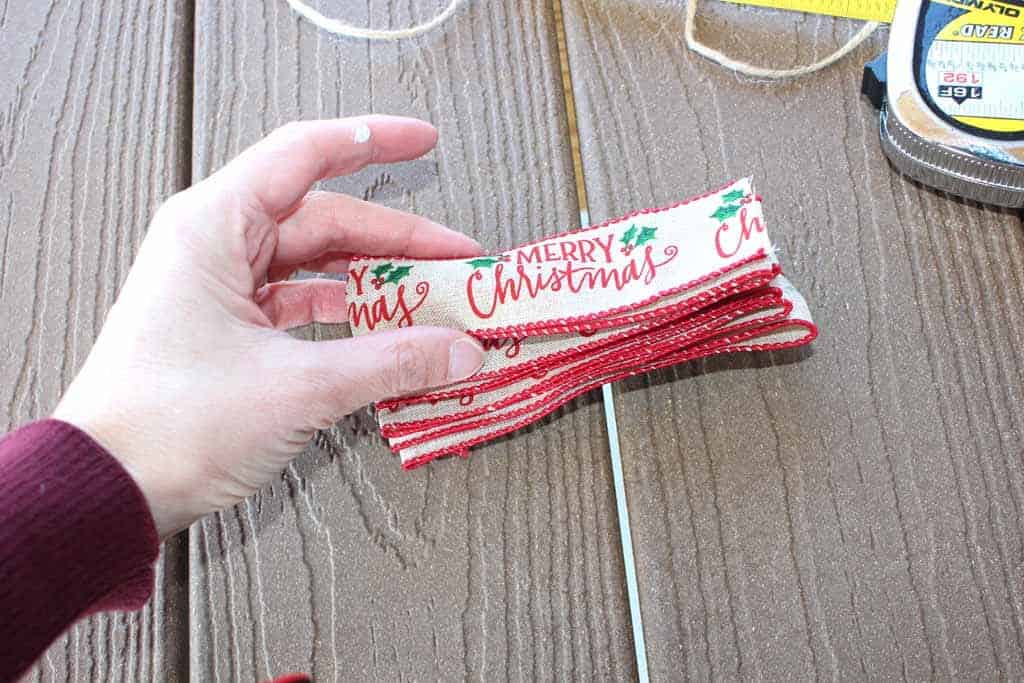
Step 3 – Cut V Notch in both sides of ribbon:
Cut a small “V” notch in the middle of both sides of your ribbon stack, ensuring you cut through all layers.
Note, I used some old kitchen shears for this bow that are not even close to sharp because I was in a hurry. If you used decent scissors, you will have a much smoother cut.
But, as you will see by the end result, it doesn’t really matter that much if your scissors are less than perfect or frankly, if your “V” notch is less than perfect!

Step 4 – Tie a knot around notches:
Tie a knot around the notches you just made with the jute twine.
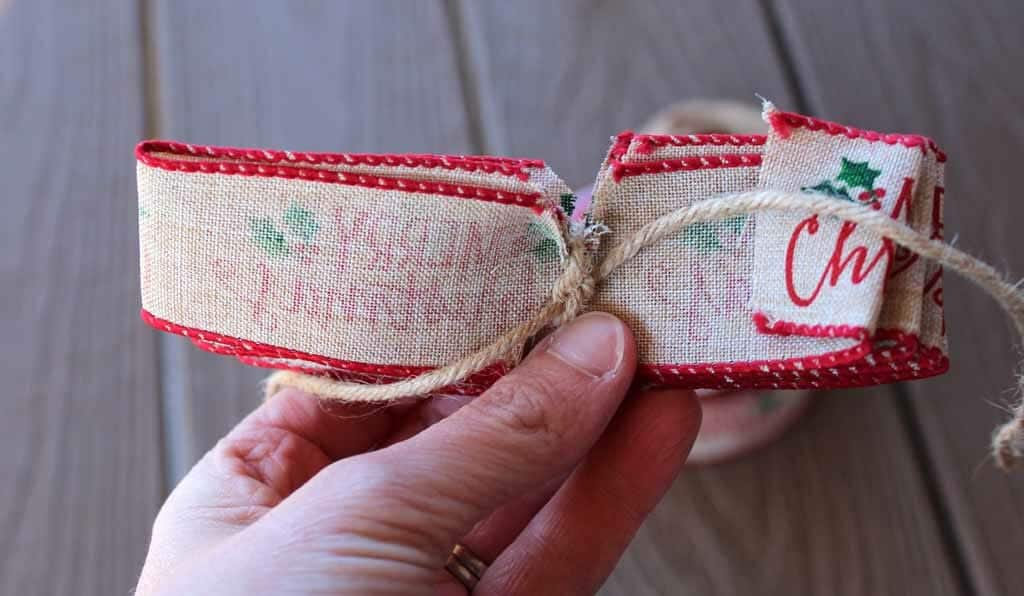
Step 5 – Spread out and shape your bow!
Start spreading out your bow, bending the wire as needed. If the ribbon you have has a print or words on one side like mine, simply turn it inside out.
Then, you can shape the wire to make your bow look full and pretty.


You’re done! You have just learned how to make a fancy bow with wire ribbon!

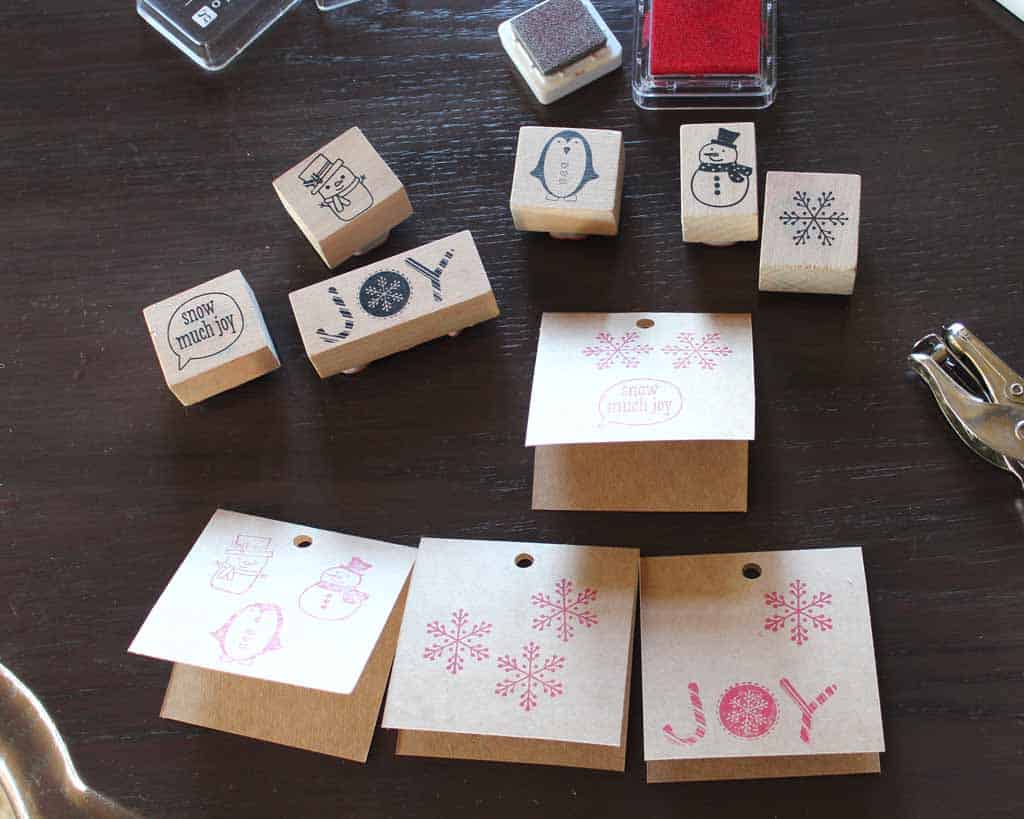
These gift tags were made in just a few minutes as well.
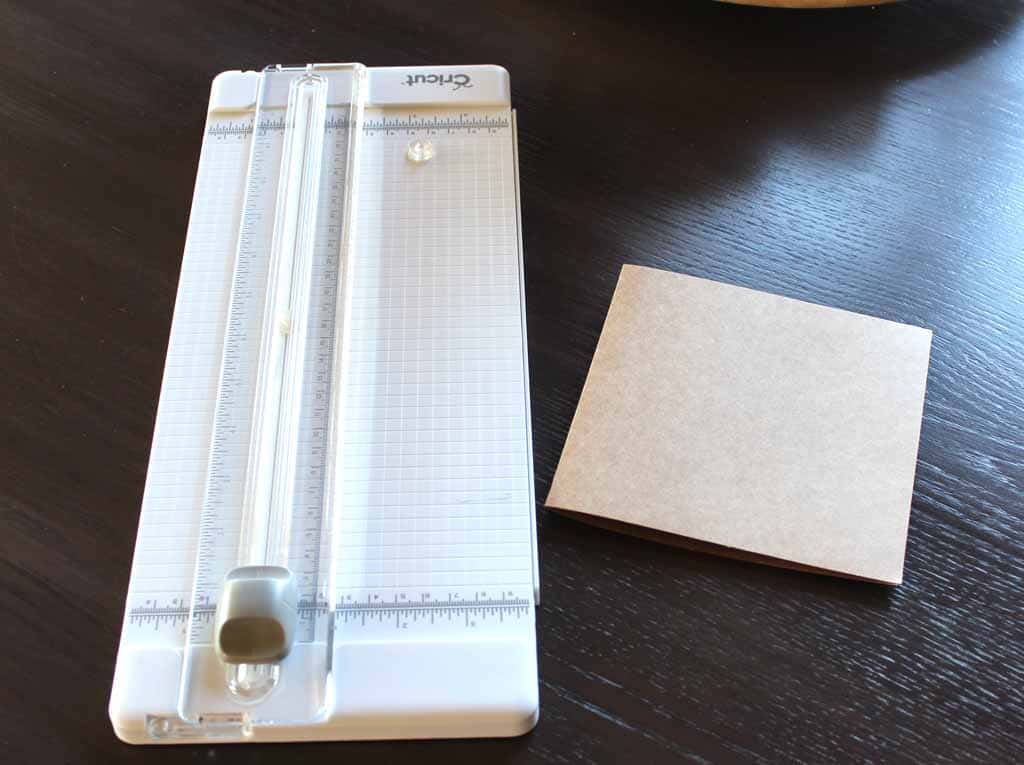
Here are the supplies for the gift tags:
- natural cards (Here is a link to cards with envelopes on Amazon)
- Christmas ink stamp set with ink. (Mine are from Michael’s)
- Scissors or paper trimmer
- hole punch
Use the paper trimmer to cut the natural card into smaller sizes for gift tags. Scissors would work just fine for this, but I find my trimmer helps me make straighter edges.
Put holes in the tops of the cards and decorate with stamps. Then, tie the gift tag onto gift bag with jute twine. So easy!
Done!
Thanks for stopping by and reading how to make a fancy bow with wire ribbon! Now it’s time to go wrap some presents and make them pretty!


These bows will make my gift giving more special. Thanks for the easy tutorial April!
Thanks, Amanda! They add a nice touch;-). Have a great day!
Just finished wrapping presents and now I am in the tags and bows. This couldn’t have come at a better time!
*on to tags and bows
Thanks, Steph! I hope it’s helpful!
I love this bow! I’ve tried this in the past and have failed miserably! hoping this tutorial will help me get it this time 🙂
Thank you, Lyndsey! Follow this tutorial and I’m sure yours will turn out great next time. Have a good weekend;-)
I’ve always wondered how to do these!
Thanks, Erin! It’s easy…I promise! Have a great weekend!
Wow! I was always doing mine without the notches. No wonder they never looked that great, it’s all about the notches. Thanks for this helpful tutorial.
Funny, Beth! The notches are a game changer 😉
Thanks for the step by step April! I need a lot of help in the craft department.
My pleasure, Jill! My motto with most things is “good enough”. That helps me be more willing to give things a go! Thanks for stopping by 😉