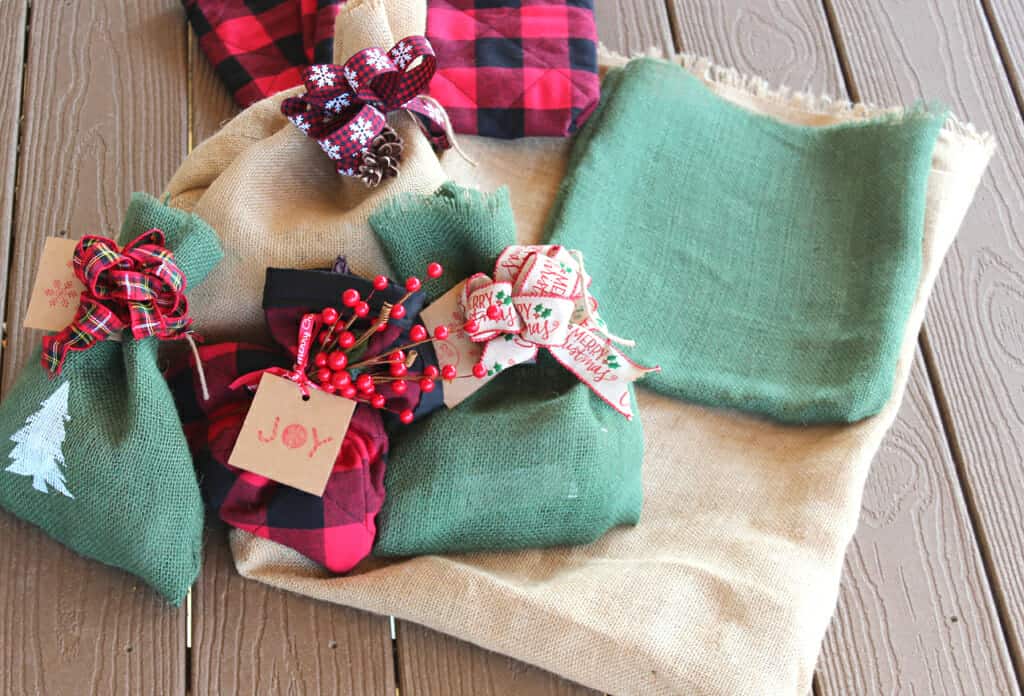
Reusable Fabric Gift Sacks for All Occasions
Do you have all of your Christmas gifts wrapped? These reusable fabric gift sacks for all occasions might be just what you were looking for! Read on for my simple tutorial to make your DIY gift bag today!

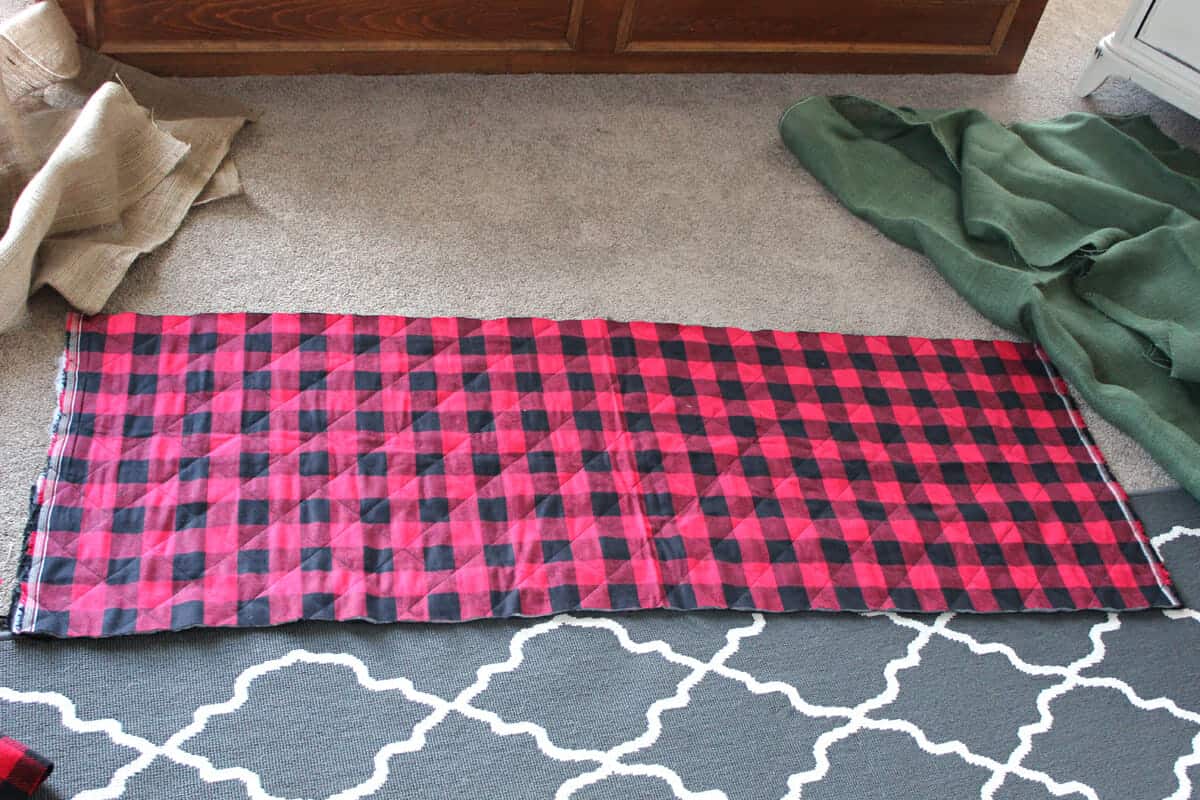
Remember my table runner I recently made with this buffalo check fabric? All along, I knew I wanted to use the leftover fabric to make some sacks for wrapping Christmas presents.
See more Christmas crafts and DIYS.
The original piece of fabric was 39″ x 59″. I used 17″ x 59″ for the table runner, so I had 22″ x 59″ left over for the gift sacks. I was able to make 5 small sacks out of what was remaining after the table runner!
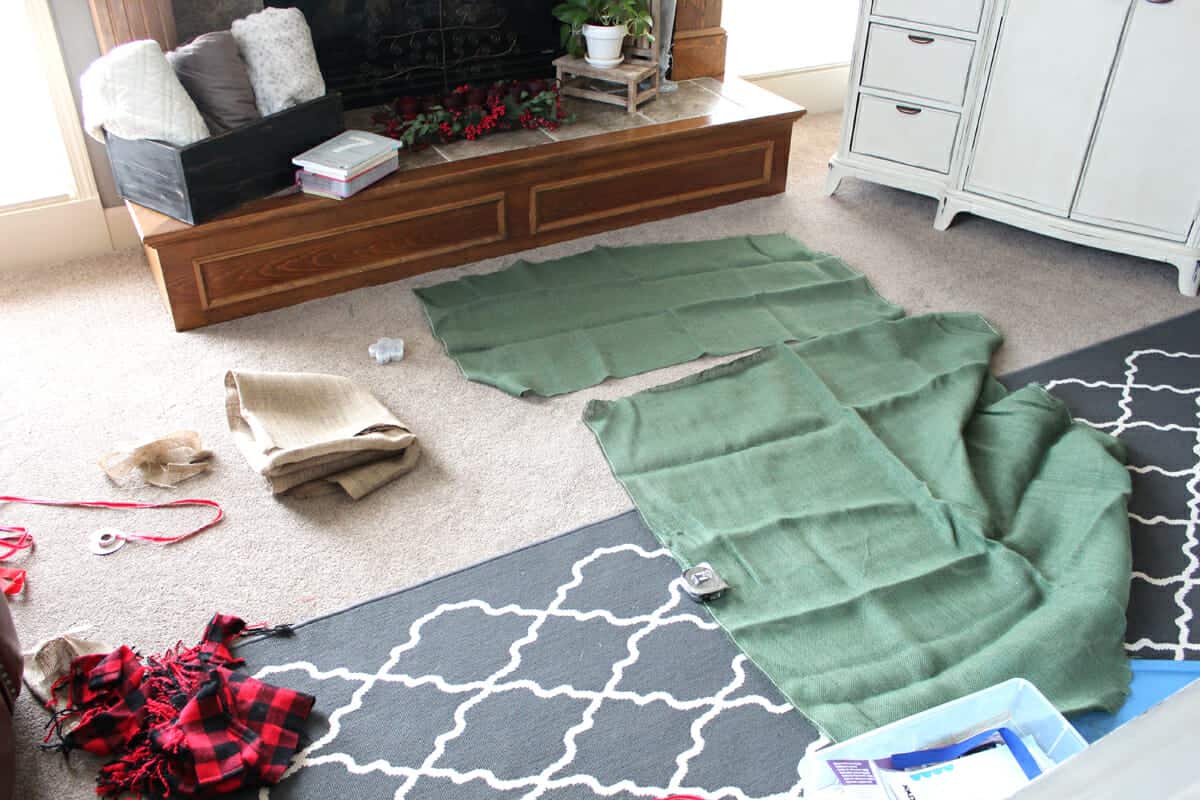
I’m sure you see the green and tan burlap in the background. Of course I couldn’t resist making some sacks out of that as well.
Once the sewing machine is out, I like to get as much done as possible as I don’t have a designated place to keep my machine.
This post contains affiliate links. Please see my disclosure policy for details.
Supplies for Fabric Gift Bags:
- 1 – 2 yards of your favorite fabric. For the buffalo check sacks, I used less than 3/4 yard. Keep in mind it just depends on what size sacks you are going for! It doesn’t have to be buffalo plaid;-) Here is a link to red and black buffalo check fabric sold by the half yard on Amazon. If you are looking for burlap, click this link for 10 yards of natural burlap at a reasonable price. That would give you LOTS of leftover burlap for upcoming projects.
- Fabric scissors.
- Thread to match fabric
- Sewing machine. Here is a link to my model.
- Straight sewing pins
- wire ribbon to make bows (I have a tutorial for this coming up soon!)
- jute twine to tie on the bows
Step 1 – Determine size of sack:
Determine the size of sack you want and cut fabric accordingly. Allow at least 1-2 inches for your seams when deciding on sack size. The smallest bag I made was 10″ x 22″ before it was sewn to give you perspective.
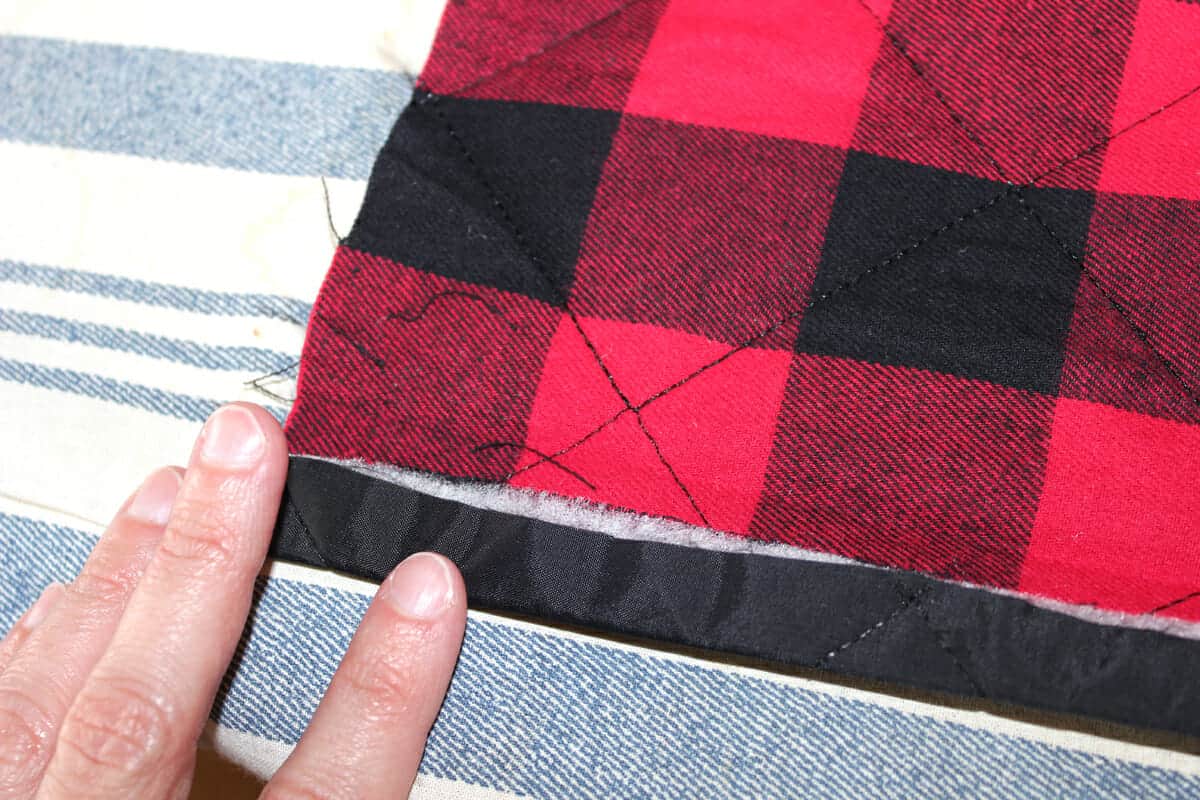
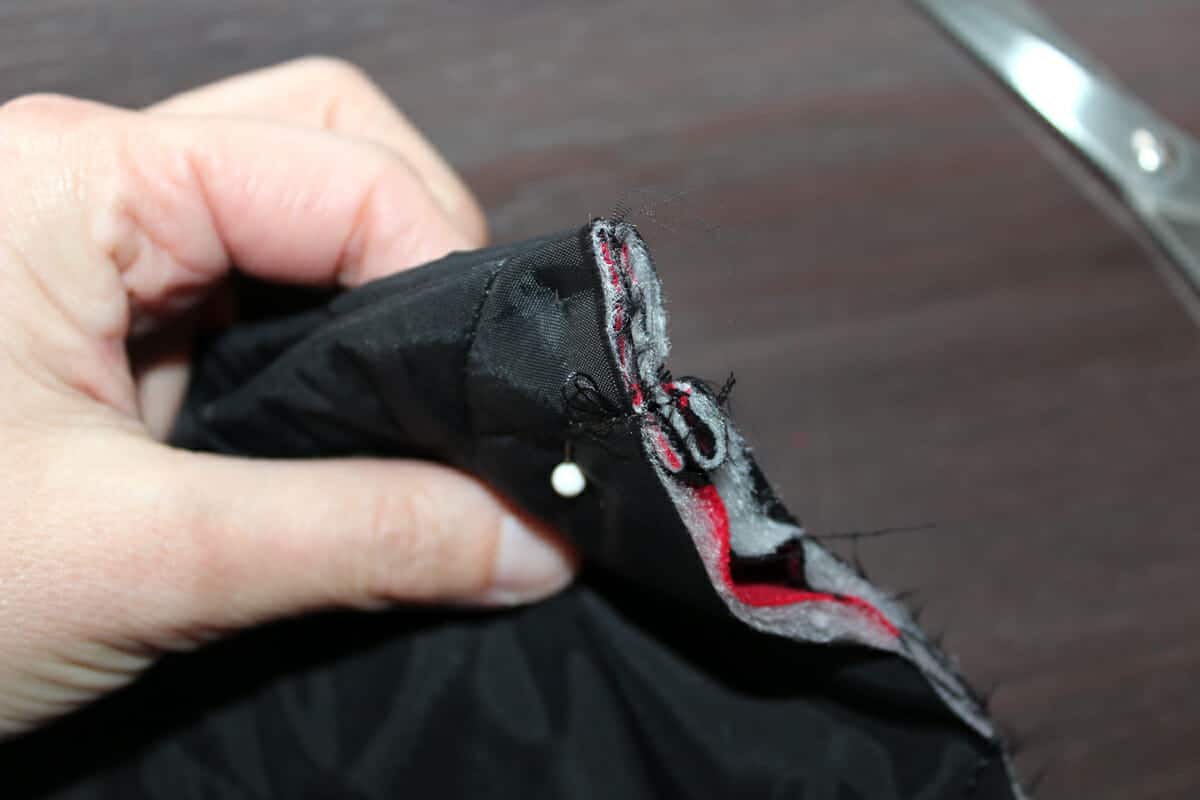
Step 2 – make band at top of bag:
For this fabric, I made a simple band at the top of the bags. If you are using pre-quilted fabric, fold the underside over approximately 1/2 inch, then iron to make it easier to work with.
Step 3 – Fold over again and iron:
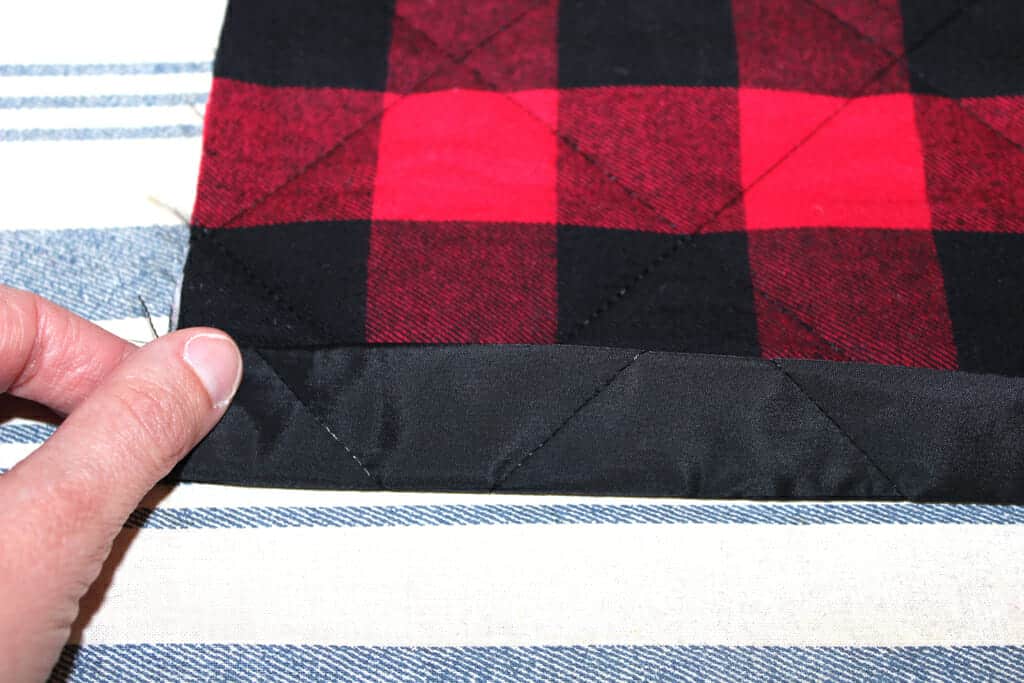
Fold over again, leaving approximately 3/4″ for a band at the top of the sack. Run the iron over this fold as well. When you iron it like this, you often won’t have to do much of any pinning when you sew your straight seam.
Step 4 – Sew straight seam:
Sew a straight seam about a quarter of an inch from the bottom of the band. As you can see, my “straight seam” isn’t all that straight.
But, even with sewing skills as lacking as mine, these turned out really cute. If I can do this, I know you can!
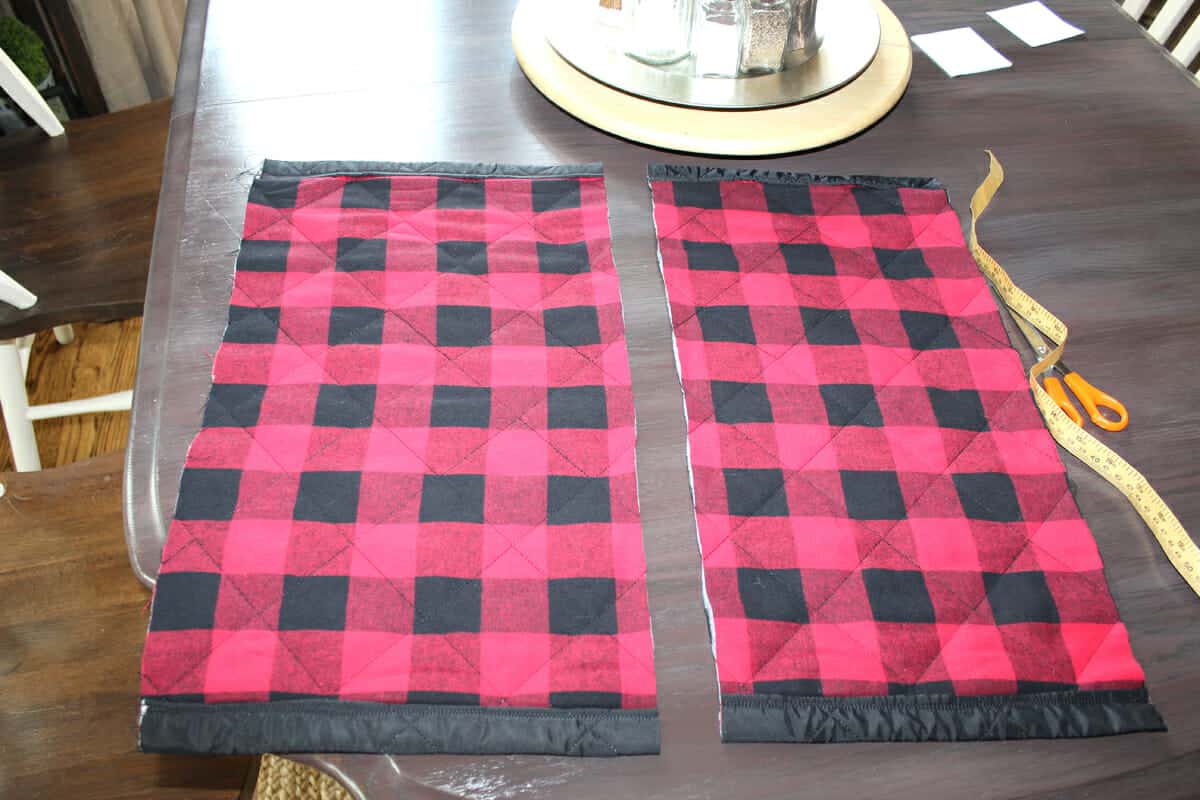
You will follow steps 2-4 on both of the narrow ends of your fabric as this will become the top of your sack when the sides are sewn together.

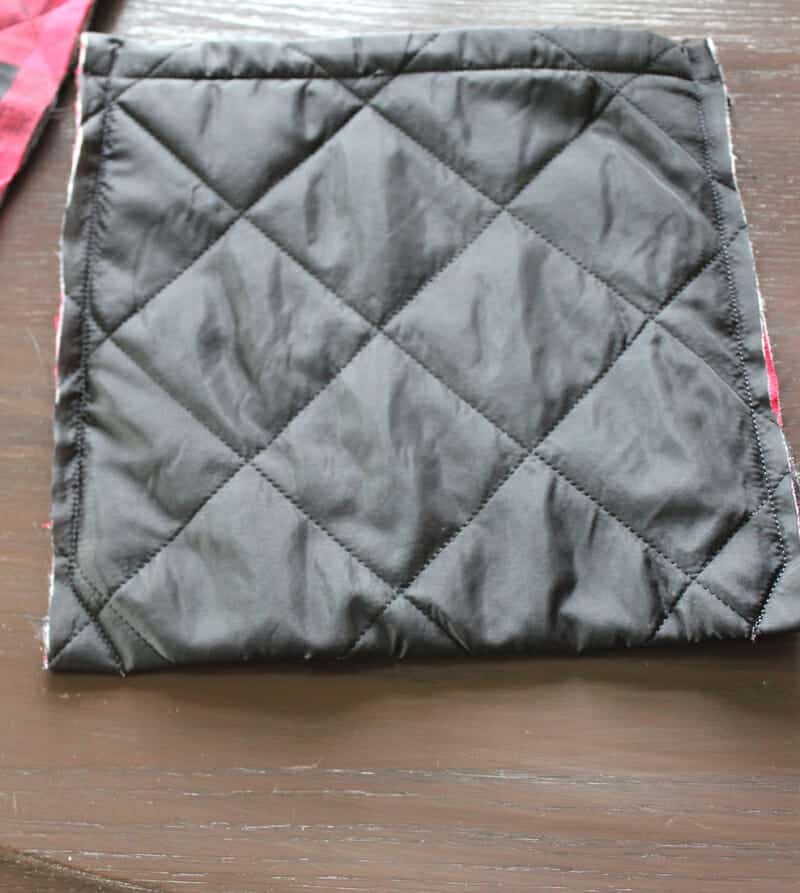
Step 5 – Fold fabric in half with pretty side on the INSIDE:
Fold the fabric in half, with the pretty material on the inside. The bands you just sewed will meet when folded in half. When you are finished, you will turn the bags right side out again!
Step 6 – Pin edges of sack:
Pin the edges of your sack, taking extra care to line up the top edges. You will be sewing the sides only!
Step 7 – Sew a stitch on each side:
Sew a stitch about 1/4″ to 1/2″ from the edge of each side. Don’t forget to backstitch the edges for extra durability. At the bottom, you’ll notice I turned the stitch in slightly toward the center.
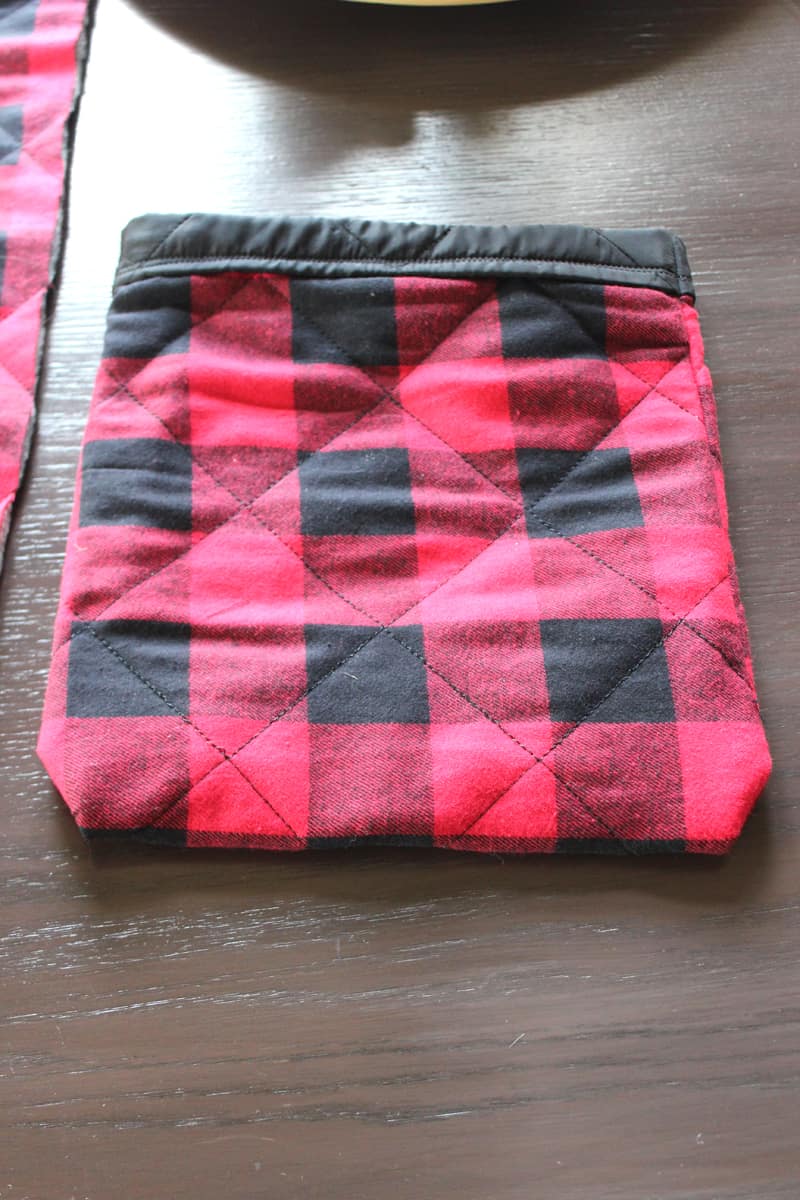
Step 8 – Turn bag right side out:
Turn the bag right side out, and you’re done!
As I mentioned earlier, I couldn’t resist making all sorts of sacks from the green and tan burlap I had from a previous project. It needed some ironing, then I followed the steps I listed above.
It was even easier as I didn’t do any kind of band at the top of the sack. The burlap looked really cute by pulling the loose strings at the top of the bag to give a frayed look.
But, be forewarned if you use burlap: Little burlap particles will be everywhere. It would probably be best to wash the burlap first, but I didn’t have patience for that. The mess was worth it!
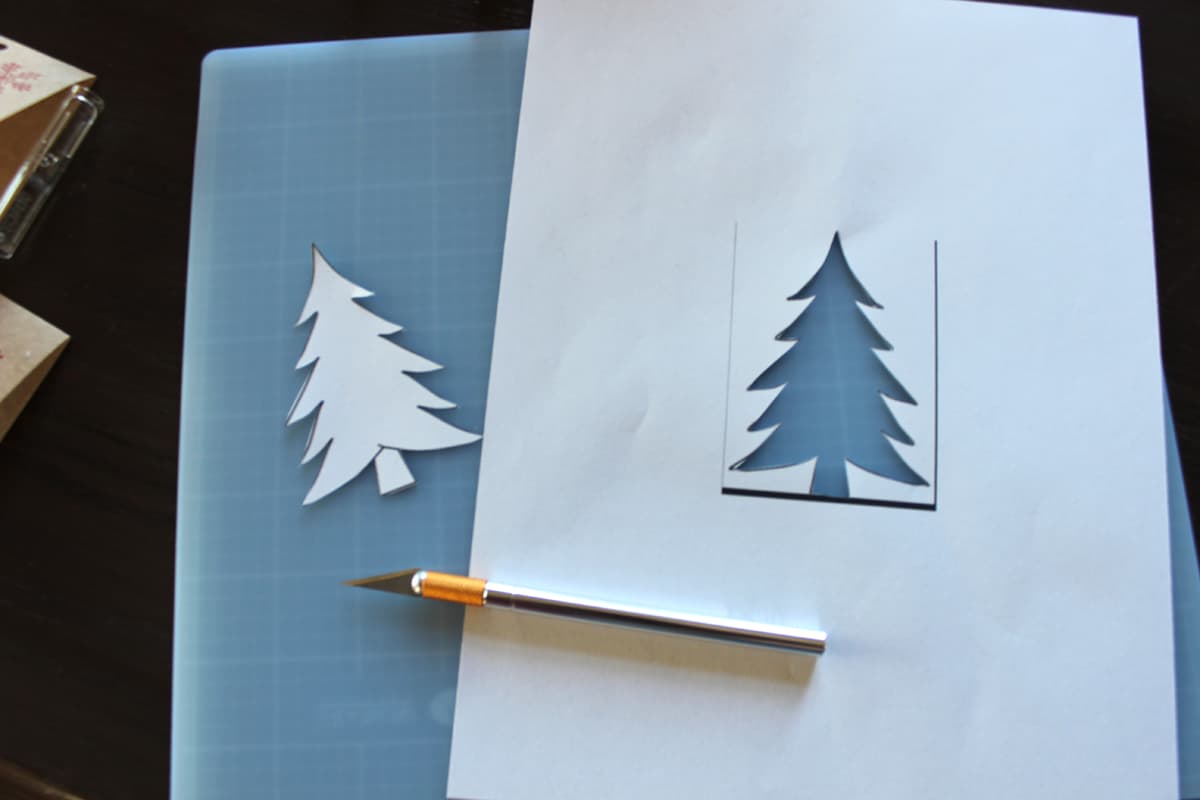
Of course, then I remembered seeing a stenciled tree on a bag on Pinterest and decided to make one myself. I simply googled “Christmas tree stencil” and printed the size I wanted for my bag.
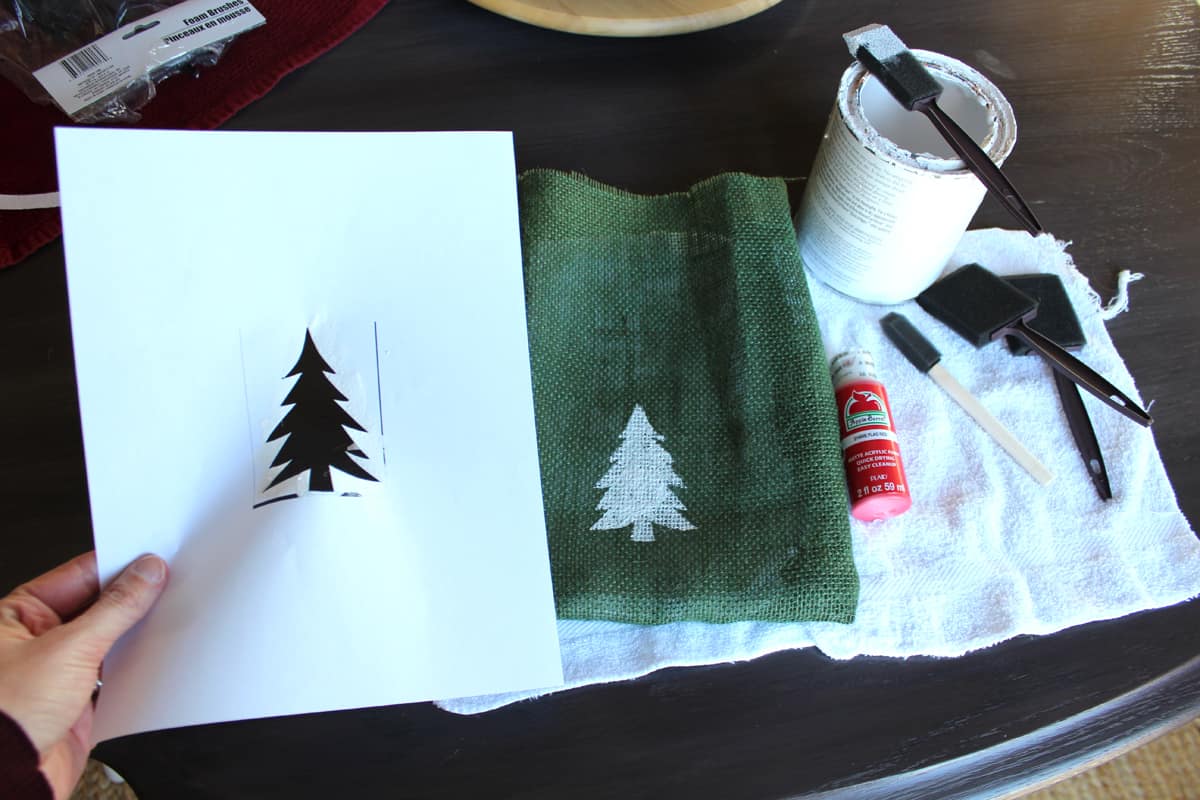
The tree was cut out with an exacto knife and I used this as a stencil. Be sure to put a towel inside the bag when painting the tree stencil to keep the paint from bleeding through to the other side.
You could print out any stencil you want! I would try to find something with simple edges to make the cutting out and painting part easier.
Here are some materials I used for this side stencil project on my gift bags:
- Exacto Knife
- White chalk paint. I couldn’t find the brand I used (Amy Howard) on Amazon, so I linked up to a similar brand. You could also use any basic acrylic paint in the color of your choosing if you have that already!
- Foam brushes. Frankly, any size would work for this.
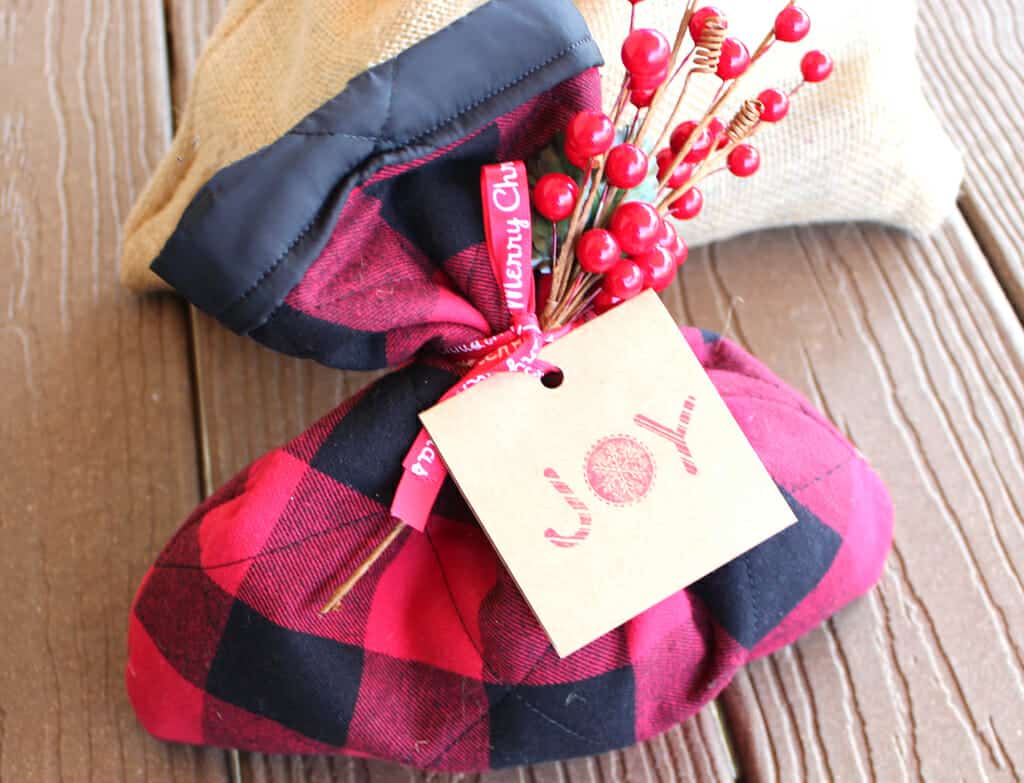
That’s it! Reusable fabric gift sacks for all occasions!

Don’t you just love these pretty bows made from wire ribbon?! Make your own fancy bows by following these instructions!
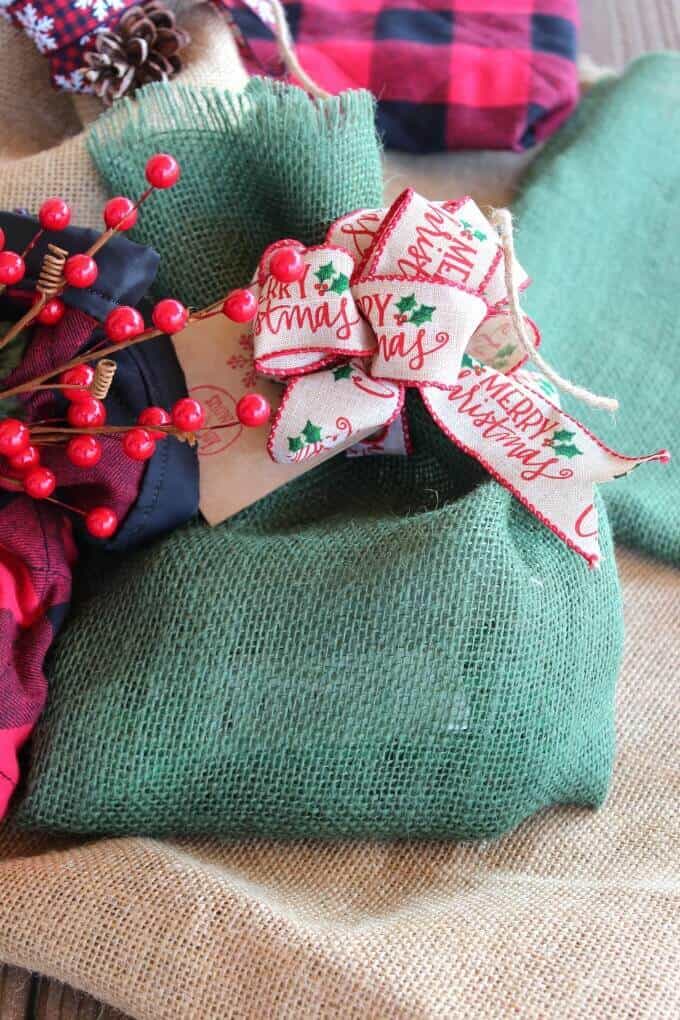
Tie bows, Christmas twigs, pinecones, etc. onto the bags with jute twine. I made my own gift tags. I’ll share more about that when I post about how to make the fancy bows!
Of course, my husband saw these sacks and said “those would have made great placemats!” Now I want to go get more buffalo plaid fabric! I have to draw the line somewhere.
That project may have to wait a while!
Hopefully you got some great ideas for making your own gift sacks. These don’t have to be used just for Christmas! You could make some of these in a non-holiday fabric and use year-round for birthdays and other gift-giving occasions!
Other beginner level sewing DIYs:
- Envelope Pillow Cover Tutorial
- No Sew Fleece Blanket Tutorial (ok…so, this is not “sewing” but it’s a fabric related DIY)
- DIY Buffalo Plaid Table Runner
These turned out really cute! I’ve been meaning to make reusable bags for gifts for quite a while… Thanks for re-inspiring me!
These are so cute and I love that the recipient can reuse the sack for something else. This is a sewing project I can handle. Quick and simple!
They truly were simple, Amanda! And, that’s coming from a complete amateur!
These are great! They are so cute. I love that they are reusable, and it’s a great idea for how to reuse scraps of cloth from clothes that don’t fit anymore or have rips in them and can’t be donated.
Thanks, Lisa! Love your idea!
These are really cute. Such an extra special touch to a gift.
Thanks so much, Steph! Enjoy the rest of your weekend!
cute idea for fabric that is left over. good idea
Thanks, Gail!
What a great idea! We use reusable decorative boxes every year but I love the idea of the sacks! They are cute as decoration as well. Thanks!
Thank you, Jenifer! Yes, reusable boxes are fantastic! Have a great weekend😊