Easy Way to Make DIY Wooden Signs
I love ways to stretch decor into multiple seasons, don’t you? With my simple tutorial, you will learn how to make wooden signs with stencils, without the need for vinyl or nails. This diy wood sign can be used on both sides.

Looking for more DIY home decor projects? It’s fun to make our house a home!
Many of you may not own Silhouettes or a Cricut cutting machine, so this tutorial is perfect for nearly all DIYers because it can be completed with minimal supplies.
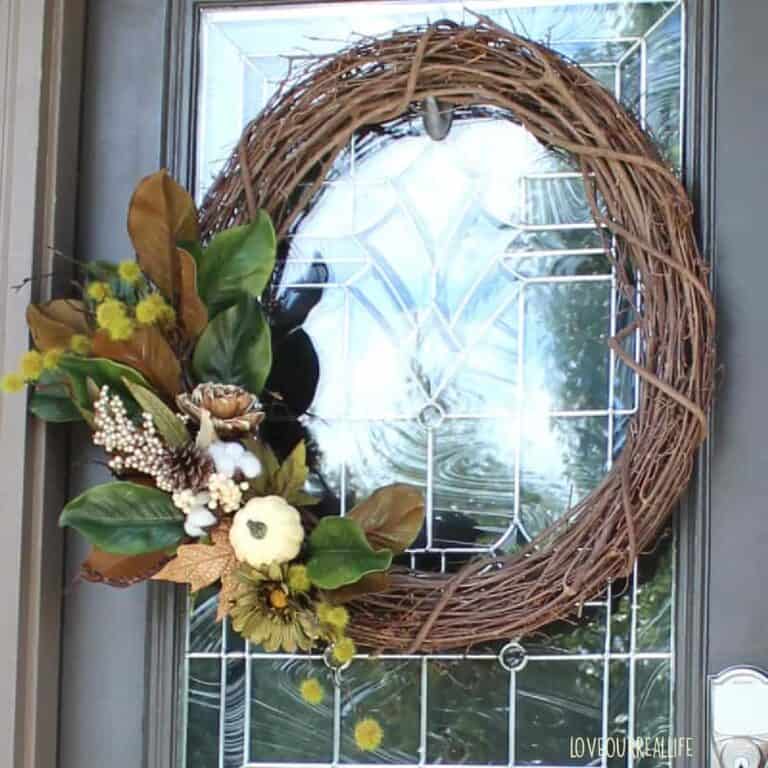
Sprucing up your front porch is a great way to add curb appeal.
If I can find a way to have my outdoor decor stretch with the seasons it’s a win-win. I found this old board at a local flea market for a little more than a dollar.
I knew I’d find some use for it, so I grabbed it. When I got an opportunity, I decided to make wood signs to last through the Christmas holiday on one side and a more generic ‘Welcome’ sign on the other.
If you don’t want two diy signs, pick your favorite of the following instructions and just make that.
BUT, you can always make another side on the opposite side of the board another day.
Supplies
Paint brush
Paint in color of choice
Wood Stain (Optional)
Stencil (see below how to create your own without a Cricut machine or Silhouette Cameo)
Fine grit sandpaper
Board or Piece of Plywood (cheap pine boards can be found at many home improvement stores)
How to make Wooden signs with stencils:
Decide on the quote, saying, scripture verse, etc you want to use for your farmhouse sign. I kept it simple with JOY and WELCOME.
Wood Sign On One Side of Board:
This post contains affiliate links which means if you make a purchase after clicking on one of my links I will earn a commission at no extra cost to you. See my disclosure policy for details.
After I cleaned and wiped the board really well, I allowed it to dry.
I stained the “Joy” side with Minwax Special Walnut wood stain. I followed the directions on the can, using two coats, with sufficient dry time between coats.
Time to stencil the word onto the board.
Where To Get the Stencils…and how to transfer them onto the board:
No need to buy any stencils! I printed each letter of “JOY” separately on 8 ½ x 11″ regular printer paper. Pick a font you love! Ensure the size of the letter is proportionate to the board.
On the back side of each printed letter, shade around the edges of the letter with chalk. Then, tape it to the board where you want the letter to be. Use a pencil to trace around the letter with a fair amount of pressure.
This allowed the chalk to transfer to my board, leaving an outline of the letter from the chalk.
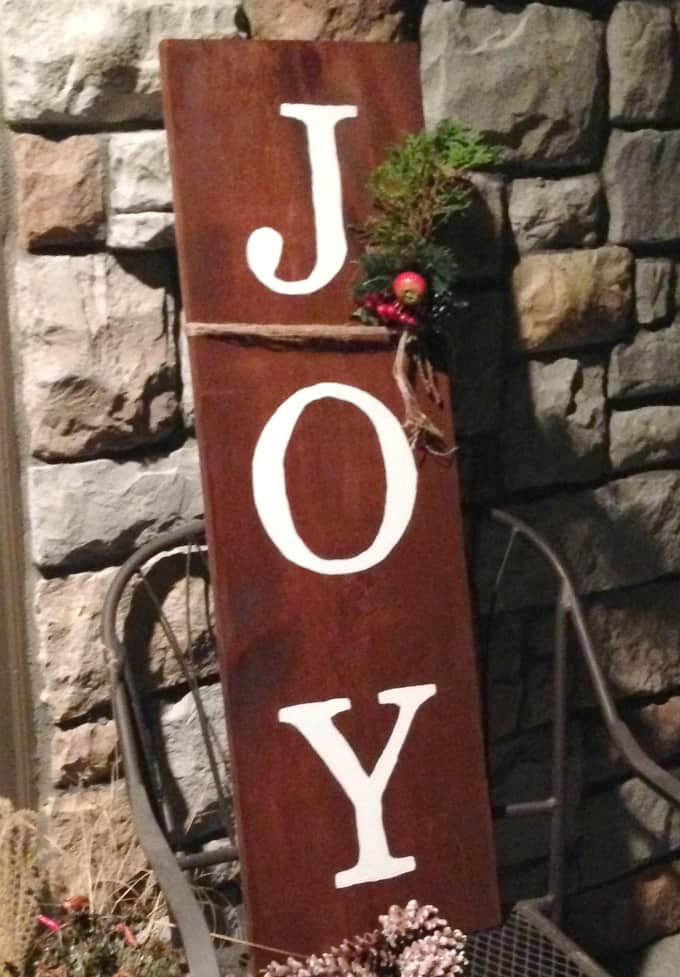
I was then able to paint inside the letter tracing with white chalk paint using a small craft paintbrush. You could also use acrylic paint for this. Only a small amount of paint is needed.
After the paint dried completely, use fine grit sandpaper to slightly distress for a more vintage look.
I did not seal mine, but if your front porch gets exposed to the elements, consider using one or two thin coats of polycrylic on the board.
Mine has held up great without a top coat!
Wood Sign #2 / On the Other Side
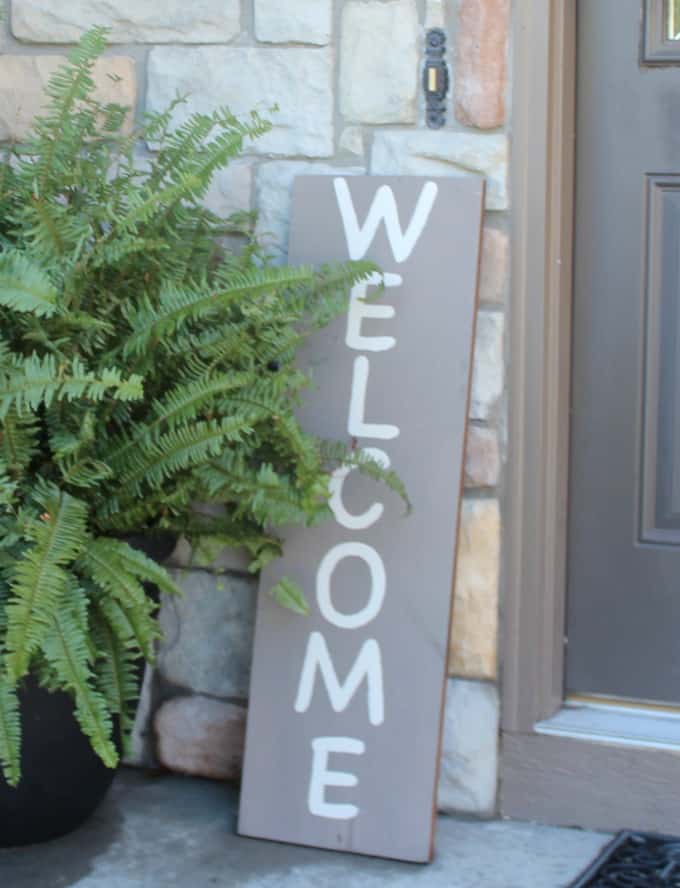
On the other side of the board, I painted the base layer in a gray chalk paint I had left over from a different project.
After allowing that to dry, I printed out the letters for “Welcome” and traced them onto the board, using the method I described above.
I painted inside these tracings with white paint as well.
If needed, sand the edges of the letters to remove any harsh lines where excess paint might be built up. (I didn’t do this, but it’s an option).
Overall, this was a very easy and inexpensive project. Since I already had the paint and stain from previous projects, it cost me just over a buck!
Now you know how to make wooden signs with stencils!
Make signs for Christmas, 4th of July, Easter, any time you’d like!
I’d love to hear from you. Make a quick comment below and tell me your thoughts. I’m a big fan of stencil projects. If you love them too, take a look at these: