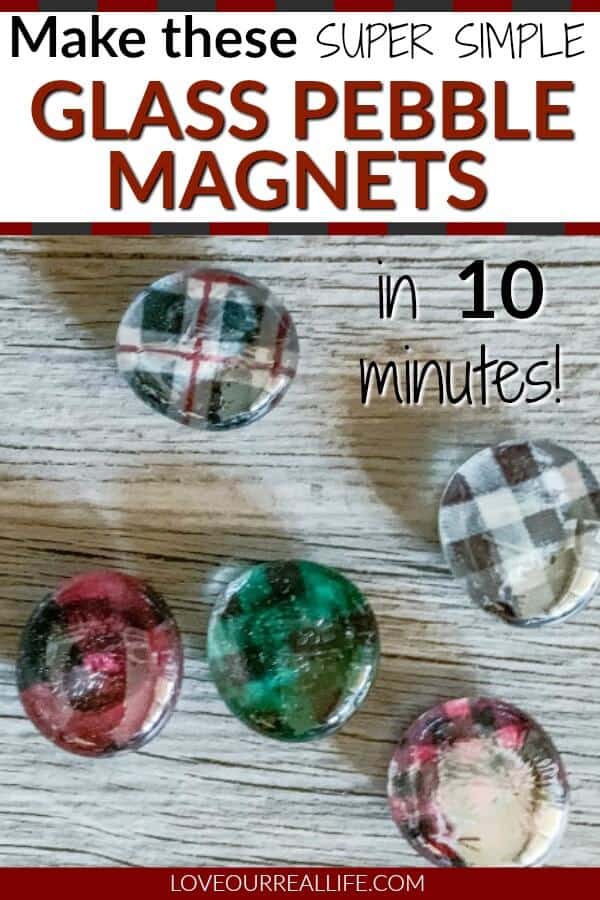
Glass Pebble Magnets: Fun Personalized Homemade DIY
If you are looking for homemade gift ideas, these glass pebble magnets are a fun way to make a personalized gift in minutes! Time to create your own custom magnets!
Get more craft ideas and Christmas DIYs and crafts here!
I am thrilled to be joining some dear blogging friends for the second post in our Christmas series: Budget Friendly Christmas Decor. If you missed my first post in the series, you’ll definitely want to check out our tips to decorate your home for Christmas on a budget.
Today we are sharing DIY homemade Christmas gift ideas on a budget.
Be sure to follow along to the end of my post and I’ll give you links to see the other gals DIY hand crafted gift ideas.
But first, let’s dive into my fun homemade gift, personalized fridge magnets you can customize any way you’d like.
Glass Pebble magnet supplies:
Round glass tile with flat bottom
Magnets
Mod Podge or other glue such as E600 (I prefer Mod Podge!)
Small craft paint brush
Scissors

You guys, this is truly such a fast and simple DIY. As I’m preparing to write this post, I keep thinking ‘was it really that easy?’.
The answer is most definitely YES!
Once you have your supplies ready to go, you’ll be able to complete this project in a matter of minutes. Then just wait until the glue is dry and they’ll be ready to use or share as a gift!
Step 1: Determine print or photo for magnets
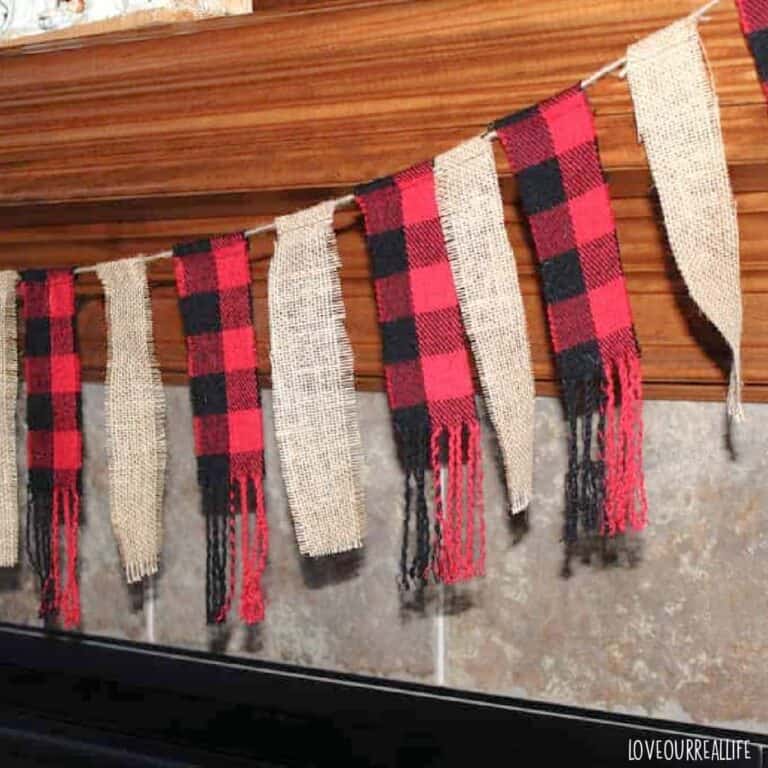
I didn’t want to overcomplicate this little diy, so I chose some pretty buffalo plaid prints off the internet. If you like the look of what I used, simply google “buffalo plaid” and select “images” at the top of your search.

Then, I took screen shots of the specific prints I liked. After that, I inserted the screen shots all onto a document in my word processing program to print.
So easy!
Step 2: Trace, then cut around glass pebble
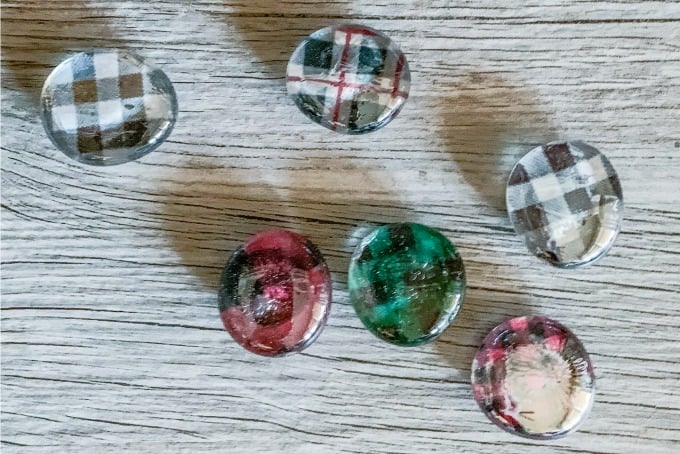
The beauty of these little glass pebbles is that although they are transparent, you can’t see every little imperfection through them. So getting it absolutely perfect is certainly not necessary.
Simply trace around the glass pebble disc, then cut on the inside of your tracing.
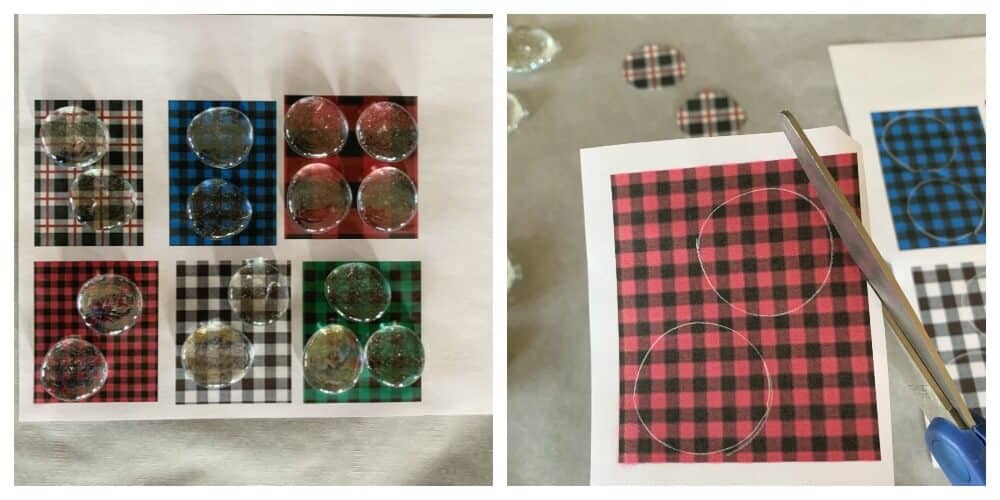
I found it best to have them a little smaller than the glass disc then you don’t have to deal with any overhang.
Step 3: Glue the paper print-out onto the glass
So, you might be wondering what is the best glue for this project. I tried it a couple of different ways. My initial thought was that the E600 would work better because of how durable it is.
But, I actually preferred the way the Mod Podge magnets turned out.
The E600 is SO strong smelling, I had to wear a mask and still felt like it was too strong to be breathing anywhere near it. Plus, it tended to affect the way the print looked. I’m afraid if you use actual pictures of individuals, it would not look as nice.
So, just use Mod Podge!

All you need to do is take a small craft paint brush, and apply a thin layer of Mod Podge on the flat part of the glass pebble. Press the printed side of the paper onto the glue you just placed on the flat (bottom) part of the glass disc.
Add another layer of Mod Podge over the paper as well, which makes it more durable.
After a few minutes, you are ready for the next step.
Step 4: Glue magnet to back of glass pebble
Apply a thin layer of glue (Mod Podge) to the magnet and hold it in place for several seconds on the back of the glass pebble.

I would allow these to dry for several hours prior to using.
That is it!
Custom, personalized magnets made with glass pebbles!
These cute personalized magnets are such a fast and easy homemade gift. Plus, they can be used to give your own home some simple Christmas decor in an expected place, the fridge!

If you are looking for office Christmas decoration ideas, this is a fun way to add holiday color to your office without going overboard.

Don’t forget to pin this to your favorite Pinterest board for later!
Now, go take a look at my friends’ homemade Christmas gift ideas!
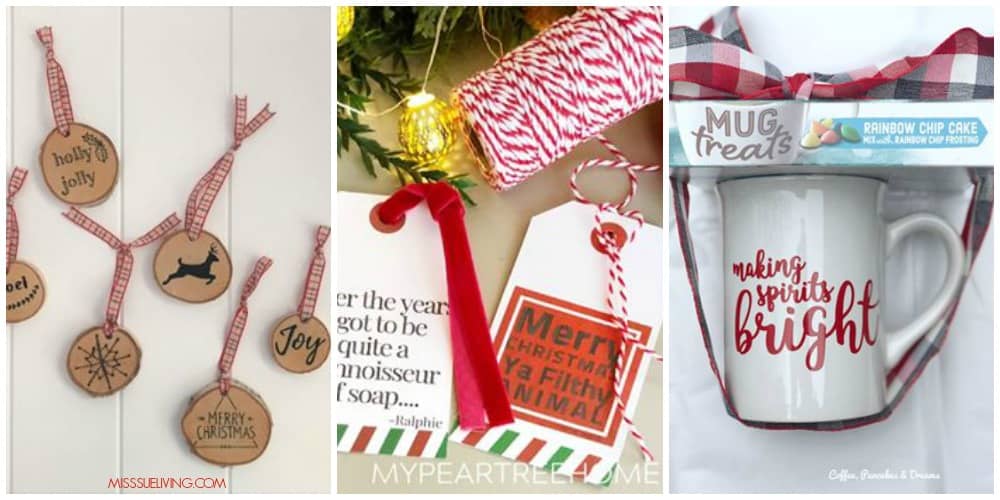
Miss Sue Living / My Pear Tree Home / Coffee, Pancakes, and Dreams
Happy gift making!


This is such an easy gift idea! Also perfect to do with my tween daughter.
Yes, Amanda…the perfect quick DIY to do with kids!