Handmade Bookmarks, A Fun and Easy DIY
This time of year, there is just something special about snuggling up in front of the fireplace with a cup of coffee, warm blanket and book that brings so much comfort. It’s the perfect time to make some fun handmade bookmarks to add to the moment.

Get more great craft ideas!
Handmade Bookmarks:
This handmade bookmark is a simple project that can easily be done in 10-15 minutes. Something tells me you have most, if not ALL of the supplies already at your home. But, if not:
Supplies for DIY bookmark craft:
-yarn
-scissors
-card stock (I used embellished manila folders from Target)
-cardboard measuring 3.5 inches wide or other hard surface to assist with making the tassel
-hole punch
-glue or Mod Podge
Steps for the pom pom tassel portion of the bookmark:
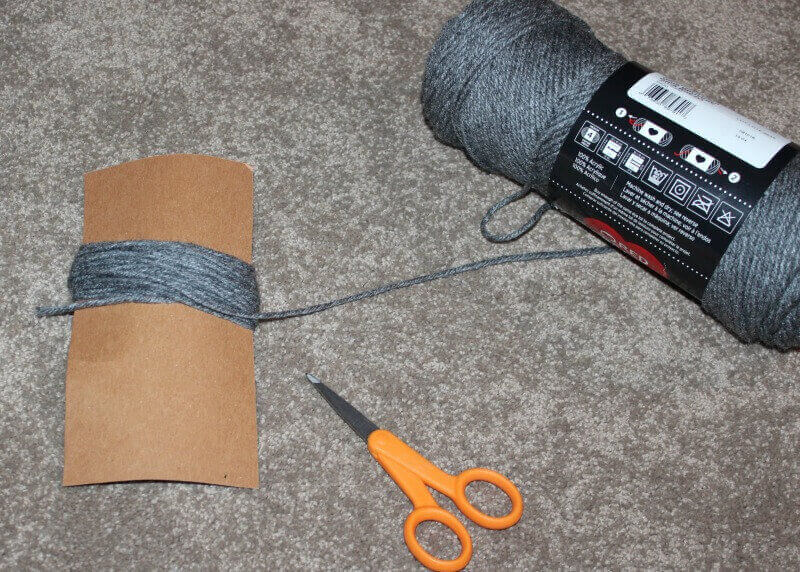
1) Wrap yarn of choice around the cardboard
As per above, the cardboard that I used to help make the bookmark was 3.5 inches wide. I simply found cardboard we had around the house and cut it to the size I wanted.
Wrap yarn around cardboard approximately 4o-50 times and cut excess yarn.

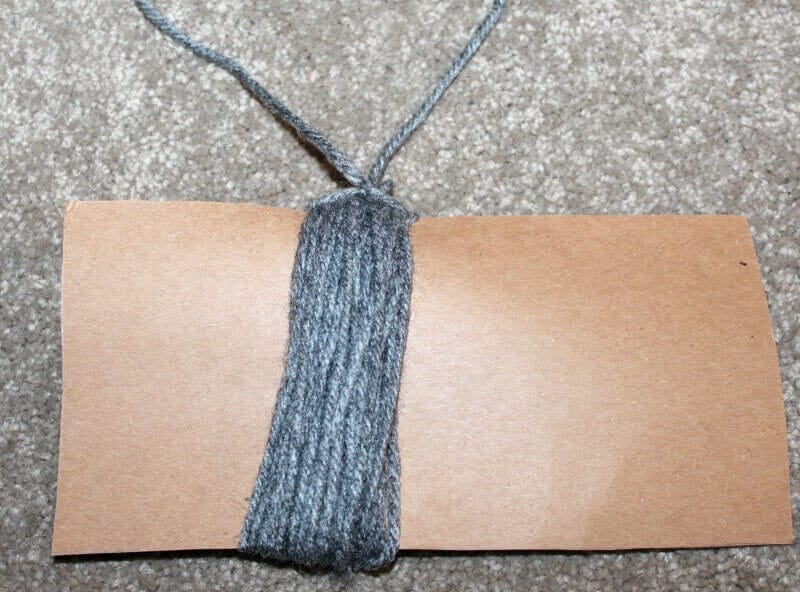
2) Tie a piece of yarn in a double knot
Use another piece of yard to tie a double knot under all of the wrapped yarn. The knot should be on one side of the cardboard.

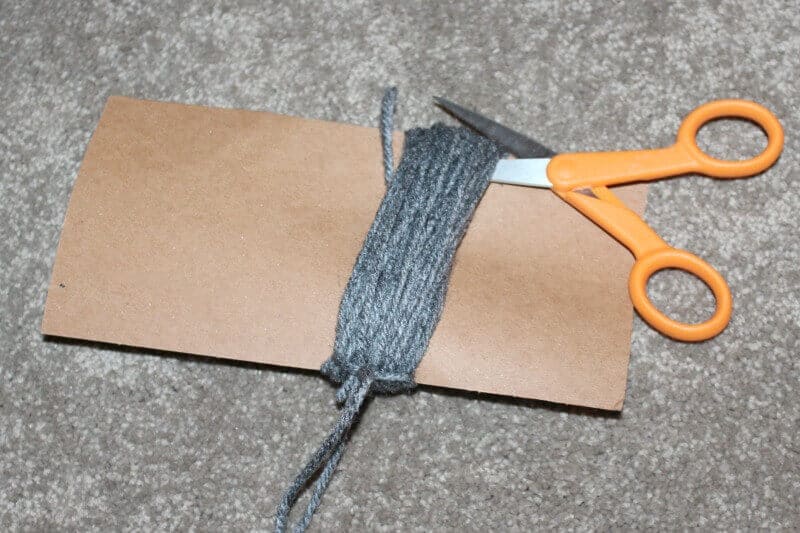
3) Cut yarn on opposite side of the card board.
On the opposite side of your knot, cut all the way through the wrapped yarn. Get your scissors as close to the middle as possible when you cut the yarn as you want your tassel pieces to be a similar length.

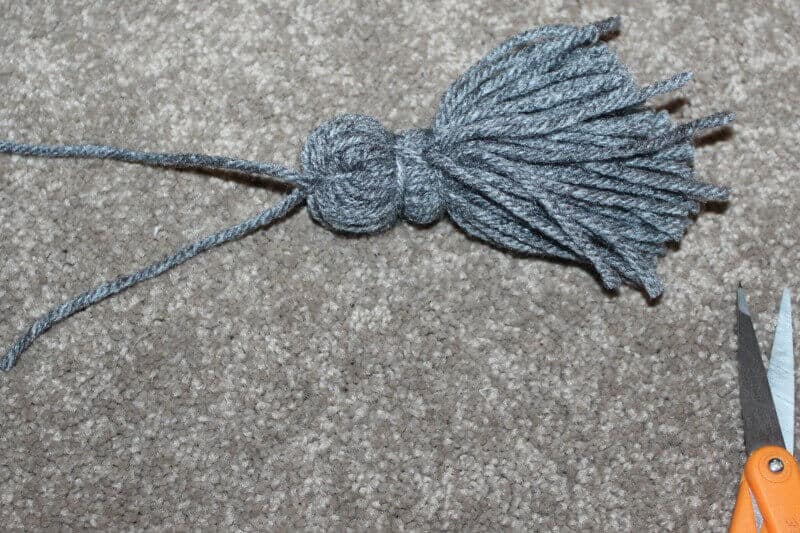
4) Tie another double knot toward the top of the tassel
Use another piece of yarn to tie a double knot (make sure it’s tight!) close to the head of the tassel. Then double knot another piece of yarn just underneath the first knot.
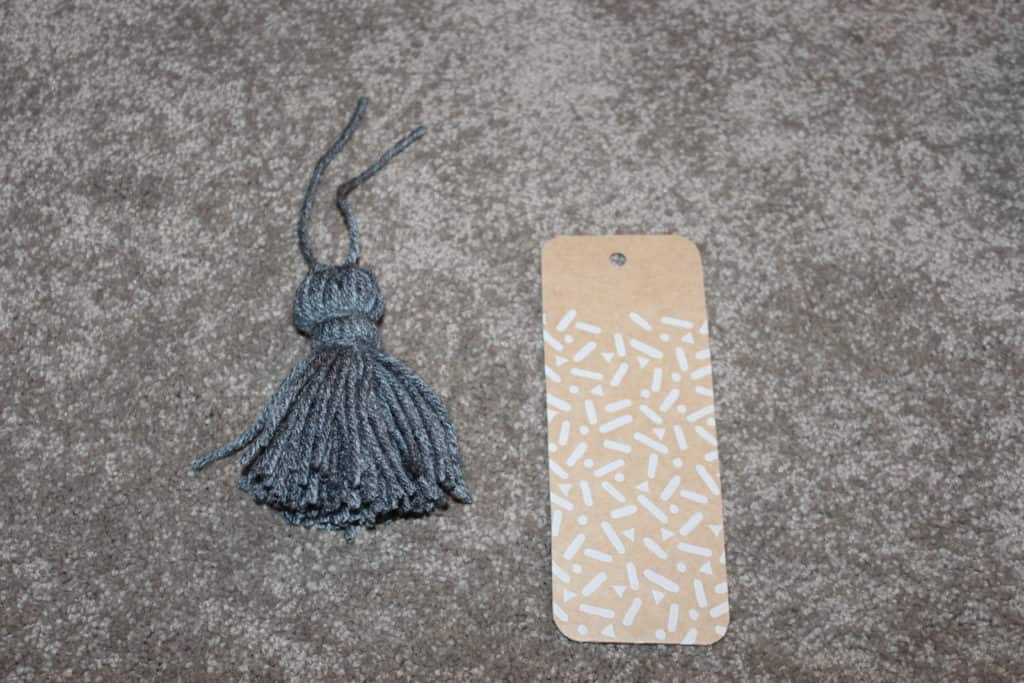
5) Cut off all loose ends, ensuring the yarn-ends are nearly the same length.
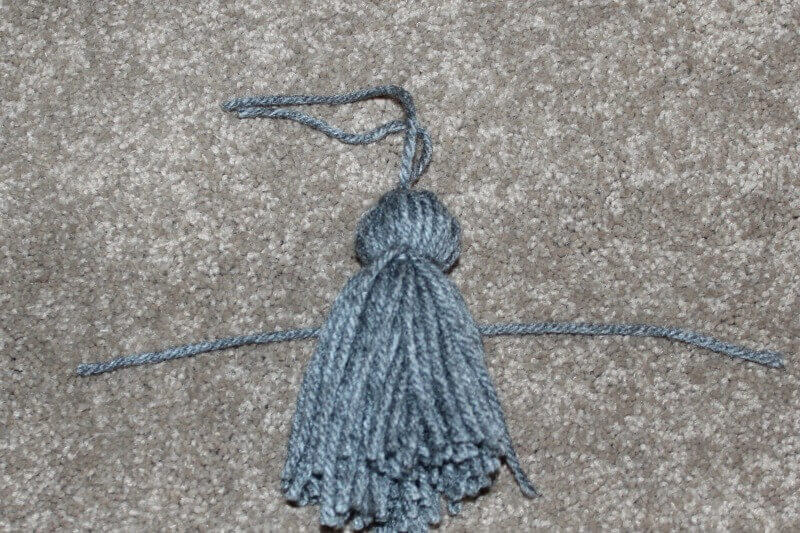
Congratulations! Your pompom tassel is finished. Now it’s time to make the bookmark.
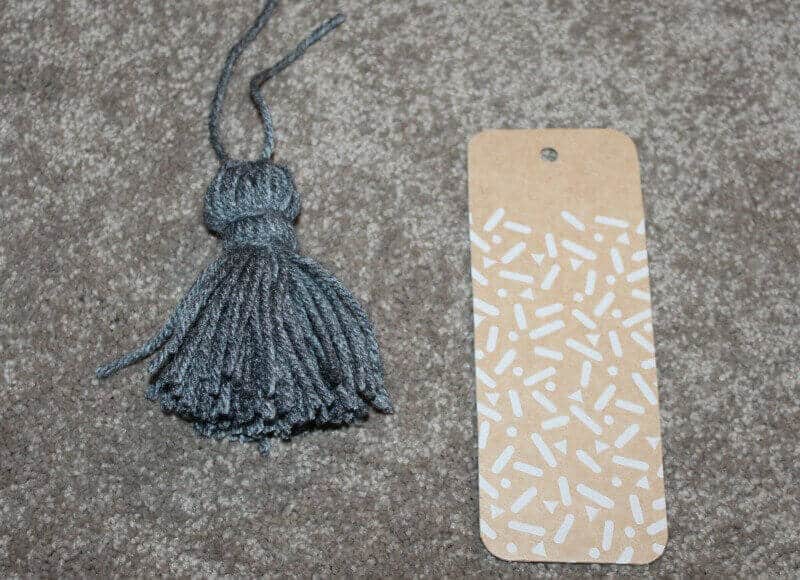
Steps for handmade bookmark:
As I mentioned, I had some pretty manilla folders with a fun print that I had from Target. But, any thick card stock would work great!
1) Cut card stock to 3 x 6″
I actually wanted my bookmarks a little thicker than card stock, so I cut the desired size from a manila folder, leaving the bottom attached at the fold. Then, I glued the insides together to give it a little more bulk.
In lieu of glue, you could use Mod Podge. Keep in mind you could also glue or Mod Podge two equal sized pieces of card stock together for a bulkier bookmark.

2) Punch a hole at the top, center of the bookmark.

3) Tie the tassel to the book mark using a double knot. Cut off any excess yarn.
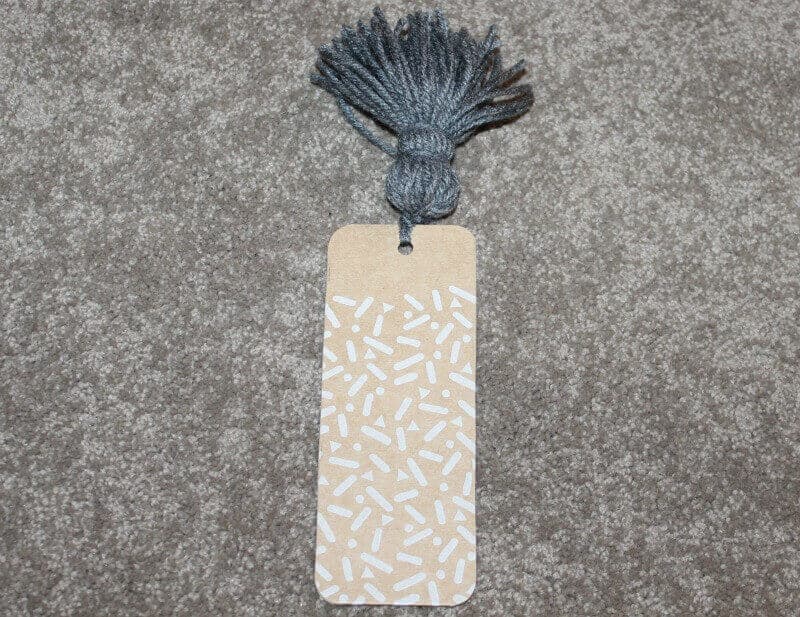
Handmade Bookmarks!
That’s it! So easy, but very cute. These handmade bookmarks would be great for a teacher gift or a gift to a friend that loves to read. OR, make one for yourself!
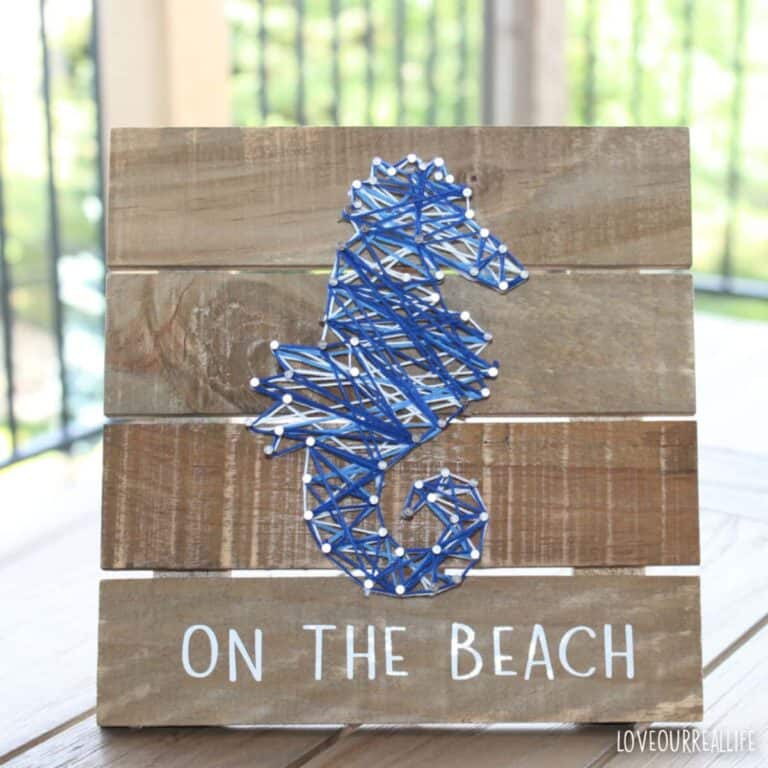
Looking for another fun AND easy craft? You might just love a project my daughter and I did together! I just love getting my kids involved, don’t you! Check it out here: String Art Project: The Complete Beginner’s Guide
Craft Projects


So pretty. Easy project that can be done with the kids.
Thank you! My daughter has helped me make several of these bookmarks. Super easy and cute:)