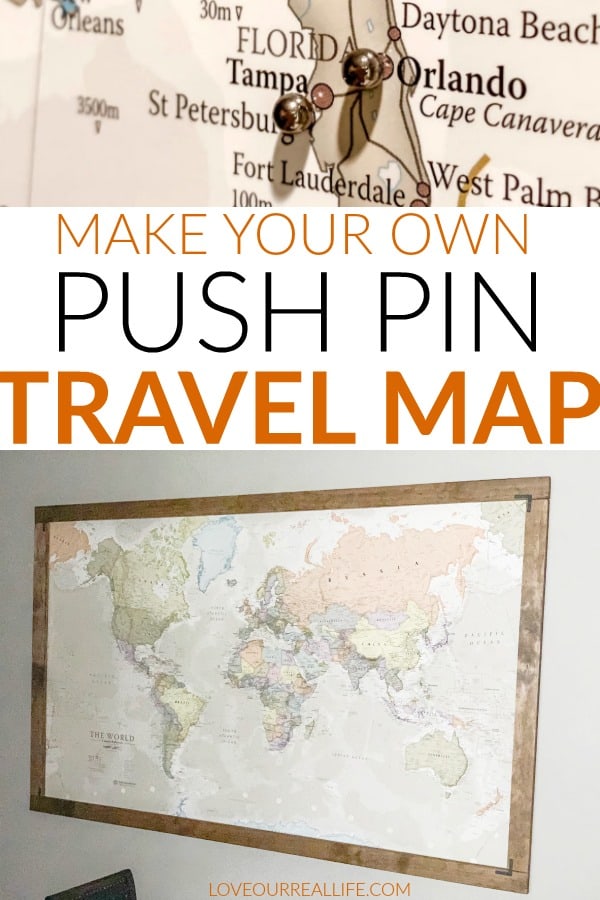
How to Make a DIY Push Pin World Travel Map
Learn how to make your own personalized push pin world travel map to show your past and future family adventures!

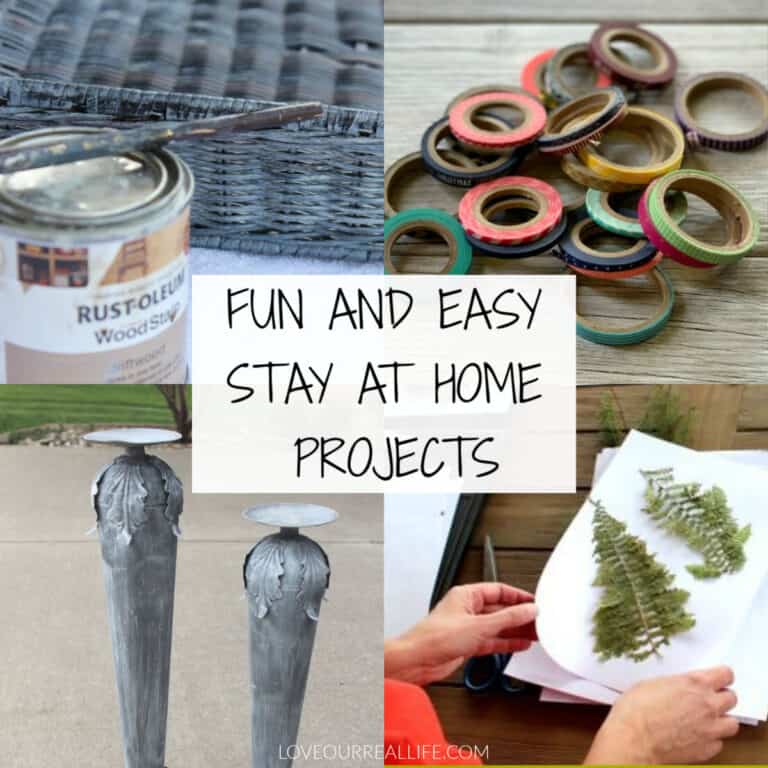
See more diy home decor here.
Personal decor is the best decor
I’m a sucker for personalized home decor. This little ‘map to show our travels’ project has been on my list of to-do’s for the longest time and I’m so excited I had an opportunity to finish it.
Several years ago, a dear friend of mine selected the word LIVE as her word for the year. This continues to inspire me to find ways to enjoy living in the moment and appreciate the life God has given us.
Part of that has included family travel.

As with many of you, we are making an effort to enjoy more experiences and adventures versus just buying more things.
This fun map of the world is a great way for our family to see the ‘places I’ve been’ as well as the ‘places I’d like to go’.
Our experiences and adventures.
Let’s jump into the How-To portion of this project.
Supplies for a Push Pin Travel Map
– Map (This is the map I used from Amazon)
– Push Pins
– Thumb tacks
– Lumber to build frame (length of boards will vary depending on size of map)
– Mending plates or corner braces
– Wood glue
– D-Ring Hangers
– Drywall anchors
– Hardware to attach mending plates and d-rings
DIY Places I’ve Been Travel Map, Step-by-Step
There are lots of different ways one could make a push pin travel map. But, I wanted a REALLY BIG map that took up the greater portion of a wall.
When I say really big, the oversized poster map I purchased was 77.5 x 46 inches to be exact.
BIG!
To give perspective to the size of our poster map, here is an image of the map unrolled on our dining table:

So, to keep the cost reasonable for a map wall of this size, I’m showing you the best (and easiest) solution I could find.
1. Determine the size of the map you purchase based on wall location in your home
We are still in the process of redecorating our basement and I had a large blank wall that needed a little dressing up!
I wanted a big map to make a bit of a statement.
We quickly realized this would have to be a DIY project as pre-made oversized travel maps are SUPER expensive.
When considering maps for your home, you should select a map that works for you and your space. As I mentioned the map I purchased measured 77.5 x 46 inches.
If this is too big, find something that works for you!
Durability was also important, so I ensured the map we picked was laminated as I knew it would get handled quite a bit by our family.
2. Consider Color Scheme of Map
We wanted neutral colors for our map based on our basement decor. But, perhaps you want more traditional map colors?
Pick what works for your space!
3. Hang map in exact location on wall
We’ll get to building the frame in a moment.
Prior to purchasing lumber for the frame, I would strongly suggest getting the map home and putting it up on the wall.
Basic, round/flat head thumb tacks were used to hold the map in place.
The frame will go directly over the edges of the map, which we’ll get to in just a bit!
If you happen to select an extremely large map like I did, you will need a helper. It’s really challenging to maneuver a poster this large and ensure you get it on the wall straight.

I would suggest placing a thumb tack in the top center, smoothing out the map, then putting thumb tacks in each of the corners once it is smooth.
With a poster of this size, it took a little effort to get it nice and smooth. As you can see in the above image, I wasn’t quite there yet;-)
Either ‘eyeball’ the map or use a level to ensure it is straight. I, personally, am a eyeballer!
4. Measure for your boards to make a simple frame to hang over the map
Once the map is on the wall, then you can measure to get the exact board lengths you will need to make a frame.
Keep in mind, the frame you make will hang directly over your poster map.
For reference I got 1×3 boards, two at 43 inches long and two at 79 1/2 inches long to cover my poster.
For more specific tips on measuring boards to make a basic frame, read How to Hang a DIY Frame to Hang Over a Bathroom Mirror. In this post, I use the exact same process for making a simple frame, providing lots of step-by-step detail.
You do NOT need any major woodworking tools for this project!
Go to any big box store such as Lowe’s, Home Depot, Menard’s. If you tell them the length of boards you want, they can cut them for you for no additional cost.
I typically pick up cheap pine boards which work great for this kind of project.
This frame could easily be made for around $10-15!
5. Stain or paint boards to your preference
On many of my other basement projects, I used Minwax Special Walnut stain. So, to keep the look consistent in this space, this is what I used for this frame as well.
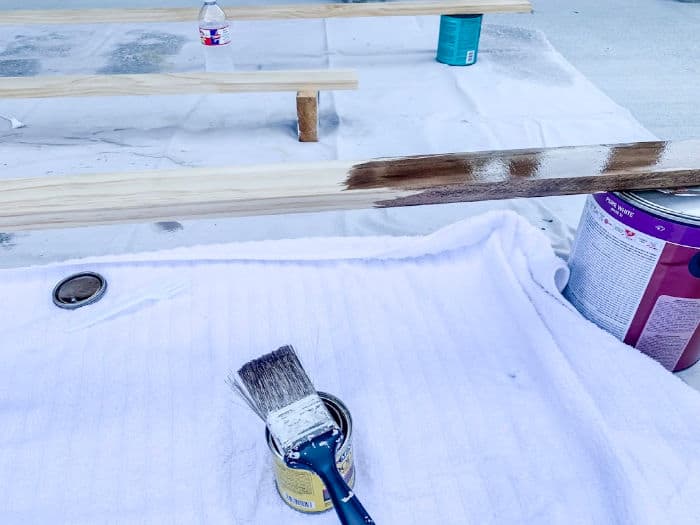
Or, you could paint the wood to coordinate with your home decor if you’d rather.
Related: DIY Wood Shelves Hung with Drywall Anchors (this post gives detailed instruction for staining wood AND using drywall anchors which we’ll use in a bit).
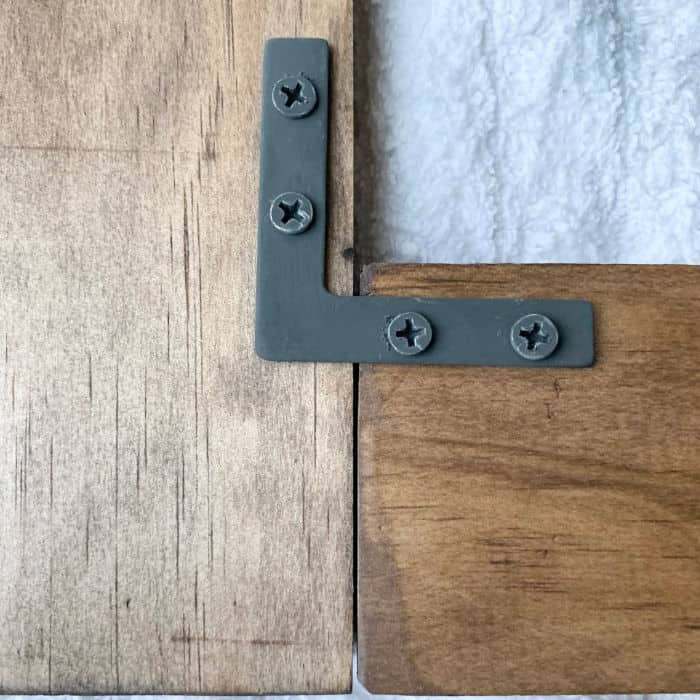
6. Secure the boards together for the frame
The boards were held together with wood glue and corner braces.
Prior to gluing the boards together, I painted the corner braces and screws with some left over black chalk paint as they came in silver.
TIP: It’s much easier to paint these prior to putting them on the boards!

To be quite honest, the boards were so long, the wood glue didn’t do a whole lot to secure them together.
I relied primarily on the corner plates and the 3 hole D-ring hangers (see below) to give the frame more stability.
7. Attach D-rings to back of frame to hang
In addition to providing a hanger for the frame, large d-rings hangers were used to give a little extra stability for the frame.
See how I used a 3-hole d-ring hanger to help secure the two boards together.
I went ahead and put these hangers on all four corners to give the boards a little more support.
There are lots of other ways you could likely secure them together, but these were supplies I already had at home. I’m all about using what I have!

8. Use Drywall Anchors to give frame more stability on the wall
Chances are good, you will not have studs exactly where you need to hang the frame.
Drywall anchors will allow the frame to be secure on the wall. If you aren’t familiar with using drywall anchors, read this linked post for tips!
Be sure to measure, measure, measure!
You want to drywall anchors to be in the exact right spot to ensure your frame hangs well.
Think of this just like if you were hanging a picture on the wall.

9. Hang your new frame directly over the map poster!
The frame will go directly over the map. This just makes a simple map poster look a lot more put together.

10. Determine a push pin system for your travel map
My family was a bit all over the place on how we should use the push pins.
We considered a different pin color for each individual in our home, a pin color for just Jason and I, a pin color for the entire family.
As you can tell, we are a family of over-thinkers.
Ultimately, we decided on different pin colors for:
- Places we’ve been as a family
- Places we are planning on visiting as a family

You can make this your own! Do what works for you and your home.
Now it’s time to get all the nostalgic feels, thinking about the places you’ve traveled the world with your family!


We have just started putting the pins into the map. We’ll work on it slowly.
So far, we have only marked a few of the places we’ve traveled.
AND YES, the pins are going directly into the wall!
If I decide I want to take this down at some point later, I would need to use a thin layer of spackle to fill the holes and paint over it.
To me, that would be totally worth the cost savings to have an oversized feature wall decor item like this.
Now, to plan more trips!
Curious about our other basement projects?
- Basement Guest Bathroom Makeover Reveal
- How to Paint Tile Floors Using Stencils
- How to Update a Stone Fireplace with Paint
Take a moment to save this to your favorite Pinterest board for later reference!