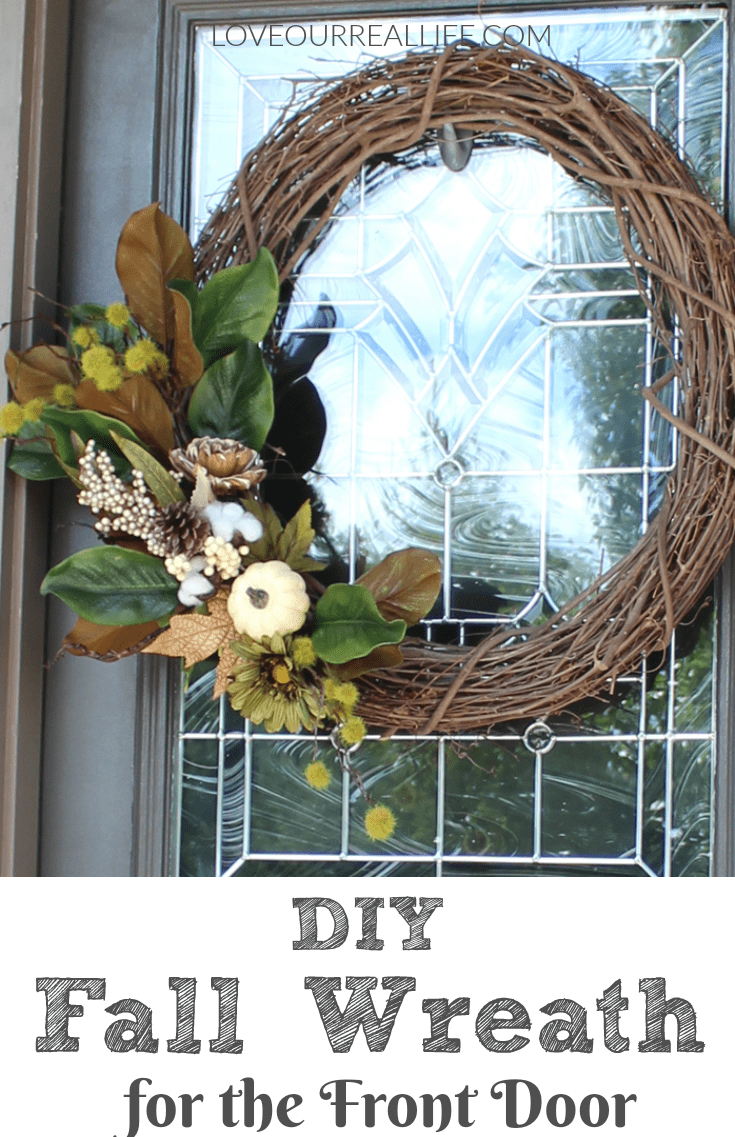
DIY Fall Wreath for the Front Door – Easy to Follow Tutorial
Learn how to make a diy Fall wreath for the front door with an easy step by step guide. Make a wreath for your house by using supplies you can get at craft stores.
To make a simple fall grapevine wreath, you will need fall floral stems in your favorite colors of fall foliage and floral wire cutters. To add additional texture, you can add a burlap bow.

How Do You Make an Easy Fall Wreath?
Using grapevine wreath forms makes the entire wreath making process so easy.
Because of the nature of the grapevines, floral stems can be pushed through without the need for floral wire to secure them in place.
I will occasionally use hot glue if the floral stems do not seem very secure, but I try to avoid this so I can simply remove the floral stems at the end of the season and change them out easily.
Check out more fall diys and crafts.
What Do You Put in a Fall Wreath?
There are so many beautiful options for decor elements when creating an autumn wreath.
For inspiration, I love to walk around home decor stores or check out what the latest trends on Pinterest or popular home decor magazines show for the season.
But, some tried and true ideas of what to put in a fall wreath:
- Fall ribbon
- Wheat or similar bundles
- Fall leaves
- Corn husks
- Pinecones
- Eucalyptus or other greenery
- Feathers
- Berries
- Pumpkin wreath (white pumpkins or orange pumpkins. OR paint plastic pumpkins any color you would like)
- Indian corn
- Sunflowers
- Floral stems with oranges, yellows, and other fall coloring to add a pop of color
- Burlap fabric
- fall leaf wreath
- Items specific to Thanksgiving
- Items specific to Halloween
- faux apples
- Nuts
- Magnolia leaves
Any of the above ideas will make welcome guests to your home and add a beautiful touch to your fall decorations on your front porch.
If you are making a fall wreath specific for Halloween (the trick or treaters will love it!), I would suggest making it in such a way that you can easily pull out the Halloween elements and pop in general fall items to carry you through the rest of the season.
The same is true for Thanksgiving.
It would be very easy to add in some items closer to the Thanksgiving holiday to make your guests feel welcome for the holiday.
How Do You Make a Wreath Step by Step?
Fast, easy, inexpensive DIY fall wreath for the front door…sound good doesn’t it?!
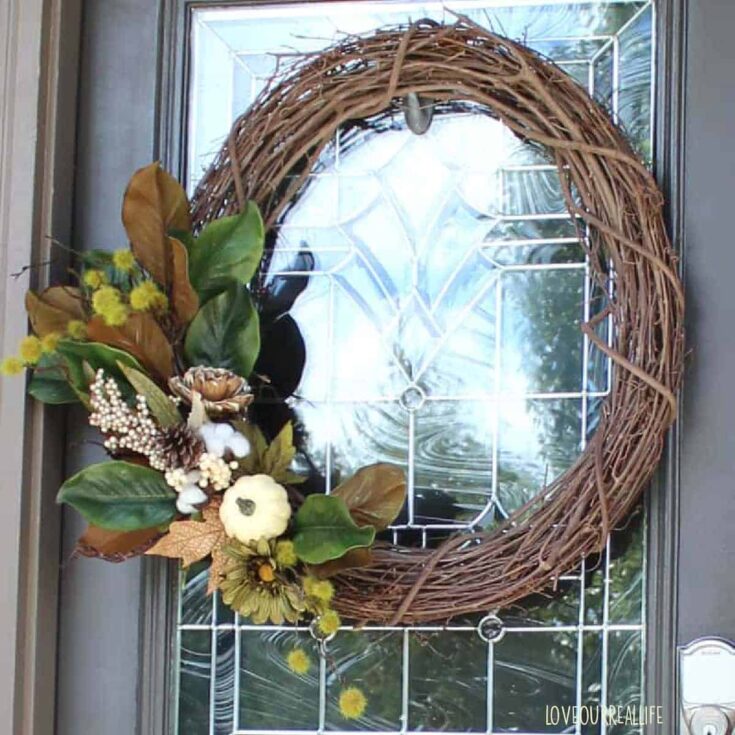
I love to change out our front door wreath with each season. In the past, I have used bright orange and other traditional fall colors. This year, I wanted something a bit more neutral. This DIY wreath can be easily made with a few supplies. I made BOTH of mine for around $30.
A recent post, Painting a Front Door // Helpful Tips and 5 Mistakes to Avoid gives you the background on my front door painting adventure. Check it out to get some great tips! But, today I want to focus on these gorgeous wreaths!
Let’s dive into making these DIY wreaths that are perfect for fall!
If you are a visual learner, see my YouTube video for a step-by-step process to make a similar wreath:
Supplies
- Clauss Wire cutters
- Floral bunches of choice ( I picked up mine at Hobby Lobby)
- Grapevine wreath (I purchased mine several years ago from Hobby Lobby). Find a size that fits your door best.
My wire cutters:
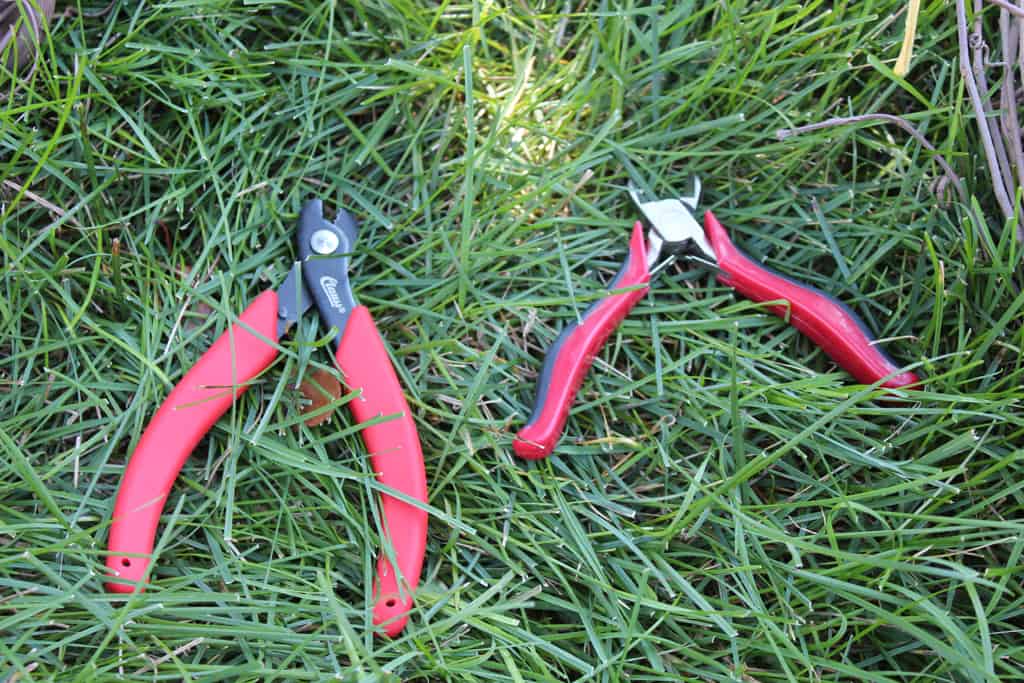
Floral cutters are pretty crucial for this process. The wire stems are way too tough for a pair of scissors.
Grapevine wreaths and floral bunches:
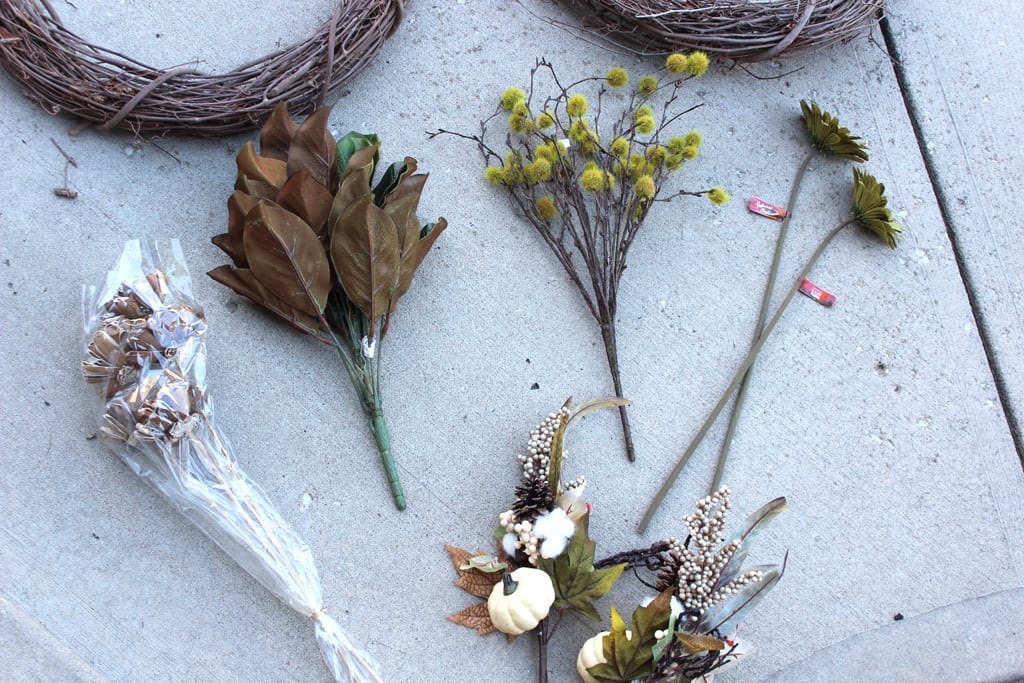
The great thing about making your own wreaths is that they are not only less expensive, but you can use items you love! They certainly won’t be like everything else you find on the shelf.
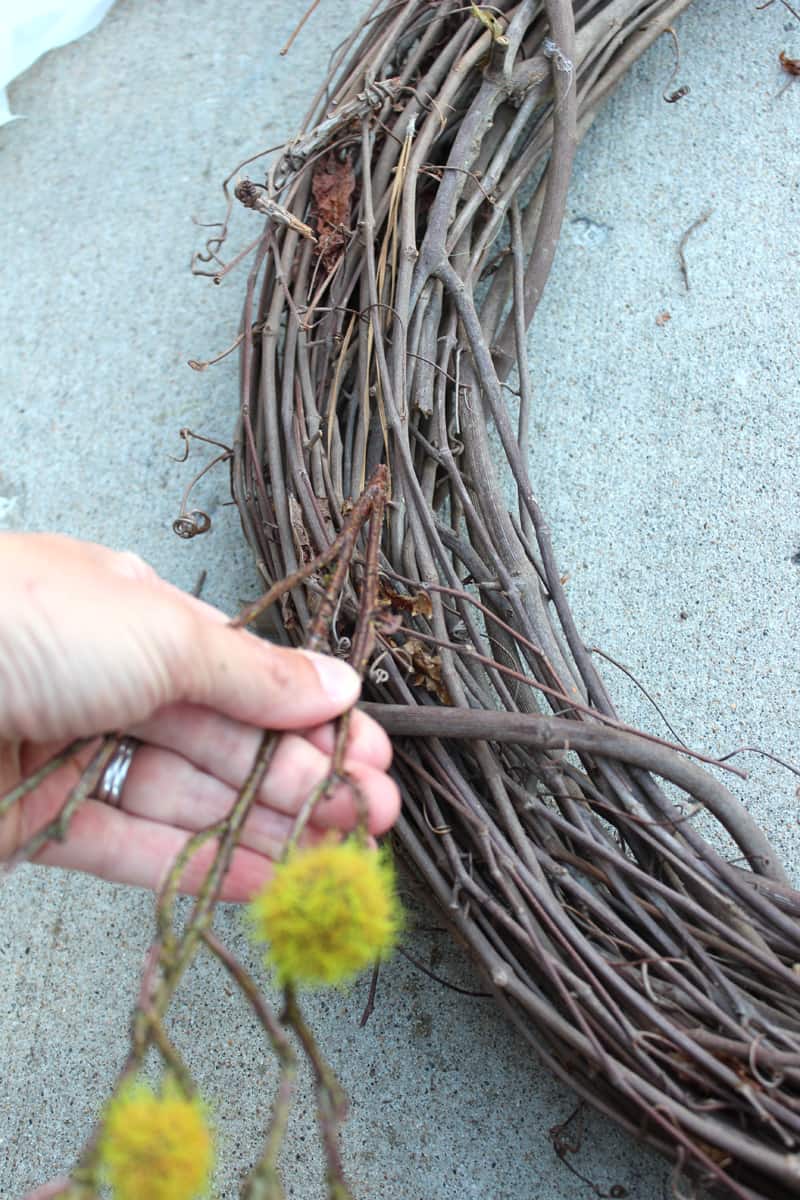
Trim Floral Stems
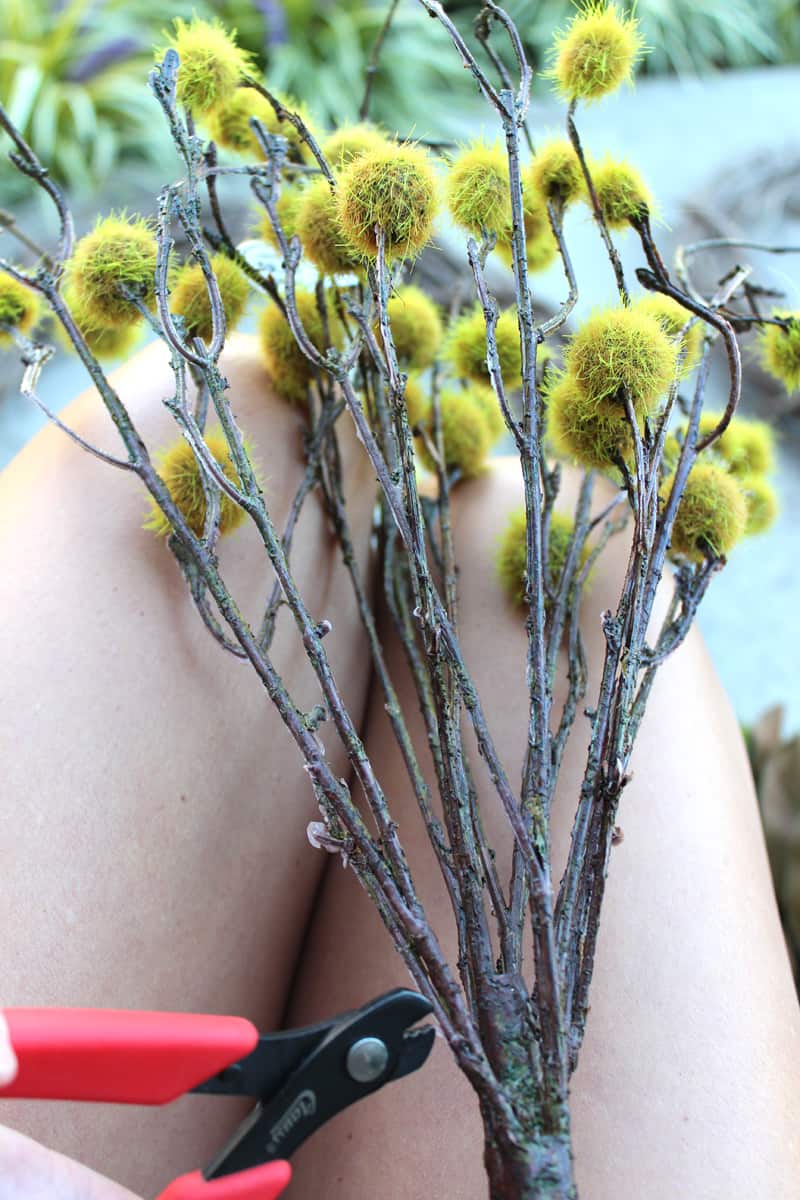
I very rarely use any super glue as the stems tend to stay put nicely.
When trimming down the floral bunches, ensure you have enough stem to adequately push through the grapevine wreath.
I almost never need to resort to using a glue gun as the grapevine holds them into place. This is the case even on my front porch that gets fairly heavy winds.
Magnolia floral bunch was trimmed down into 3 leaves per stem:
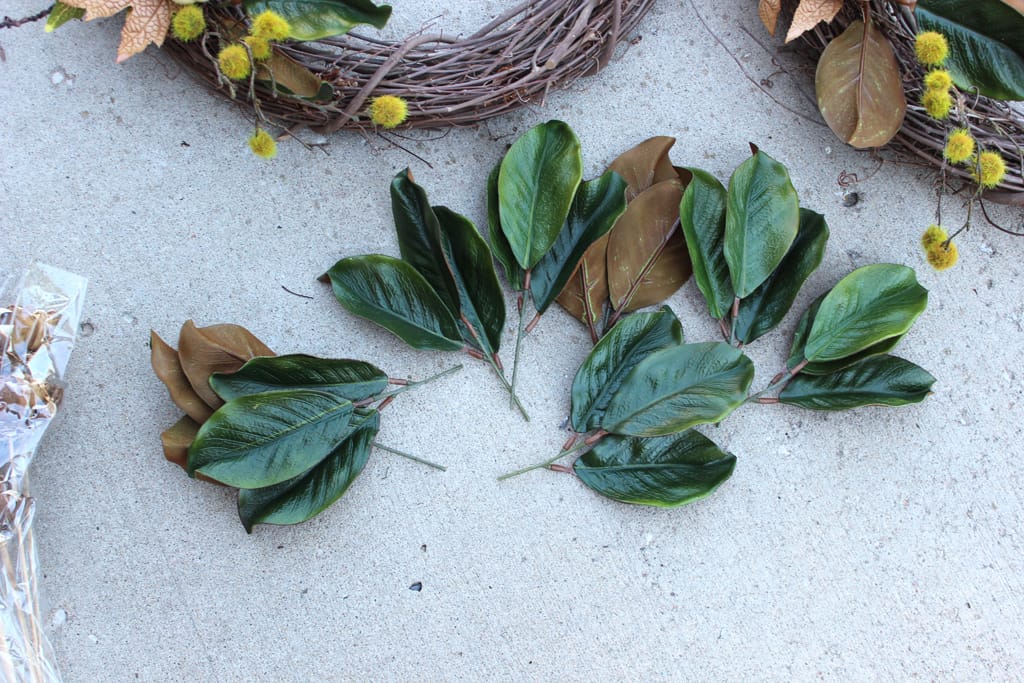
Trimming the floral stems:
The key to trimming the floral stems is ensuring you have enough of the stem to make it very secure in the wreath so it won’t blow apart with the slightest breeze.
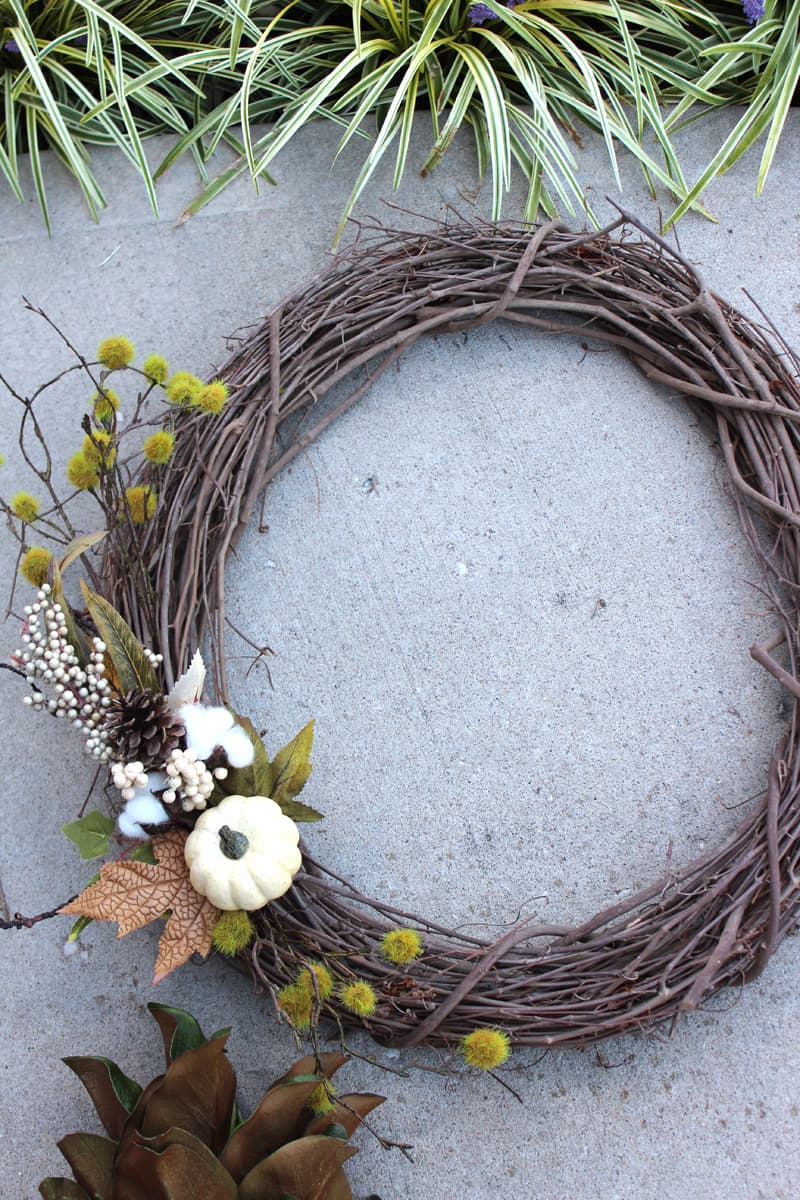
Begin Placing the Floral Stems into the Wreath
This is so simple, you guys!
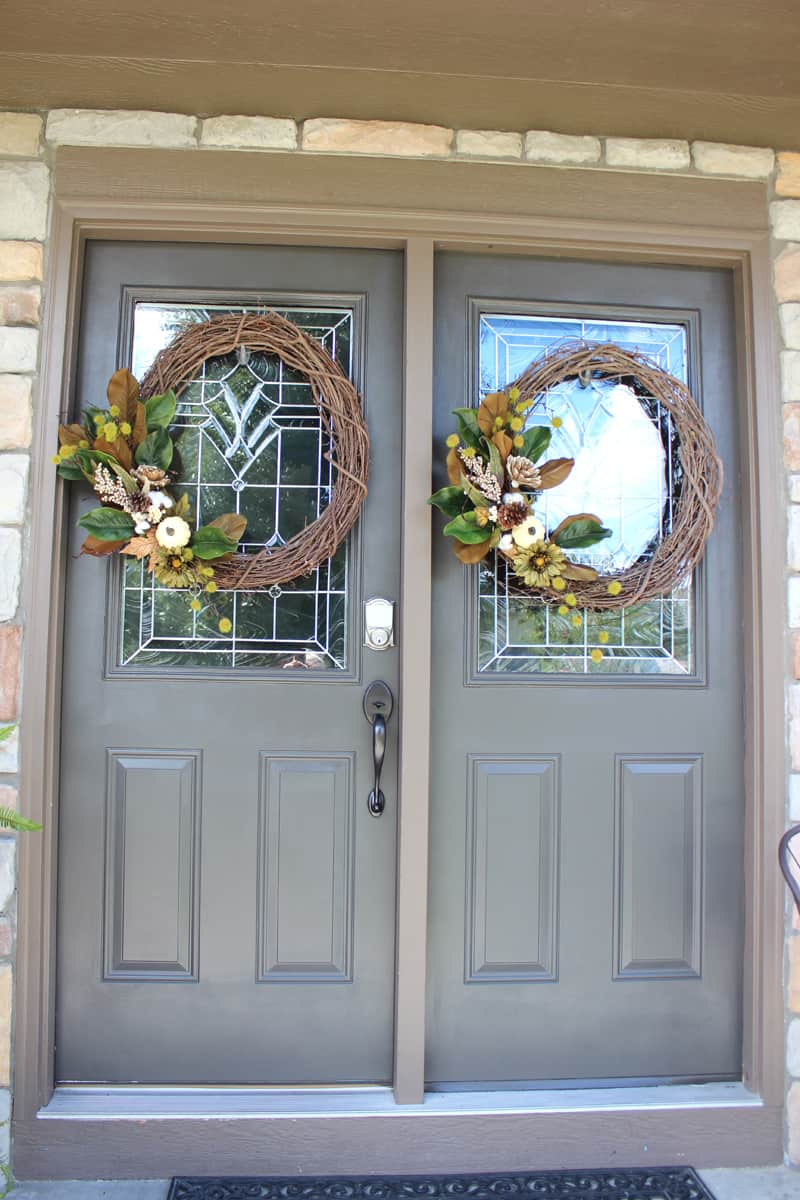
If you have double doors like me, ensure you have an equal number of floral stems for each wreath so they will look identical (or close enough!) when finished. No worries if you have a single door, just do what looks pretty to you!
Pushing the stems into the grapevine wreath:
Note, if you select items such as nuts, faux apples, etc., you will need a way to secure them to the grapevine wreath as they are not connected to floral stem wire as are the floral stems.
In most cases, I would suggest a drop or so of hot glue. In some instances, you may be able to use general floral wire and connect them to the grapevine wreath/ hoop.
Continue Pushing Floral Stems into Wreath
Once you get the bulk of your stems in place, you can see where more might need to be added.
The great thing about using the grapevine wreaths is you can just keep pushing more floral stems into the base as needed to create the look you want.
As I mentioned earlier, if you have double doors as I do, I would recommend trying to make both wreaths look similar and symmetrical. If you have single front doors, this is not an issue!
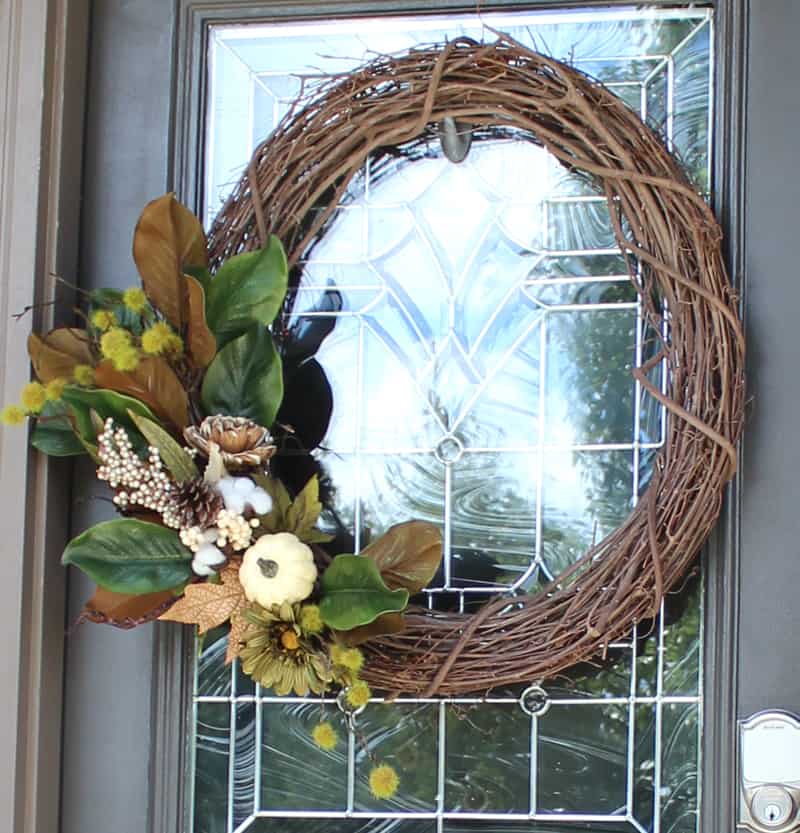
After you get all of the floral stems in place just how you want them, the wreath (or wreaths is double doors) are ready to hang).
Add Finishing Touches
Once you get all of your floral stems in place, you may find that your wreath needs a little extra something.
If this is the case, add a pretty burlap bow or colorful fall element that gives it a little something special.
RELATED: How to Make a Bow with Wire Ribbon
How to Hang Wreaths on Front Door
The easiest way I have found to hang wreaths on my front doors is by using Command Strips.
If applied correctly, Command Strips have the ability to hold quite heavy items, even when used outdoors.
The Command Strips come with adhesive strips that will hold them in place, but can be easily removed when needed.
Other Ways to Hang Wreaths on Doors
If you prefer other options for hanging wreaths on front doors than Command Strips, you might consider some of these options.
- Over-the-door hooks
- Wreath hook
- Double sided tape
- Magnets
- With string or wire
- Hang directly on the door knocker
- With a nail
All this to say, I would still suggest the Command strips if possible as they cause next to no damage to your door and can be removed down the road if needed.
DIY Fall Wreath for the Front Door (Double Doors!)
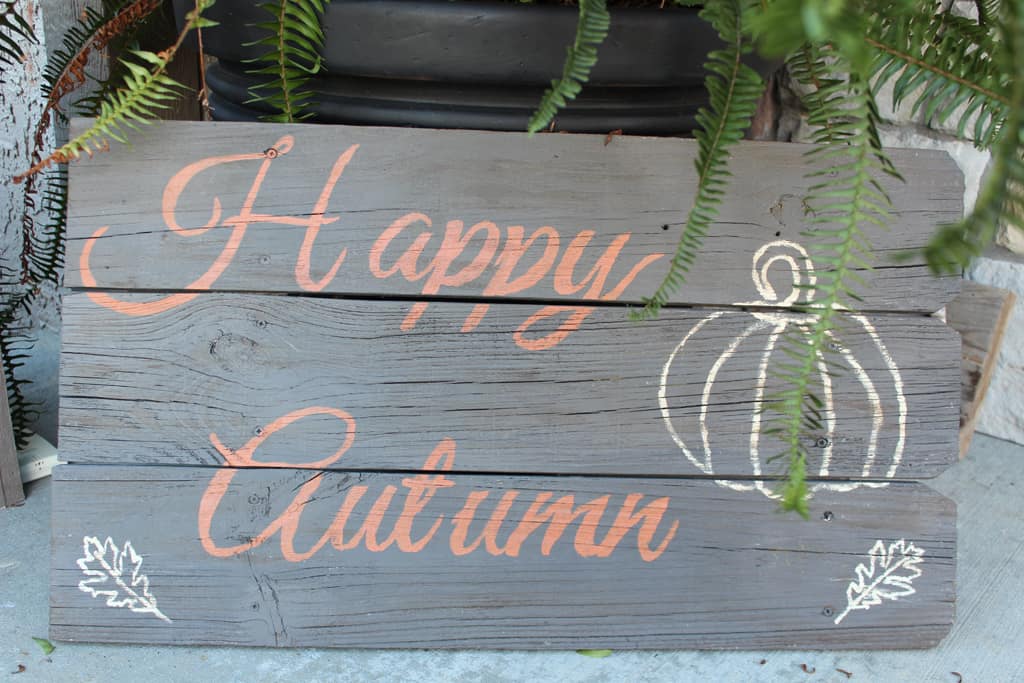
I couldn’t resist pulling out some of my fall outdoor decor! Did you notice the ‘Happy Autumn’ sign in one of the below photos? I made that a couple of years ago with some old boards and left over paint.

Making simple crafts and diys with items you already have is just so satisfying.
Have you ever made a wreath before? A very similar process was used when I recently made a magnolia wreath. It turned out so pretty!
You can truly make a wreath with any floral stems you can dream of and it will look like nothing you would buy off the store shelves (unless you wanted it to, of course!).
Thanks for stopping by today, let’s connect on your favorite social media: Pinterest / Facebook / Instagram
PIN THIS to your favorite fall Pinterest board for later.
DIY Fall Wreath for the Front Door-Easy Tutorial
Easy step by step tutorial to make a Fall grapevine wreath for the front door.
Materials
- Floral stems
- Grapevine wreath
Tools
- Floral wire cutters
- Command Strips (optional)
Instructions
- Cut floral stems. Leave enough stem to adequate push into grapevine wreath, approximately 3-5 inches.
- Begin pushing floral stems into grapevine wreath. Push stems in far enough to ensure they are secure. In most cases you will not need to use additional floral wire or hot glue to secure in place as the grapevine wreath will give the floral stems something to hold onto.
- Add more floral stems as needed. Add fullness and symmetry with additional stems. If needed, add other elements such as a burlap bow.
- Hang wreath on front door. Command Strips make hanging wreaths easy and are easy to remove later if needed.
Notes
If making wreaths for double front doors as I did, ensure they are symmetrical with similar decor elements. Hang and enjoy!
Looks great. I like the neutral colors. I love fall oranges and reds, but they do tend to be everywhere at once. The neutral will make a nice transition.
Thanks, Stephanie! I still love the oranges and reds too. I have plenty of those in other parts of my house!