Deck and Backyard Makeover: Before and After
An inviting outdoor space can feel like having an extra room for your home. Sometimes a few tweaks can make all of the difference. This is our full backyard and deck makeover with before and after pictures for inspiration.
Backyard Before and After:
Before I dive into before and after photos, let me describe our situation. Our backyard faces the west so it gets LOTS of sun all summer long.
Summer is my favorite season, but the amount of sun that our deck was getting made it unpleasant even for a sun lover like me.
Our deck was a cedar deck which requires upkeep. I’m obviously up for a good DIY, but re-staining a deck might be one of my least favorite projects ever.
Get more outdoor project ideas here.
Deck BEFORE Makeover:

I had stained the deck 2 times myself and I had hired it done one other time over the course of the 12 years we’ve lived here.
But, with the amount of sun it got each day, it just didn’t hold up well. It was pretty gross, but our goldendoodle, Bentley, didn’t mind!

It’s crazy looking back at these pictures. The makeover was clearly long overdue. Several of the boards were rotting.
We had a cedar deck in our previous home, but it held up so much better than this.
From a distance, the deck looked ok. But, as I mentioned the space was mostly unusable for the majority of the summer due to straight sun from the west.
I should also mention, we live in what appears to be a wind tunnel. Our heavy duty deck umbrella was constantly being blown around so it wasn’t very helpful for providing shade.

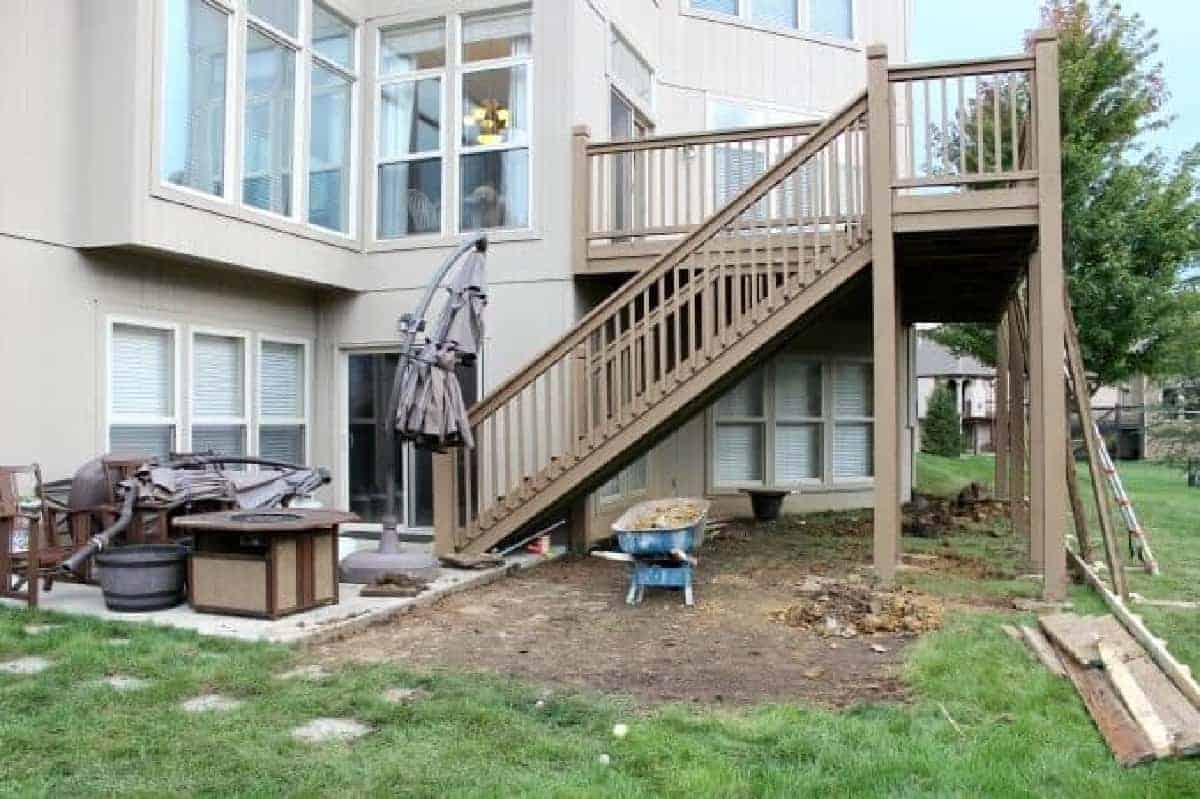
Patio Before Makeover
Below are before shots of our patio. A few years ago, my husband Jason put in concrete pavers to add to our patio space. He did a great job!

Our home sits on a fairly steep grade, which allows for a full walk out basement. Since it is about 9 feet from ground level to the deck flooring, I always tried (and failed!) to grow grass under the deck for added outdoor living area.

But, as you can see, grass did not grow well there. Our dog loved to sit in the mud to cool off on a hot day. Not fun for us when it was time for him to come back into our home…covered in mud!

So what did we end up doing to renovate our backyard? We decided to keep the deck frame, add composite decking and a roof to the upper area. Below the deck, we had the grass ripped up and concrete was used to extend the patio to wrap around the space.
The “during” of the deck makeover:
We did not attempt to take on this project ourselves. Part of doing DIYs involves knowing your limits. This project was certainly beyond our capabilities.
The concrete patio extension added a TON of usable outdoor living space underneath our deck. If you have a similar situation (and your budget allows for it), I DEFINITELY recommend concrete beneath the deck for an extra covered seating area.

I got dining furniture for our newly covered deck. Costco had a beautiful teak set that fit the space nicely. It came mostly assembled, but Jason put on the legs and made sure it was stable for us.
The idea of outdoor dining just makes me happy. In a recent post, I share our tips on hanging string lights for your outdoor space. You’ll definitely want to check that out. Lights add great ambiance, making your outdoor area cozy and welcoming.

I got a little lazy this winter and left our outdoor fire pit uncovered. It was looking pretty bad, so it needed a major refresh. It turns out, it was nothing a little paint couldn’t fix.
READ: How to Paint Outdoor Furniture

The outdoor furniture and cushions all got washed with soap and water. I’m sure my neighbors love me!

After washing the fire pit tiles, they were still looking pretty rough, so I used spray paint to spruce them up a bit. If you are looking for spray paint for your fire pit, you might consider this high heat spray paint as you’ll want something that can endure high temperatures.
You might also be able to see the white areas on one of the tiles below. A couple of year ago, one of the tiles broke and we used Flex Seal to hold it together. It worked like a charm in terms of durability. But, I didn’t wipe the excess sealant off so it didn’t look very pretty.
Spray paint took care of covering that, too!
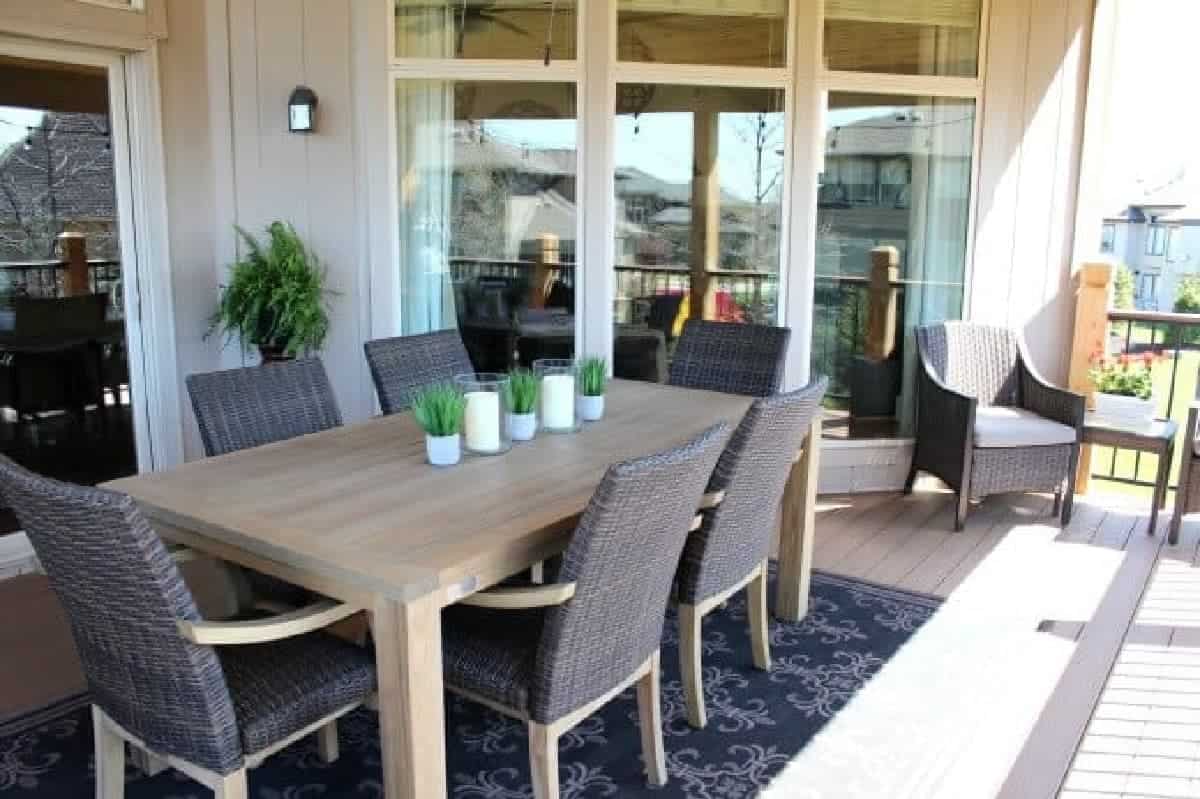
Deck and Outdoor Space Makeover AFTER:
The new teak dining table works great. The deck is just off of our kitchen so it’s really convenient to enjoy our meals outside. There’s nothing like alfresco dining on a beautiful night!

A few plants were added to brighten things up. Faux plants and candles are low maintenance decor I chose for the table. I did add a fern and geranium for a little extra pop of color.
If you have a space that gets a ton of sun, you might consider geraniums. They have worked really well for me in areas that get 6+ hours of sunlight daily.

Below the deck might be one of my favorite places. The freshly painted fire pit is so cozy. If you don’t have a fire pit, consider it! I give several fire pit suggestions in this post. A fire just adds a special touch to an outdoor space.
I changed out the old lava rock for fire glass. You guys, this stuff is beautiful. Keep reading and you’ll get to a picture with a flame burning. Love it!

Remember the under deck space where my dog loved to lay in the mud? This is it! My plan is to add a few low maintenance plants to my barrel planters and it will be complete.

Another thing we added was a hammock hanging chair. We saw some similar at a local fair last summer and I fell in love. Jason got me one for my birthday, but we decided to wait until the deck was finished to hang it.
This chair is so fun. It has quickly become a popular place to hang out and relax at our home!

Below, you can see the roof of the deck and the extended concrete patio. To me, it almost looks like a different house!

A night time view of the deck and outdoor space:
Our home is hard to miss at night. I love the string lights and turn them on almost daily. Here are lights similar to ours. We picked up a wireless indoor / outdoor remote control switch so it’s incredibly convenient to flip them on.

Fire glass flames:

Thanks for stopping by today. I hope you found some ideas from our deck and outdoor space makeover that you can use at your home!
Looking for more outdoor space ideas? I’ve got you covered:
- How to Hang Outdoor String Lights
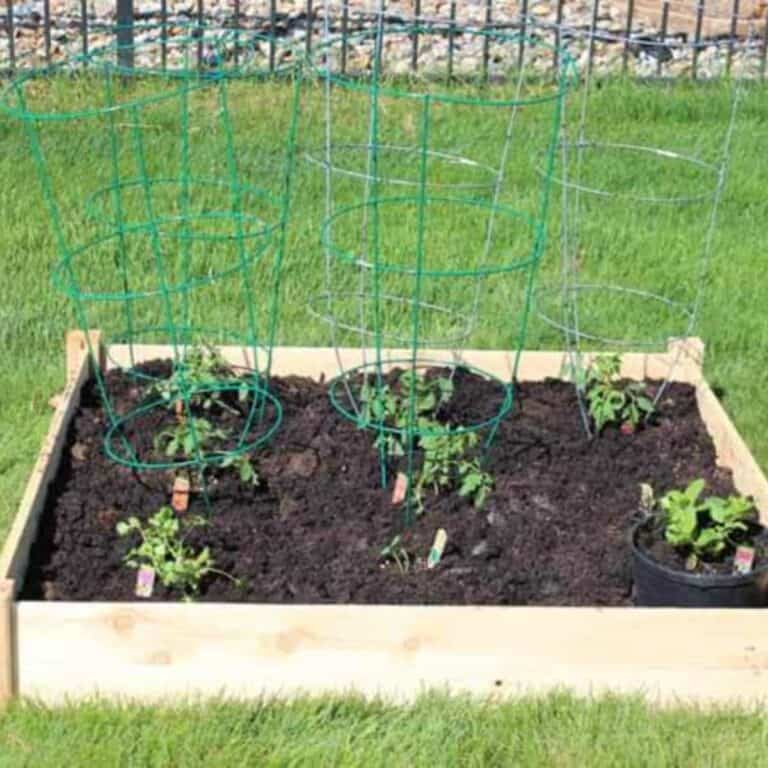
- Tips for Growing Tomatoes and other Vegetables in a Small Raised Bed Garden
- Ideas for Front Yard Landscaping / A Before and After
FAQs
A frugal backyard makeover can be accomplished by using plants and landscaping. Repainting outdated or faded patio furniture is also a great way to cut costs as new furniture can get quite pricey.
Our solution was to replace rotted deck with composite decking. While this was not an inexpensive upgrade, it certainly made the space nicer.
Adding shielding plants (i.e., potted arborvitae, etc) or using lattice walls is a great way to give you a layer of privacy on your deck. Planting large trees in your yard in strategic locations is another way to give a privacy shield as well as reduce noise between you and your neighbor’s home.


This space looks beautiful! I love that fire pit!
-Jennifer
Thanks, Jennifer! We are loving getting outdoors! Have a great day 😊
What a cozy outdoor space! I love outdoor spaces that are functional and beautiful. We have wooden porches that require painting at least once a year, and it is a lot of upkeep. ;(
Pretty AND functional are so important! I have my fingers crossed that this reduces our upkeep! Enjoy your space this summer;-)
Very pretty April.
Thank you, Stephanie! Can’t wait for you to come see it!
Wow! It looks great. Love it!!!!
Thanks, friend!
Wow!! What an amazing transformation! I love everything about it! You will get so much enjoyment from time spent in your new spaces for years to come.
Thanks, Jenifer! We are so excited it’s finished. We are outside constantly now! Thanks for stopping by;-)