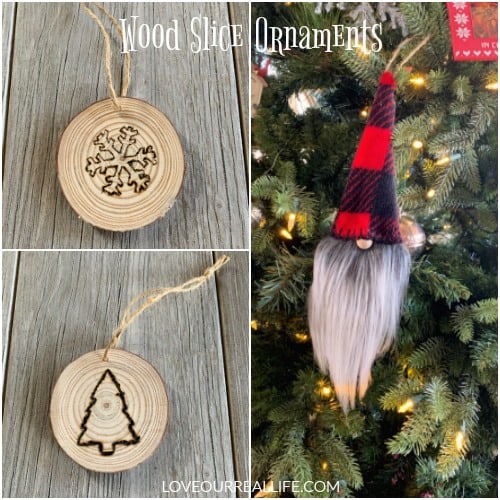
Wood Slice Ornaments / Wood Burning Design AND Gnome Ornament
It’s beginning to look a lot like Christmas! Now that Thanksgiving is over, I am in full Christmas decorating mode. I recently finished up with these wood slice ornaments and they are a fun and easy diy Christmas craft I thought you might enjoy!
I’m sharing two different wood slice ornament ideas: 1) Simple Christmas wood burning designs on wood slices and 2) Gnome Christmas ornaments.
Get more Christmas craft ideas and DIYs here!
Today also happens to be the last week of the Deck the Homes challenges. I’ve been teaming up with several talented diy bloggers, sharing wonderful holiday themed DIY projects over the past few weeks.
This week’s theme is DIY ornaments.
Stick around to the end of the post where I’ll share a link for you to see their wonderful ornament creations! I am honored to be a part of this incredibly creative group this year!
On with the Wood Slice ornaments!
Let’s start with the wood burning ornament!
How to burn designs into wood for Christmas wood slice ornaments:
Supplies:
Wood Slices
Wood Burner Tool / Kit
Design for ornament (see below)
Twine to hang ornament
Drill (optional)
Hot glue if drill not used to glue twine to back of wood slice
1. Determine design for ornament
If you are not an expert at wood burning (I am not!), I would suggest picking a basic type of design for your wood slice ornament. The sky’s the limit when it comes to wood burning design ideas.
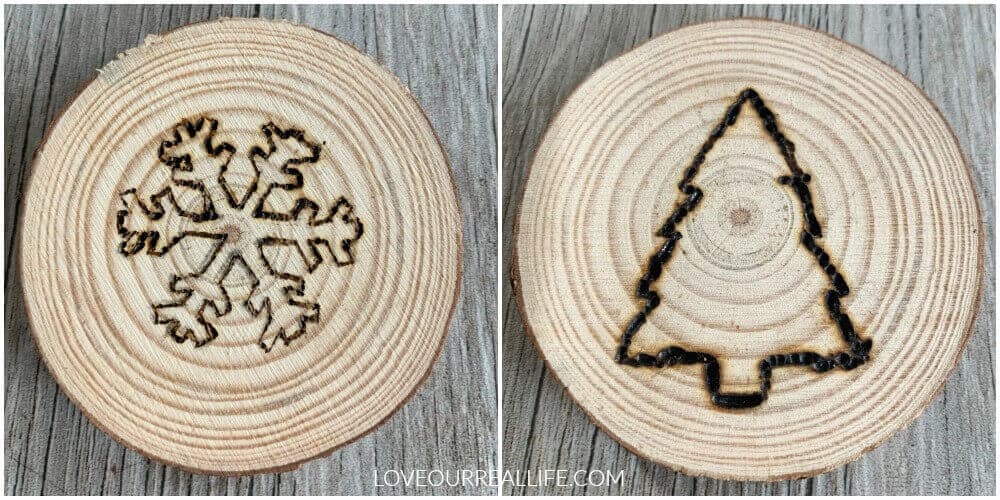
My suggestion would be something with straight, simple lines. I selected a Christmas tree and a snowflake that fit this description.
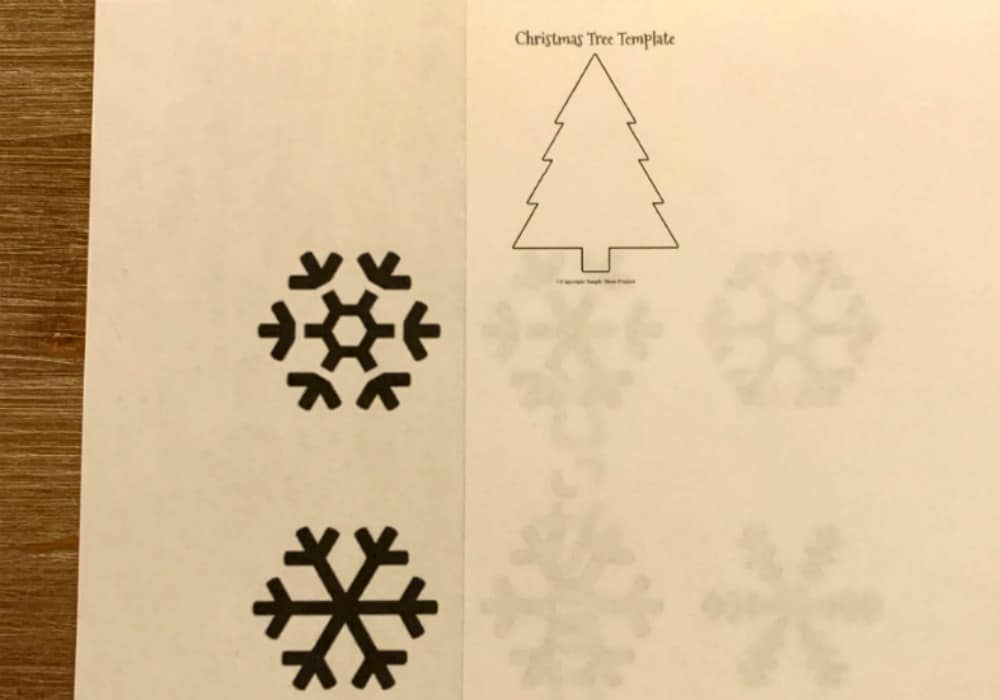
Simply Google images of “snowflake clipart” or something similar and you’ll likely find a great design to use! Just print it out and you are ready to go.
2. Transfer Design to Wood Slice
There are several ways to get the design onto your wood slice. IF you have carbon paper, that would likely work best. I did not;-)
My craft projects are a bit like my cooking, I tend to never have exactly what I need, so I do a lot of improvising.
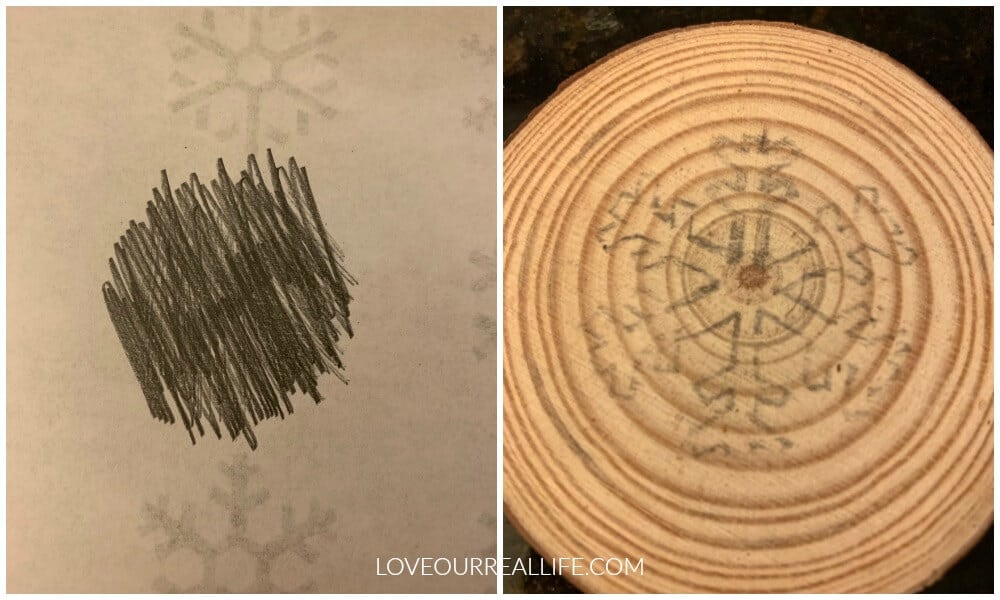
I attempted to transfer the image to the wood slice by coloring the back of the design with chalk, then tracing around the design.
This didn’t work well as the transfer wasn’t dark enough to see.
My process: Cover the back side of image in pencil.
Then face the back side against the wood slice. Trace around the design using a pencil or ballpoint pen with a good amount of force.
It did a good enough job to allow me to see the design.
With the Christmas tree template, I just cut it out and traced around it lightly in pencil.
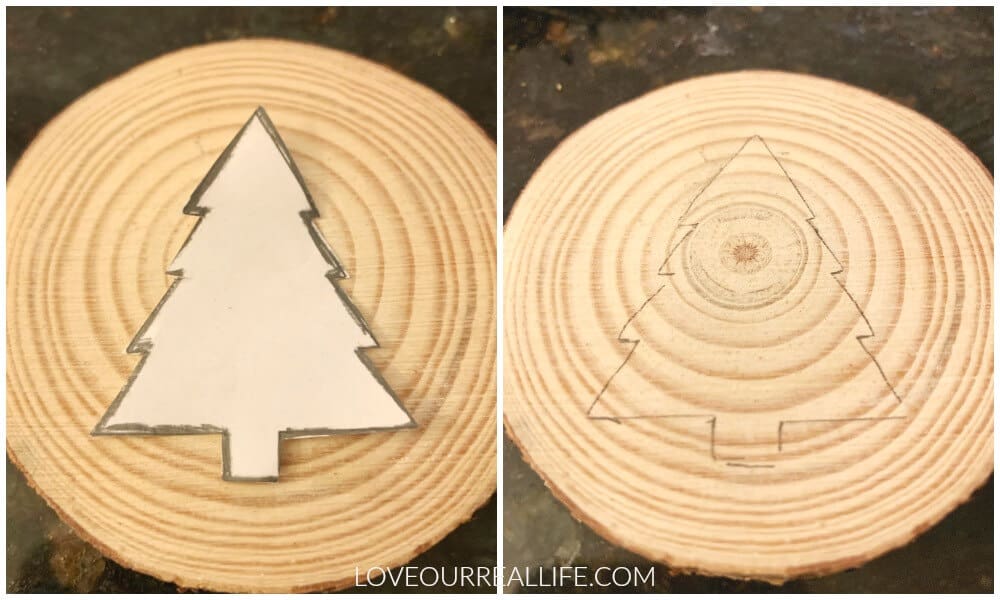
Both of these methods worked just fine!
3. Use Wood Burning Pen to Trace Design
Just a word of caution with pyrography, these wood burning tools are HOT! Please be careful.
If you determine you want to use a different tip, wait at least 5 minutes to let it cool prior to changing it. Use a small pair of pliers to take the tip out just to be sure.

4. Attach Twine to ornament
If you have a drill, the most durable way to attach twine to your ornament is by drilling a hole in the top of the wood slice.
After drilling a hole in the top portion of the wood slice, tie some string / twine through the hole so you can hang it on your Christmas tree.
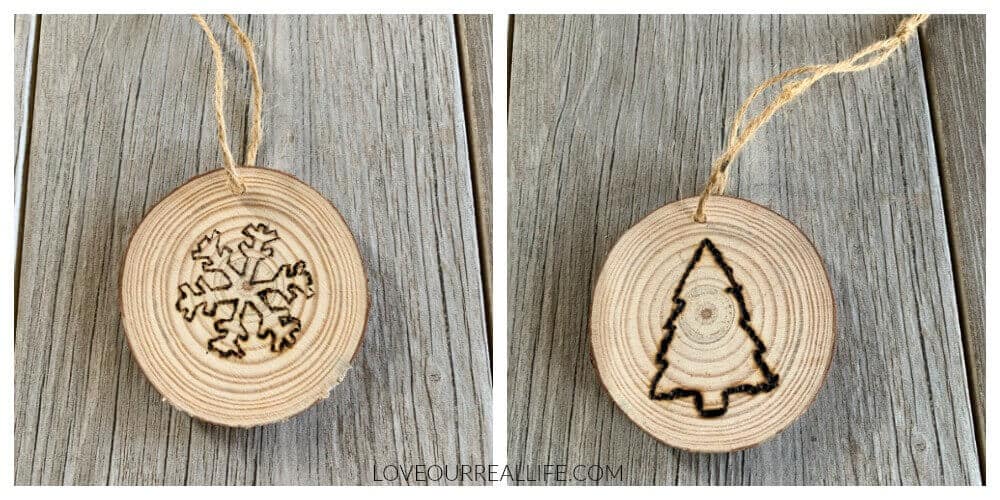
IF you do not have a drill, you could easily hot glue some twine to the backside of your ornament!
That’s it!
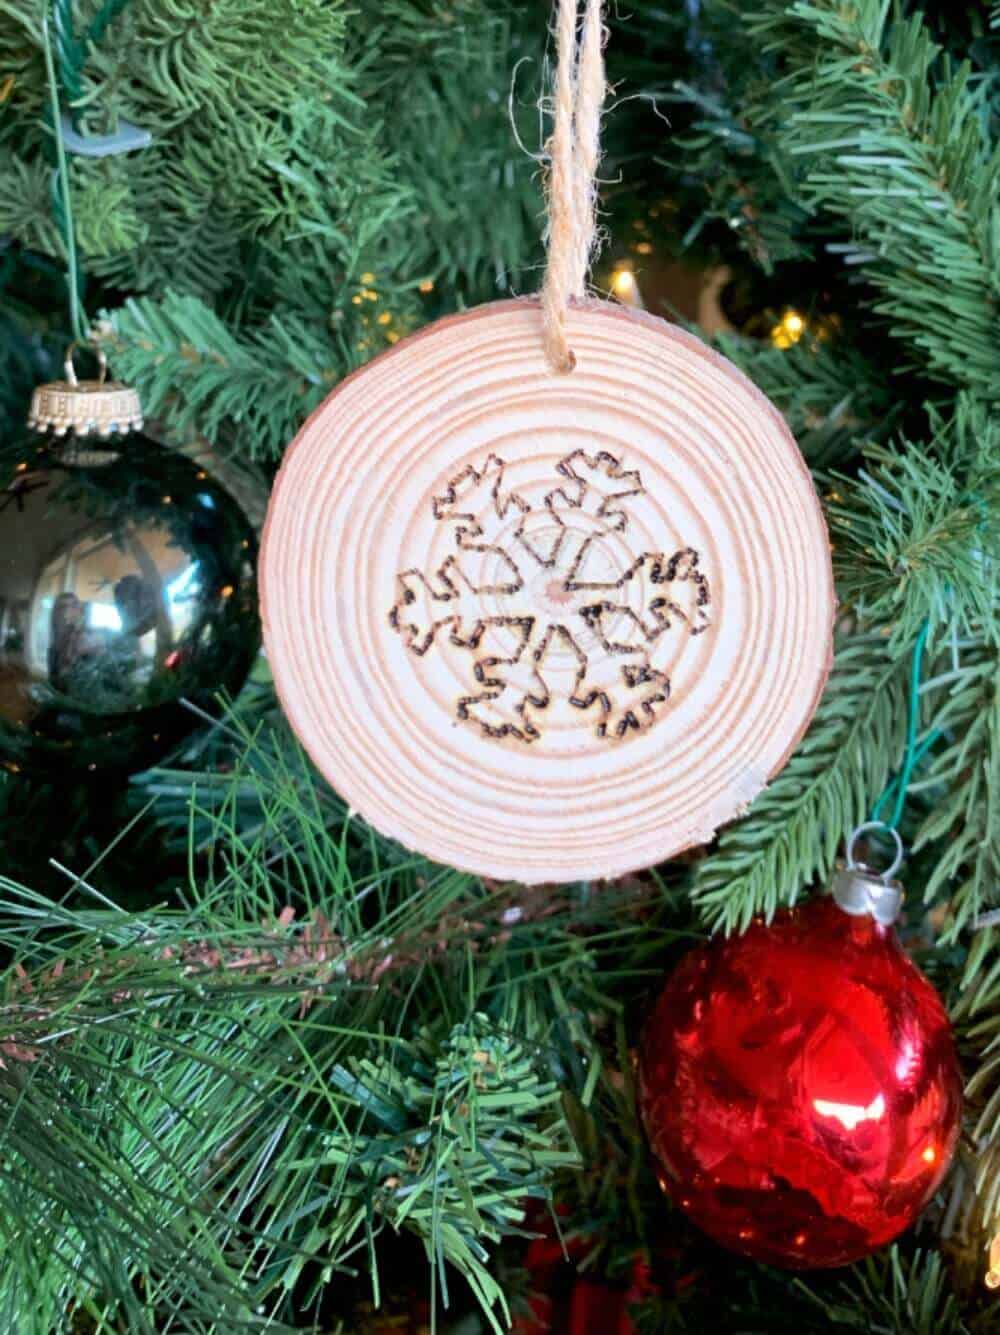
DIY Christmas Ornament from Wood Slice
Snowflake ornament
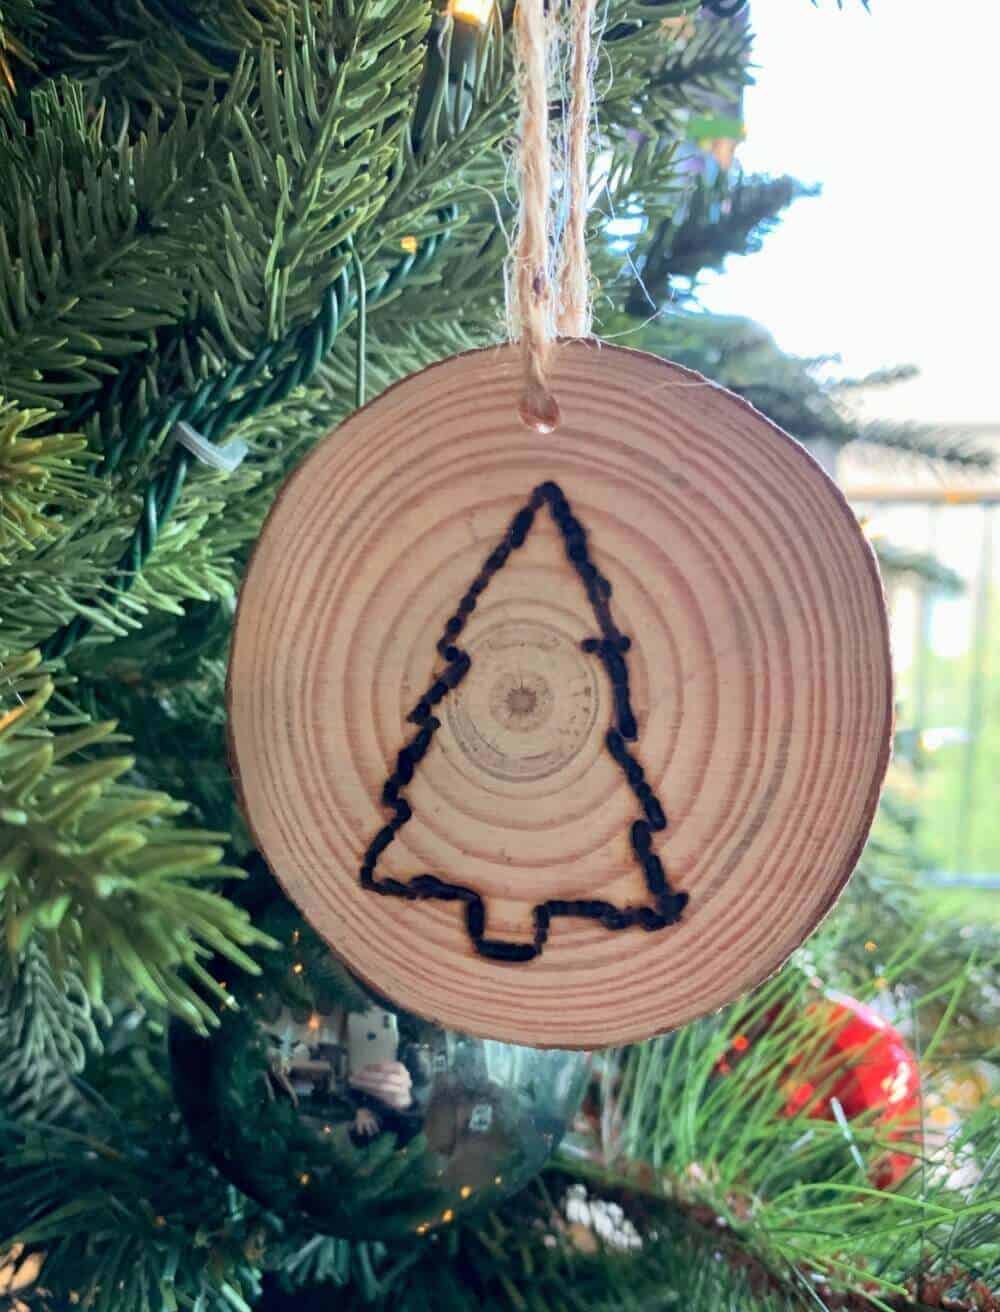
Christmas Tree on Wood Slice
Ok, now we move on to the other homemade Christmas ornament tutorial.
Gnome Ornament
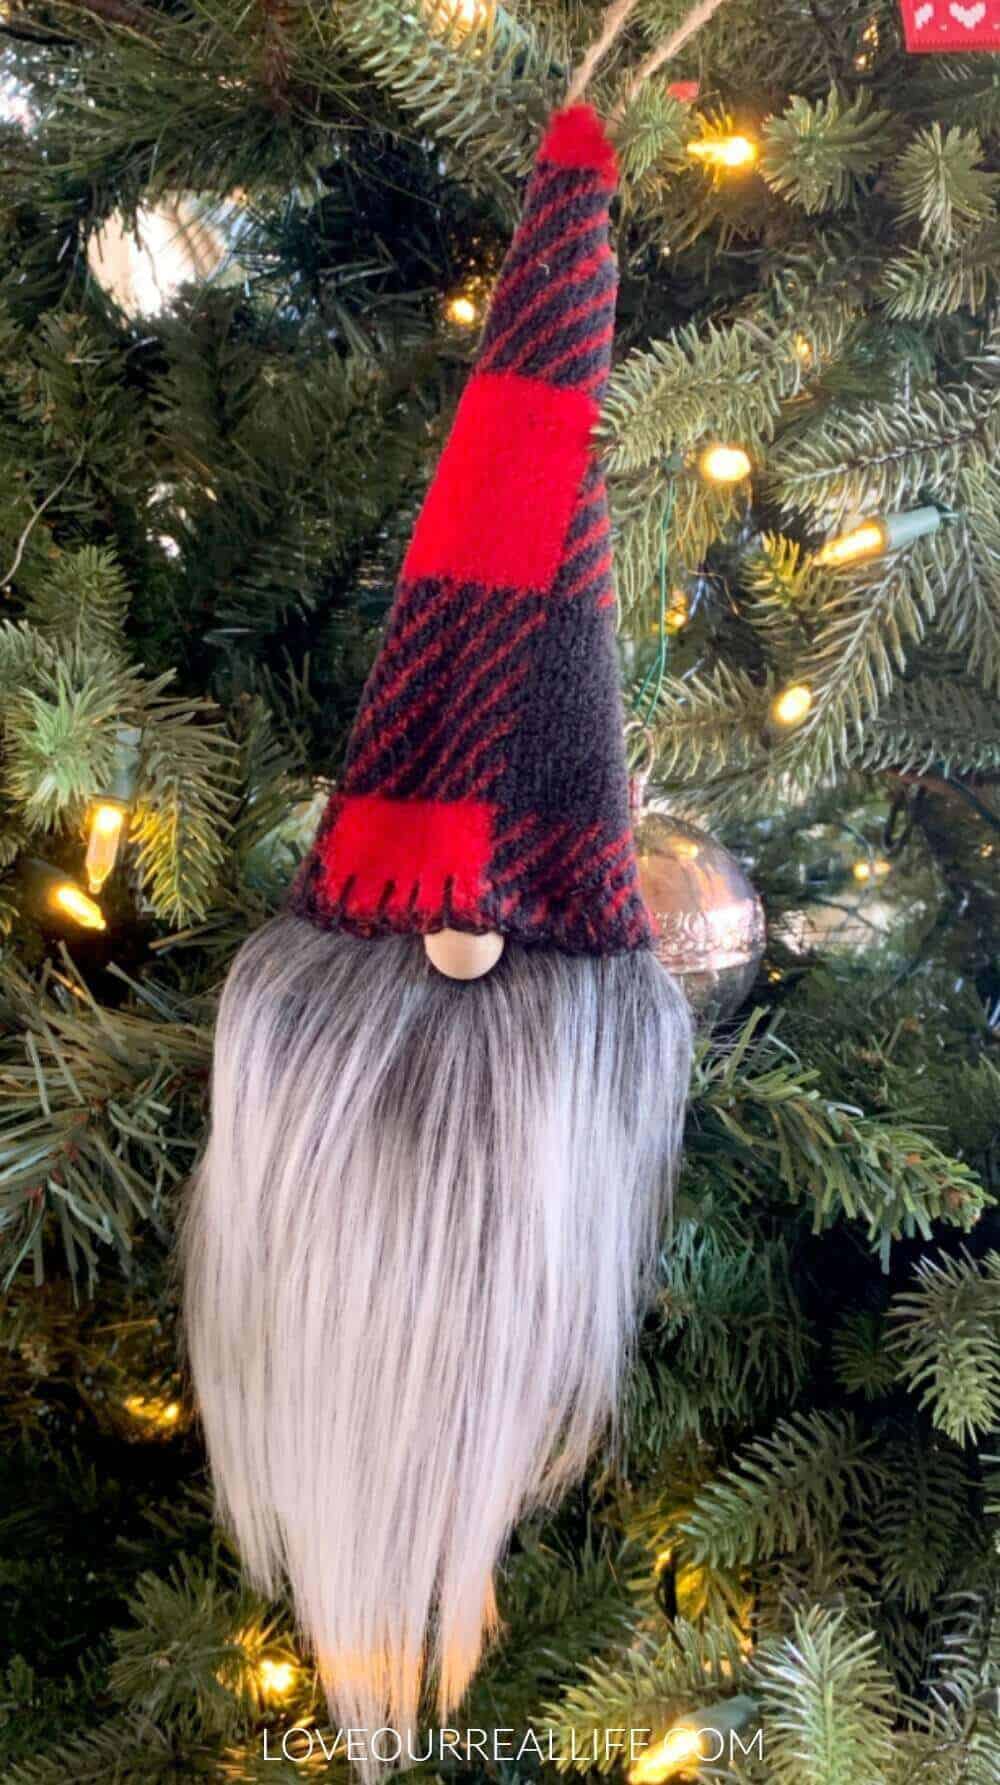
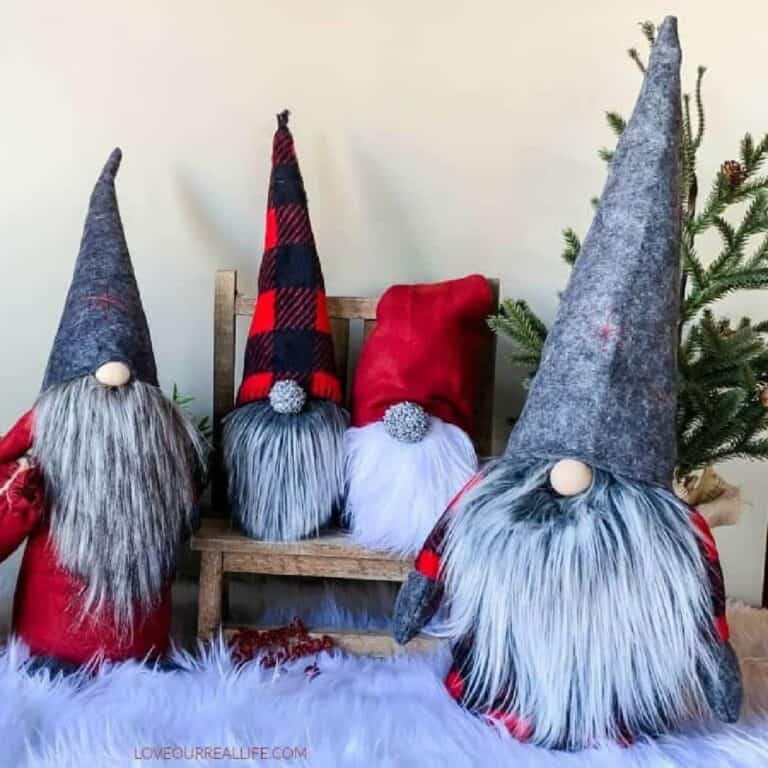
You might have seen my Christmas gnome post recently. These sweet little guys turned out so cute, I just had to make one in an ornament size.
Here are my fun Christmas gnomes that inspired me to make a Christmas gnome ornament:

SUPPLIES FOR CHRISTMAS GNOME ORNAMENT:
Wood slice
Mongolian fur or other faux fur fabric
Scissors
Razor blade (optional, but helpful!)
Fabric for hat ( I used cheap fleece blankets from WalMart)
Wood Craft Bead for nose
Twine
Hot glue gun / glue
How to make Christmas Gnome Ornaments on a Wood Slice
This is a fun and fast diy you can knock out pretty quickly. If you have your supplies ready to go, I would suggest making several at one time. They are hard not to love.
1. Attach beard to wood slice
Let me start this diy by saying it is best to use a razor blade to cut fur fabric. Otherwise the fur gets trimmed and doesn’t look as nice. Gnomes don’t tend to be that well manicured!
BUT…my razor blade was really dull, so I was stuck using scissors. Mine turned out really cute, but just know a razor blade will help prevent you from cutting the fur as much and allow you to just cut the backing.
To size the beard, just make sure you have enough fur to wrap around the sides and onto the back of the wood slice. I can’t really give you measurements, because each wood slice will be different.
It should overhang the wood somewhat at the bottom of the wood slice.
Don’t overthink it! As you can see, mine is certainly not precise.
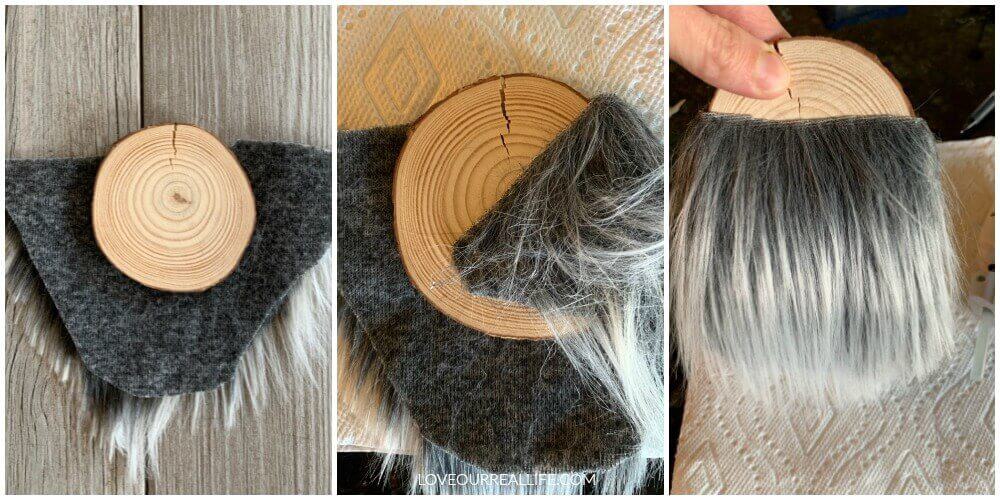
Once it is cut out, hot glue it onto your wood slice. Start with the front, then glue either side, wrapping it around to the back of the wood slice.
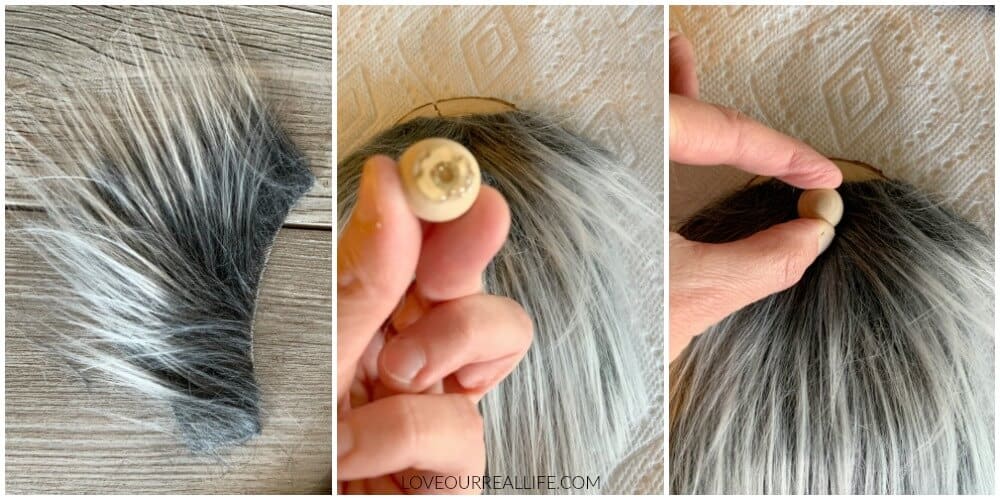
2. Glue on the mustache and nose
Cut another strip of fur fabric for the mustache. I just used some scraps I had from cutting the beard.
Hot glue this strip of fabric just at the very top of the beard. Shape the fur to the sides to give the look of a mustache.
Then glue the wooden bead in the center of the mustache, holding in place for several seconds to allow it to dry well.
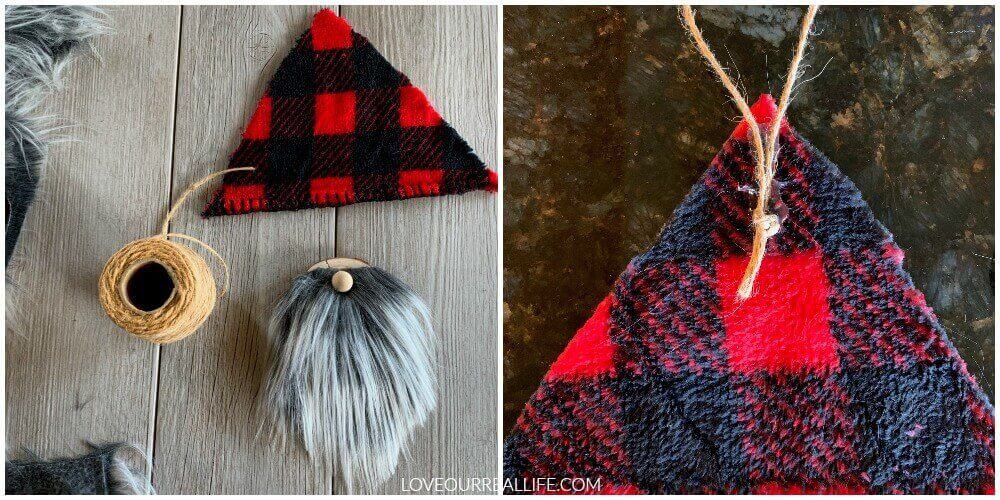
3. Attach twine or ribbon to the hat to allow you to hang on the tree
Cut a triangle shape piece of fabric for the hat of the wood slice gnome. I used a pretty buffalo plaid fleece blanket I found at WalMart that was really inexpensive.
Using the edge of the blanket gave a tailored edge to the hat without having to sew a thing!
Measure the bottom of the triangle to fit around the wood slice, at the level of the nose.
NOW, cut a piece of jute twine to use for hanging the ornament. Tie a double knot and hot glue it in the top center of the backside of the hat.
You could also use ribbon or any other string you have on hand.
4. Attach the hat to the wood slice gnome
Overlap the nose just slightly with your fabric. Hot glue the hat all around the head of the gnome.
The hot glue can be a bit of a mess, so be careful!
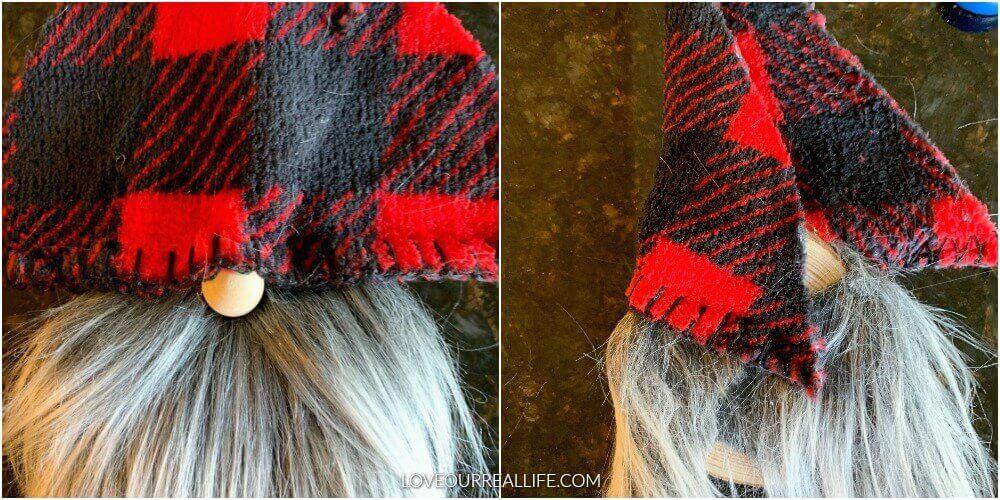
5. Hot glue the back of the gnome hat.
Keep in mind, this is the back of the gnome that will be facing the tree so it doesn’t need to be perfect!
Hot glue the fabric, starting at the bottom of the hat, working your way to the top of the hat.
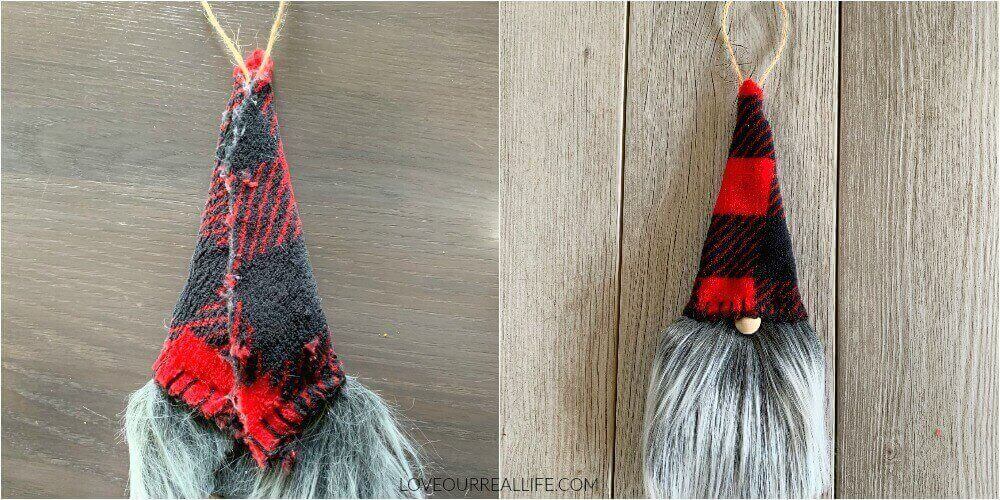
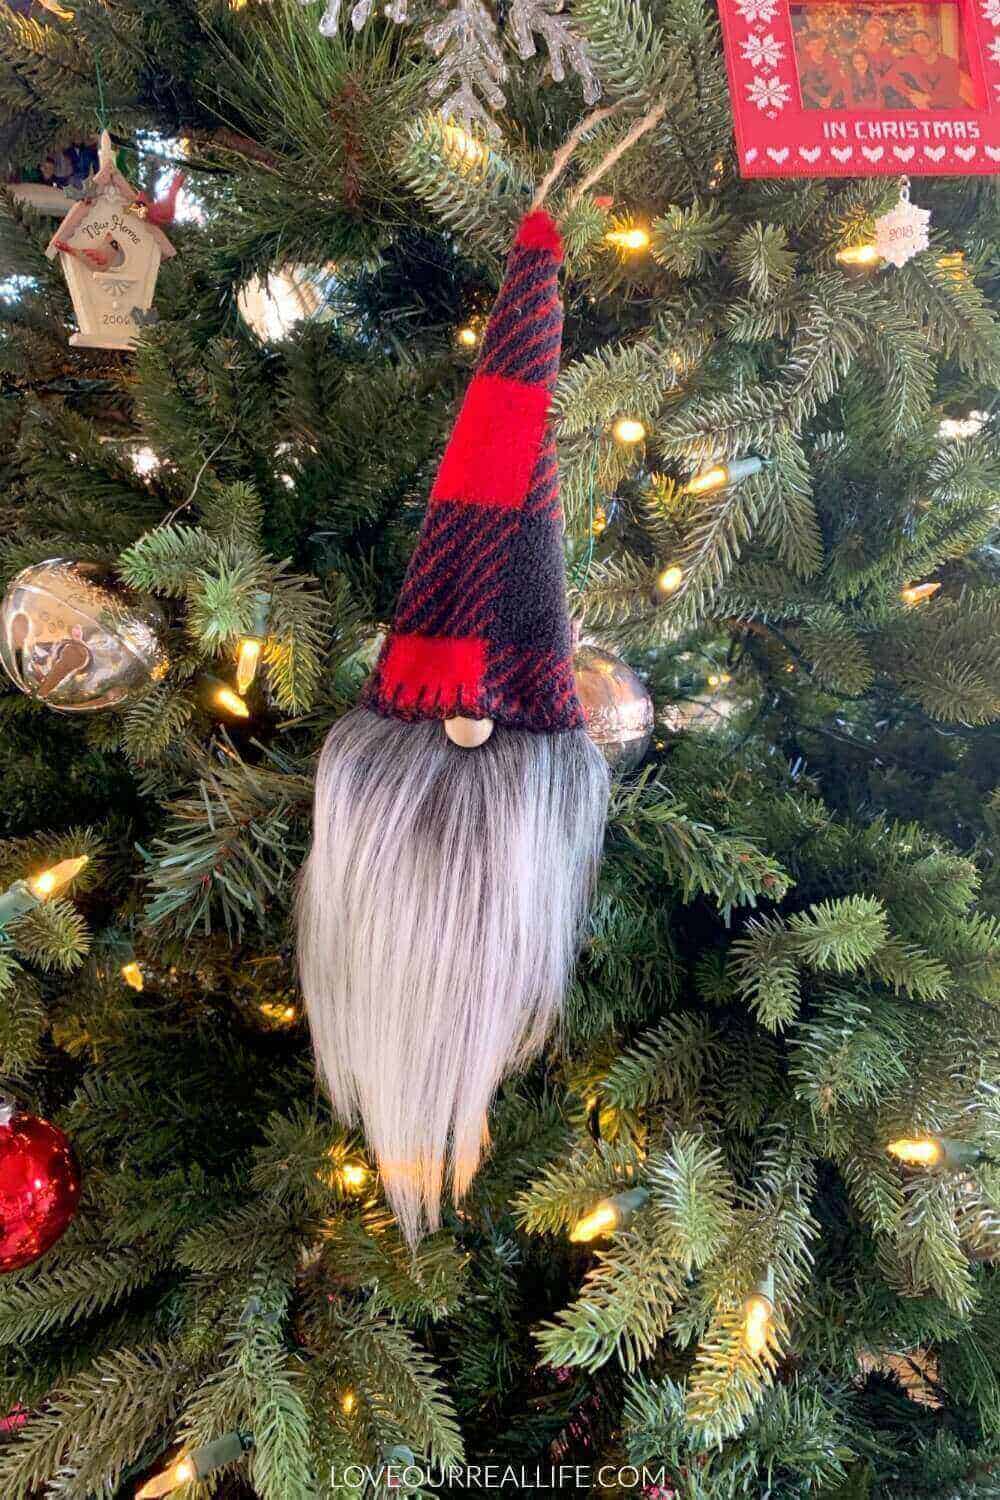
Completed diy Christmas Gnome ornament!
If you haven’t noticed, gnomes are pretty hot right now!
Sarah at Ruffles and Rainboots is gnome queen and has a tutorial for nearly every type of gnome you can imagine. Take a moment and check out her site. You might find even more fun ways to add a gnome to your Christmas decor.
When I was brainstorming ideas for wood slice ornaments, her gnome ornaments were one of many on Pinterest and all over Google that inspired me to create my little wood slice gnome.
These sweet guys are everywhere!
RELATED READING:
• Gnomes You Can Purchase on Amazon: Home Decor AND Attire
• How to Make a Scrabble Tile Christmas Ornament
• Buffalo Plaid Embroidery Hoop Ornament DIY
Thanks so much for stopping by today! I hope you are inspired to make your own diy wood slice ornaments.
Take a look at all of the other amazing Deck the Home Challenge diy ornament projects!
Don’t forget to PIN these wood slice ornaments to your favorite Christmas Pinterest board for later!


You did such a beautiful job! I love your attention to detail. Pinned for later.
So sweet! Thank you, Meegan!
I love all of them. I had wood burning on my crafting goals this year, but never made it. These are all so cute and I want one of each for my tree.
Thanks, Jenny! Wood burning is a bit addictive…I definitely want to find more ways to use my burner. Merry Christmas to you!