Easy Dollar Store DIY Easter Mason Jar Craft
Easter decorations get me excited for spring! Simple mason jar crafts are fun crafts to get some spring color in your home. Plus, you get some easy Easter candy jars to give as cute gifts or to keep for yourself.
The Easter egg mason jars would also make a fun substitute for Easter baskets.

See more crafts and diys for spring!
Supplies for Easter Mason Jars:
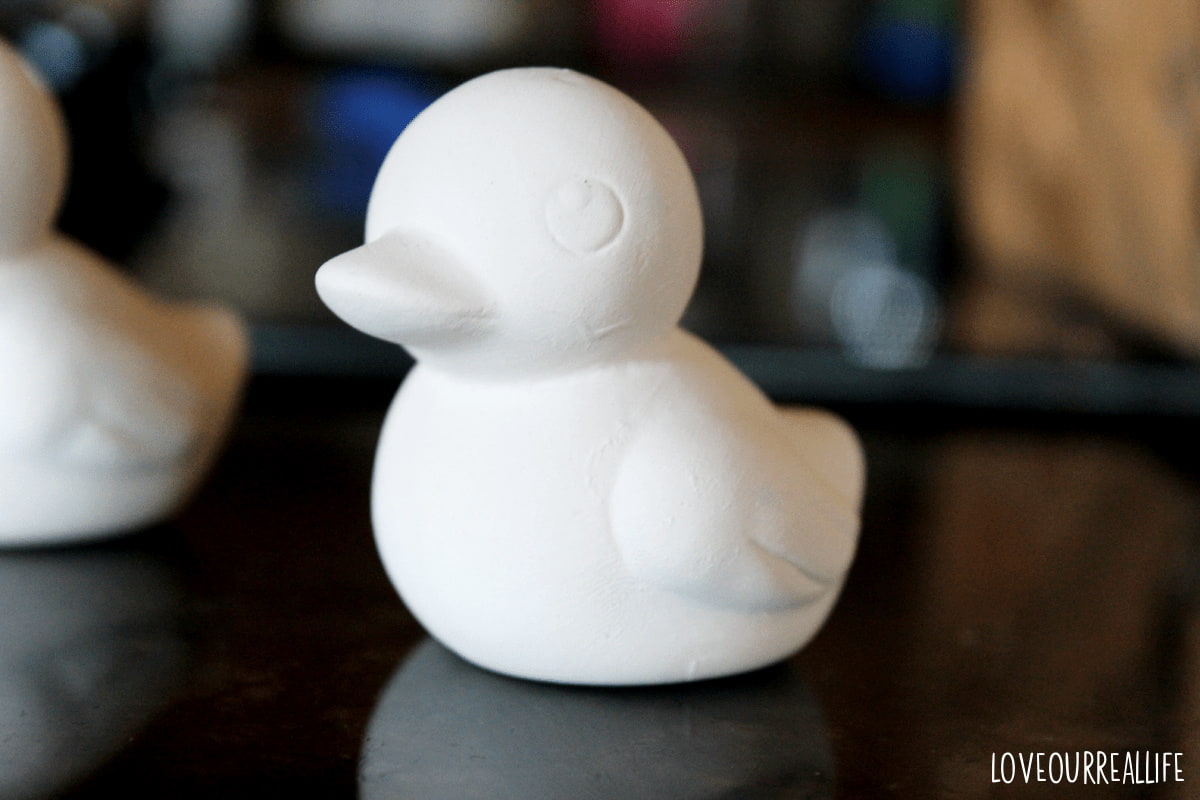
- Duck or other spring related figurine
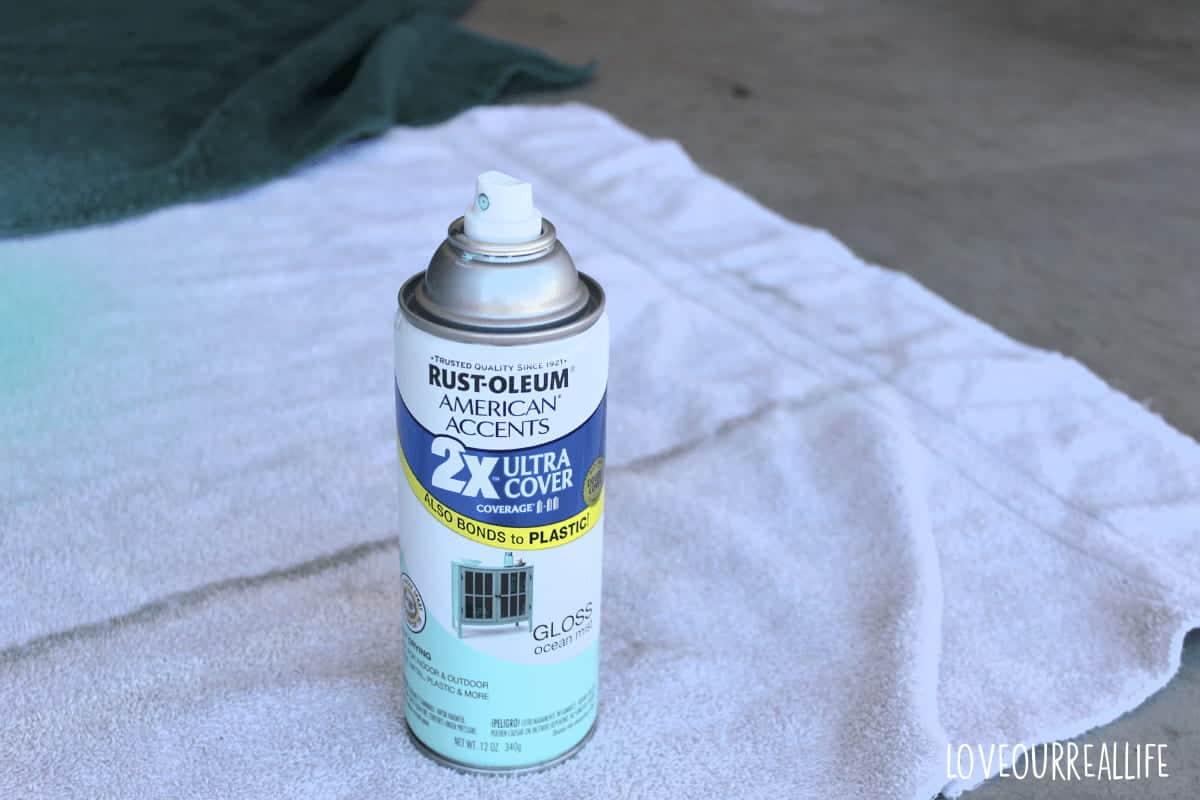
- Pastel spray paint in color of choice
- Mason jar (or other glass jar which is what I ended up using) with lid
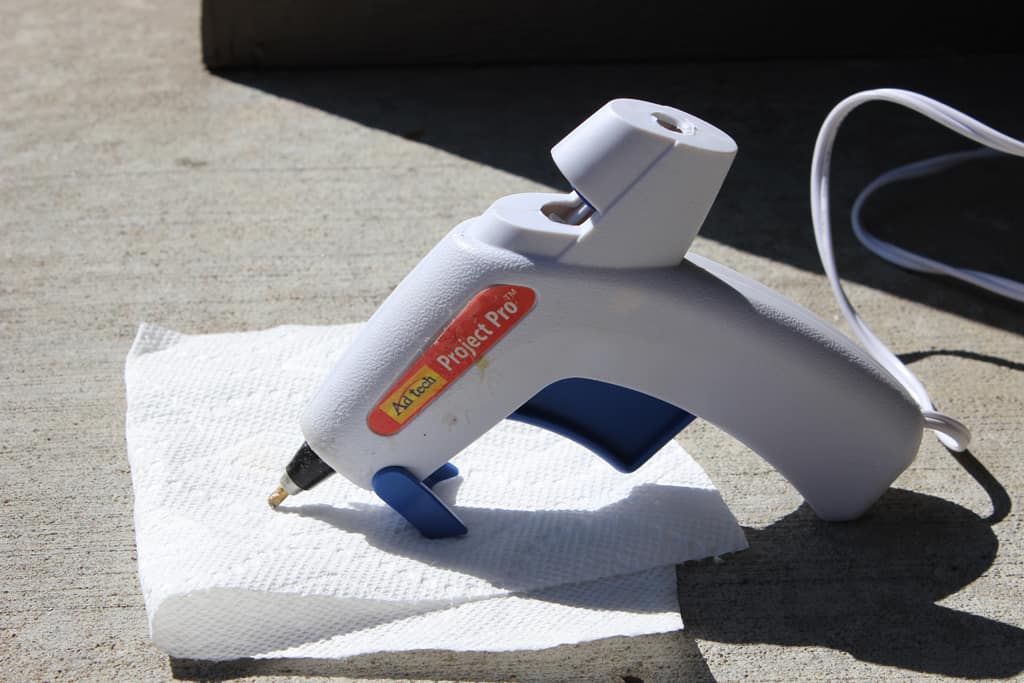
- Hot glue gun
- Jelly beans or other colorful Easter candy
Other ideas to put on top of the adorable jars: little bunnies with cute bunny ears, plastic Easter eggs, adorable carrots.
The best part about Dollar Store crafts is finding great ideas without spending a lot of money.
Around the Easter holiday, you can likely find some spring-like figurines in the craft section of your local Dollar Tree, Hobby Lobby, Michael’s, WalMart, or find Dollar Store supplies in the craft area of the store. While I got my supplies mainly from the Dollar Store, you can find inexpensive supplies at the locations I mentioned above.
The key to the figurine is finding one that is fairly flat on the bottom so it will adhere well to the lid. The hot glue gun worked great, but you could easily use mod podge.
Also note that acrylic paint or chalk paint would work just fine for this easy craft. Just ensure you have a paint brush on hand should you go that route. A little paint is all you need, so if you already have some in a color you like, use it!
If you read this just after Easter, you might just find a great deal in the clearance section! You can make your Easter jar and save it for next year and save money in the process. You might even get more Easter mason jar craft ideas.
RELATED: Mason Jar American Flags
On to the full tutorial.
Paint the Duck
Once again, get creative with what you put on top of the jar. It would be just as fun to have Easter Bunny treat jars! Dollar Store Easter decor ideas might just inspire you with other awesome ideas.
To paint this duck, we used a pretty spray paint color and allowed plenty of dry time. You could use white paint or any other paint you’d like. Different colors for different jars. What I love about a simple idea like this Dollar Tree Easter craft, is that it is so much fun to try new things.
An easy diy is always a great craft.
RELATED: Easter Tree using plastic eggs
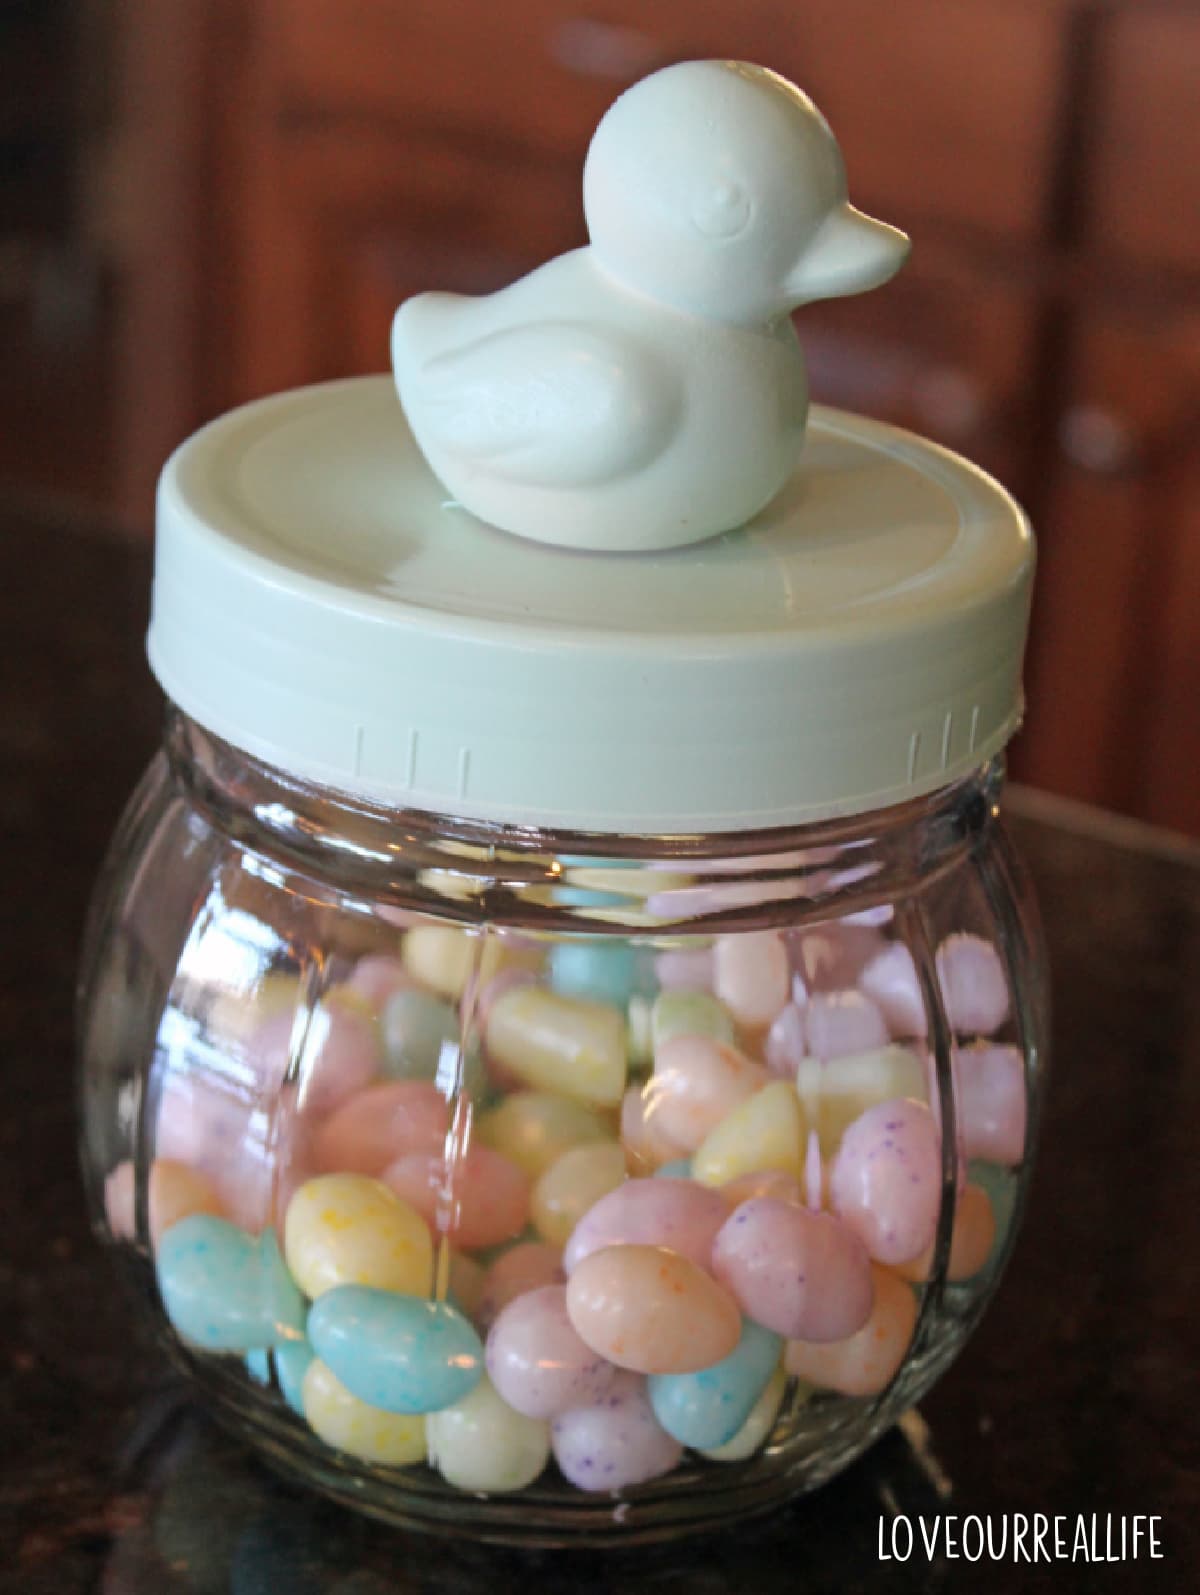
Glue Duck Onto Jar
Add a dab of hot glue to the bottom of the duck (or bunny if you are making bunny mason jars) and hold in place for 30+ seconds.
Add Treats to Jar:
Add a chocolate bunny, jelly beans, or create a fun little surprise to put in the Easter jar DIY. Add spring colored tissue paper in the bottom and create an adorable gift. These would make inexpensive teacher gifts or use as a pretty Easter table centerpiece!
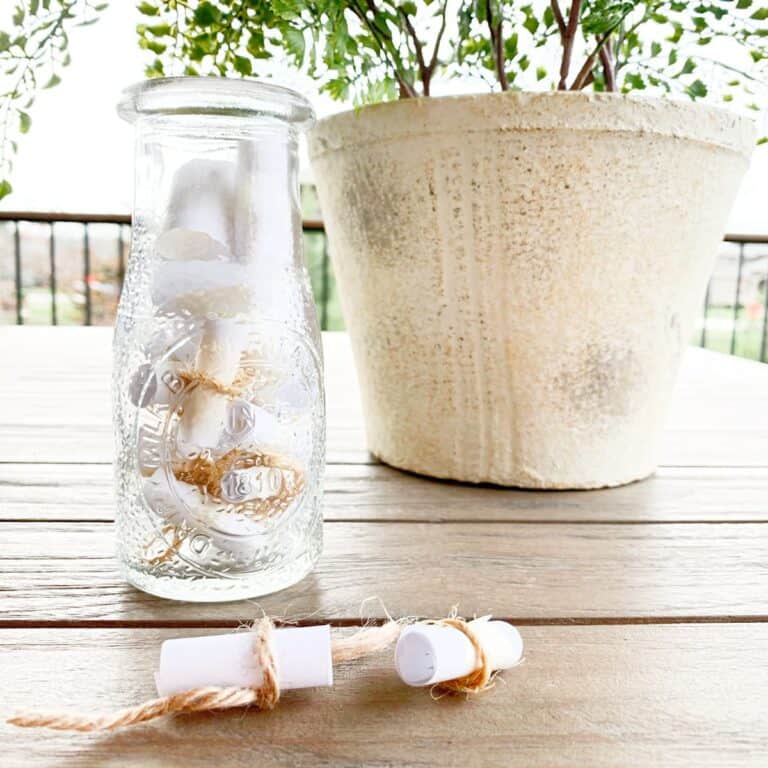
A friend gave me the jar I used for this simple craft as she has some extras. So while it’s technically not a “mason jar” I think you get the idea how to incorporate this into your Easter decorating even if using a basic glass jar.
I hope you enjoyed this simple spring DIY. The final result are cute Easter centerpieces for a pretty Easter dinner table and inexpensive Easter gifts.
Happy Easter, everyone!
RECOMMENDED Spring Posts and Easy Easter Crafts
Easy Dollar Store DIY Easter Mason Jar Craft
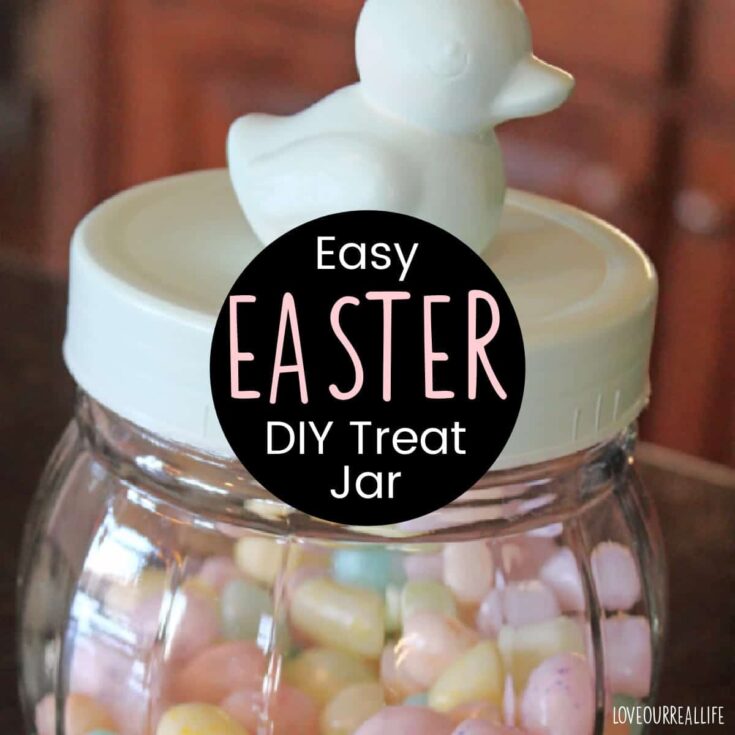
Grab a mason jar or clear jar with a lid and learn to create a simple Easter treat jar!
Materials
- Glass jar with lid
- Duck or bunny
- Paint
- Treats
Tools
- Hot glue gun
Instructions
- Paint lid and duck. Using spray paint, chalk paint, or acrylic paint- paint the lid to the jar as well as the Easter figurine. Items that work well for this craft are ducks, cute bunnies, etc.

- Glue duck on lid. Allow time for paint to dry, then use a dab of hot glue to adhere duck to top of lid. Hold in place 30+ seconds.

- Add treats to jar. Ensure inside of lid and jar are clean and dry. Add treat of choice to jar. Use jelly beans, chocolate bunnies, peeps, or your favorite Easter candy.

Notes
Perfect for teacher gifts or to give instead of a traditional Easter basket.
Recommended Products
As an Amazon Associate and member of other affiliate programs, I earn from qualifying purchases.