How to Clean Your Bathroom -Step-by-Step Guide
For many, the bathroom is a space that is used on a very regular basis in a home. This is precisely why it’s essential to give it a deep clean from time to time and make sure it is always smelling fresh. A clean bathroom doesn’t require a lot of hard work every day, but an occasional good scrub is necessary.
To clean your bathroom, make sure you’re dusting all surfaces, sweeping or vacuuming the floor, scrubbing clean your shower, sink, toilet, and bathtub, as well as mopping your floors with a cleaning solution.

Carefully follow the steps outlined below to help guide you through giving your bathroom a deep clean. Don’t forget to look out for some special tips and tricks along the way.
Get more cleaning tips here.
Items You Will Need
For best results cleaning the entire bathroom, you must be prepared with the proper tools. It’s a good idea to gather all of the items you will need before diving into these simple steps to clean your bathroom.
Bathroom Cleaning Products:
- Vinegar
- Clean water
- Bucket
- Baking soda
- Rubber gloves
- Toilet bowl cleaner
- Toilet cleaning brush (for inside of the bowl)
- Several microfiber cloths
- All purpose bathroom cleaner
- Glass cleaner
- Vacuum and/or broom
- Regular detergent (to wash bath mats/rugs)
- Disinfectant wipes
- Mop
- Old toothbrush for cleaning
- Scrub brushes
- Trash bags
1. Remove All Items and Clutter From the Bathroom
The first step to cleaning your bathroom is to remove all unnecessary items from the bathroom. This gives you a clean slate to begin with, so to speak, so you aren’t just cleaning around items. Instead, you are getting a very thorough cleaning.
Put these items where they belong as you work. For example, put trash in the trash can, dirty laundry in your laundry basket, etc.
For things that will be returning to the bathroom upon completion, just put them to the side.
These include but are not limited to:
- any used towels,
- bath mats,
- toothbrushes that need replaced, and
- accessories like a soap dish.
Do not forget to remove the old soap, empty shampoo bottles, and other shower products.
The best way to complete a deep cleaning is to declutter first. The bathroom is no exception.
2. Throw Bath Mats and Towels Into the Laundry
If you want a fresh and completely new start for your bathroom, throw your bath mats and rugs into the washing machine (wash towels separately to avoid getting lint on mats) or keep replacements on hand for once you are done cleaning.
Tip: Sort out any old towels to be used as cleaning rags to help upcycle.
3. Dust All Surfaces
When cleaning your bathroom, you want to clean dry before wet.
To do so, dust all surfaces with a dry microfiber cloth. This Mr. Siga Microfiber Cleaning Cloth is not only soft and anti-scratches but also comes in this great value pack on Amazon.com.
Examples of areas to dust include:
- vanity countertop
- painted bathroom walls
- any shelves
- soap dispensers
This step will help remove any preliminary dust before moving on to the next steps. You can use a duster to clean out any cobwebs or dust buildup in higher-to-reach corners and other hard to reach areas such as the exhaust fan.
Speaking of exhaust fans, running the bathroom fan is always a good idea when using the shower. This will reduce the overall moisture that lingers which can be a breeding ground for mold and mildew.
Tip: Always clean top to bottom in order to avoid increasing your cleaning load and to work smarter, not harder.
4. Sweep or Vacuum the Floors
Sweep or vacuum any dust, dirt, or hair off the floors.
This is a vital step in order to make mopping and cleaning easier. If you still have hair or dirt on the floors, when mopping, it will get stuck in the mop, and you will then have to worry about cleaning or replacing your mop head.

Obviously if you have carpet vs. ceramic tile or some other type of bathroom tiles, you will not be mopping.
If you are dealing with carpet throughout the bathroom, I would highly suggest opening the windows to allow air circulation on a regular basis in addition to regular weekly cleaning of the floors.
5. Prep Your Shower for Scrubbing
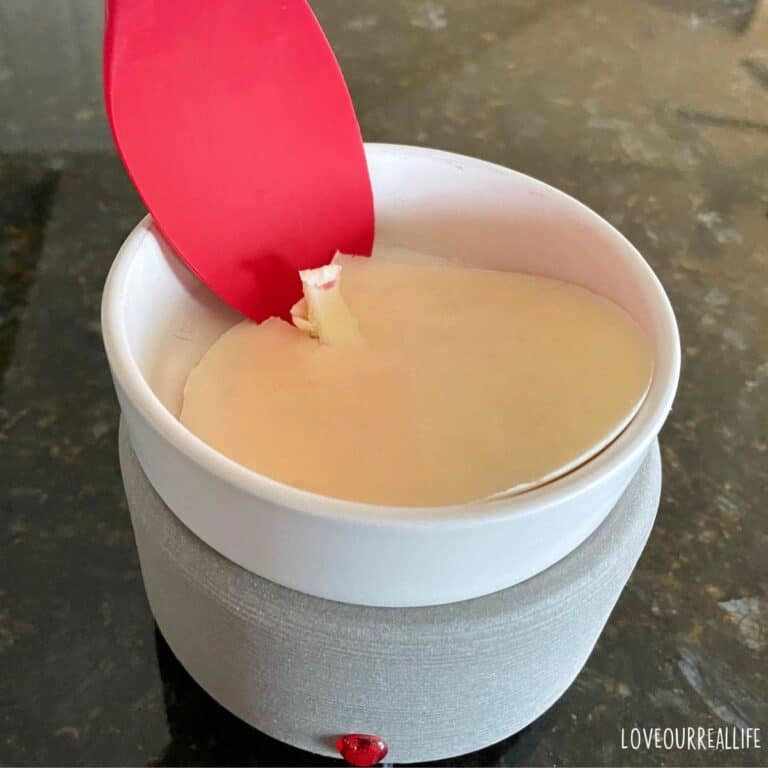
If you have a walk-in shower, prep it for scrubbing by heating up some white vinegar.
Thoroughly spray the hot vinegar on the shower walls or tiles and let it stay on there for at least 10 minutes. If short on time, you can use an all-purpose cleaner.
Tip: Let your shower head soak in some vinegar inside a plastic bag sealed with a rubber band once a month before scrubbing it with a brush to help clean it.
Tip: If your drain is giving off a funky smell, generously sprinkle baking soda into the drain and let it sit for a few minutes. Then, pour white vinegar down the drain and let the baking soda fizz and bubble. Rinse the drain with warm water when done with step 13.
6. Prep Shower Glass and Shower Doors for Cleaning
To prepare your glass shower door for cleaning, spray with white vinegar from a spray bottle and allow them to soak for a couple of minutes.
Doing so will help all build-up soften and become much easier to lift off the surface later on.
This simple step can save you a lot of time and effort.
7. Prep Your Toilet for Scrubbing
To prepare your toilet for scrubbing, generously pour a toilet cleaner into the toilet bowl as per its mentioned instructions and allow it to soak for the time mentioned.
I highly recommend this heavy-duty Clorox Toilet Bowl Cleaner off of Amazon.com. It gets rid of any yellow stains, grime and comes in a great fresh scent.
If you prefer a more natural cleaning agent, vinegar works very well to clean toilets.
I prefer to use natural cleaning products whenever possible, but occasionally stubborn stains require something more.
RELATED: Reasons You Are Failing at House Cleaning
8. Prep Your Bathtub for Scrubbing
Rinse your bathtub with hot water, and then generously sprinkle baking soda all over.
Allow this to rest for a couple of minutes. If short on time, you can use an all-purpose cleaner to spray tub and clean instead of baking soda.
Tip: Use dryer sheets to scrub off any soap scum that has built up inside your bathtub.
9. Prep Your Sink for Scrubbing
Rinse your bathroom sink with hot water using the same technique as with the bathtub.
Then coat it generously with baking soda and allow it to sit for a few minutes.
Again, this seemingly simple step can make a world of difference in the amount of effort you’ll have to put in later, so make sure not to skip it.
10. Wipe Down Other Surfaces
While waiting for your bathtub, shower, and sink to soak, use two parts white vinegar mixed with one part water to wipe down surfaces like the vanity countertop, faucets, and medicine cabinet shelves.
You can substitute the vinegar mixture for an all-purpose cleaner if you are short on time.
Use a clean cloth (dry) to wipe down light fixtures. They can collect a lot of dust, so don’t forget them.
Tip: If you dislike the smell of vinegar, add a few drops of dish soap to the vinegar mixture.
11. Prepare Floor Cleaning Solution
Prepare a floor cleaner by taking a regular bucket or mopping bucket and filling it with warm water and an all-purpose cleaner.
Tip: You can use a bleaching mixture to clean your tile floor every couple of months to help clean the grout and stubborn grime. But, be sure to spot test in an inconspicuous area first.
12. Scrub Your Shower
Now that your shower has had ample time to soak and let the vinegar break down grime the next step is to use a shower scrub brush to gently scrub the shower walls and remove any buildup.
Buildup can occur from mineral deposits, hard water stains, soap buildup, etc. Follow this up by rinsing the walls with warm water.
Tip: Use an old toothbrush to clean mildew off of grout, and in stubborn corners and nooks.
13. Scrub Your Shower Glass
Use a microfiber cloth to gently scrub the glass shower wall. Avoid paper towels as they tend to leave lint behind and can actually scratch the surface.
Rinse the vinegar with warm water. Then use a squeegee like this, Mr. Siga Multi-Purpose Silicon Squeegee, which is available on Amazon.com to wipe down the walls and avoid water stains without the fear of scratching your glass.
Plastic shower curtains can be wiped down with soapy water and a damp cloth. Be sure to target dirty areas of the curtain and wipe dry when finished cleaning.
Tip: You can use a dry microfiber cloth to dry the shower glass if you do not have a squeegee.
14. Scrub Your Toilet
Use a toilet brush to thoroughly scrub all the nooks and corners of your toilet bowl.

I recommend this Sellemer Toilet Brush and Holder Set With Silicone Bristles from Amazon.com because not only is it super sleek and modern in design, but the flat brush head with silicone bristles makes cleaning the nooks and rims of the toilet bowl ten times easier.
Once you are done scrubbing, simply flush the toilet to get rid of the cleaner.
Tip: Add in a gel toilet bowl cleaner to get you longer stretches between toilet bowl cleans and keep the bowl smelling fresh.
15. Disinfect Your Toilet Seat and Handle
After you are finished cleaning the inside of the toilet bowl, it’s time to move onto the rest of the toilet.
The toilet seat handle is one of the most used components in a bathroom, yet we rarely think to give it a good clean.
You can only imagine how unclean these areas can get. Therefore, use some disinfecting wipes or a microfiber cloth with the disinfectant cleaner to clean the outside of the toilet.
Wipe down the toilet seat, lid, and handle.
16. Scrub Your Bathtub
Make a cleaning solution of warm water with a few drops of dish soap.
Dip your microfiber cloth in it and squeeze out excess water to make the cloth wet but not soaking. Use this to scrub and clean your bathtub.
Rinse the bathtub with warm water once done.
17. Wash Your Floors
Using the prepared floor cleaner of all-purpose cleaning solution and water alongside a mop to thoroughly clean your bathroom floors.
Do not use too much of the cleaner to avoid slipping.
Tip: If you clean your bathroom weekly, every couple of weeks, you can use a bathroom floor scrub brush that has a long handle to easily scrub your floors with the cleaning mixture and wipe it with a mop afterward. This will help remove any stubborn buildup that happens around grout and tile without wearing down your tiles.
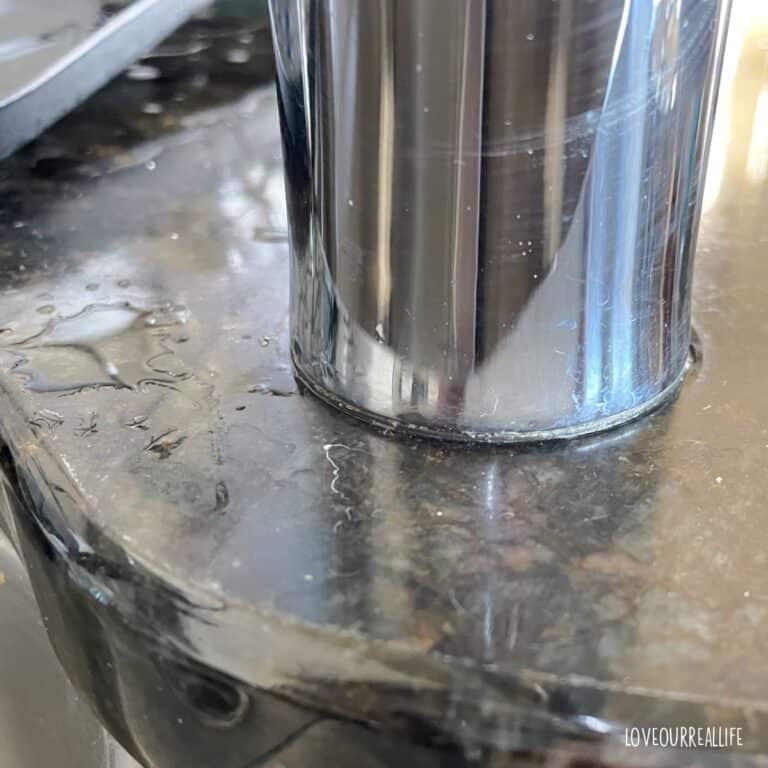
18. Use Window Glass Cleaner
Spray some window glass cleaner onto a dry cloth, preferably a microfiber cloth, and use it to help shine and clean your faucets (including the base of the faucet and faucet handles), towel racks, toilet paper holder, and other accessories.
Tip: You can substitute this method by using a clean dryer sheet to rub and shine with.
19. Clean the Mirror and Dry Down Wet Surfaces
To give your bathroom mirrors a streak-free cleaning, use a good glass cleaner. My favorite is Sprayway Glass cleaner, available on Amazon and most stores that sell cleaning supplies.

The right tools can make all the difference.
Using a microfiber cloth and some window glass cleaner, shine your mirror starting in top corner, going back and forth, working your way down the mirror. This will ensure that there are no streaks left on the surface.
Pay particular attention to water marks or any residue from makeup, etc.
Repeat the process on any other reflective materials you have in your bathroom.
For any remaining wet surfaces, use a microfiber cloth to dry them.
20. Place Items Back Into Their Respective Places
The most challenging part is over!
All that’s left to do now is to place back your toothbrush holder, bath mats, towels, and other items and accessories into their respective places.
This is also a good time to experiment with the bathroom’s layout or add a few decorative touches.
21. Empty Trash
Take out the trash and replace trash can liners as needed.
Final Thoughts
Cleaning a bathroom may seem like a daunting task.
Still, if you follow the steps mentioned above, it can be relaxing and feel great to know you will have a fresh and germ-free bathroom at the end. Don’t forget that you can always customize the steps to suit your schedule and bathroom.
Who knows, you might just make it the cleanest room in your home!