How to Clean Painted Bathroom Walls – 8 Simple Tips
Bathroom walls can turn yellow when moisture emitted from baths, soap scum, and hot showers condense on them. Cleaning these walls, especially painted ones, can be challenging as you worry about washing away the finish as you clean the dirty walls. To achieve clean walls in your bathroom, follow this cleaning process to keep the paint finish intact.
You can clean painted bathroom walls by preparing for the cleaning process, protecting the floor, and dusting, washing, and drying the walls. Test a patch of the cleaning solution on the wall before using it on the entire surface. This is to confirm if the solution is safe for the wall.

In the rest of this article, I’ll take you through the process of cleaning your painted bathroom walls. I’ll also discuss the different paint finishes and how to protect the affected areas during the cleaning process.
For tips to clean the whole bathroom go to this post.
Let’s get started!
Get more cleaning tips for the home here.
1. Prepare for the Cleaning Process
Preparation is crucial before starting any project. When it comes to cleaning, preparation gives you the confidence you need to go about the cleaning process knowing you have what it takes to keep your walls safe.
Preparation before cleaning your painted bathroom walls involves checking for the type of paint used on the wall.
It’s also the step for gathering the necessary cleaning supplies, so you don’t keep going back and forth once you’ve started cleaning.
Type of Paint on the Wall
The type of paint used on your bathroom walls will determine the cleaning process you use.
If it’s a new coat of paint, the good news is you just have to look at the paint can to determine the specific finish used on the paint surfaces.
Most people use a latex paint in these four types of paint finishes:
- Glossy
- Semi-gloss
- Satin
- Flat
Glossy and semi-gloss paints are easier to clean because they have a protective layer that doesn’t allow dirt and grime to penetrate. They are more durable, and as a result, they are used in high-traffic areas like bathroom and kitchen walls.
Satin and flat paints are more delicate and will require a gentler approach.
These paints don’t have a protective layer, so they are more likely to be damaged by harsh chemicals. Using degreasers and harsh chemicals on these paints causes erosion.
You must be particularly gentle when cleaning satin and flat-painted walls, even with a soft sponge or damp cloth.
TIP: If you have plans to repaint your bathroom walls, you might consider selecting a mildew resistant paint!
Cleaning Supplies Needed
You’ll need the following supplies to clean your painted bathroom walls:
- A bucket
- Warm water
- Spray bottle
- Mild dish soap or liquid laundry detergent
- Vacuum cleaner
- A soft sponge or microfiber cloth
- A clean, dry towel
- Rubber gloves
Depending on the paint and finish, you’ll also need stain removers. Some of the stain removers include:
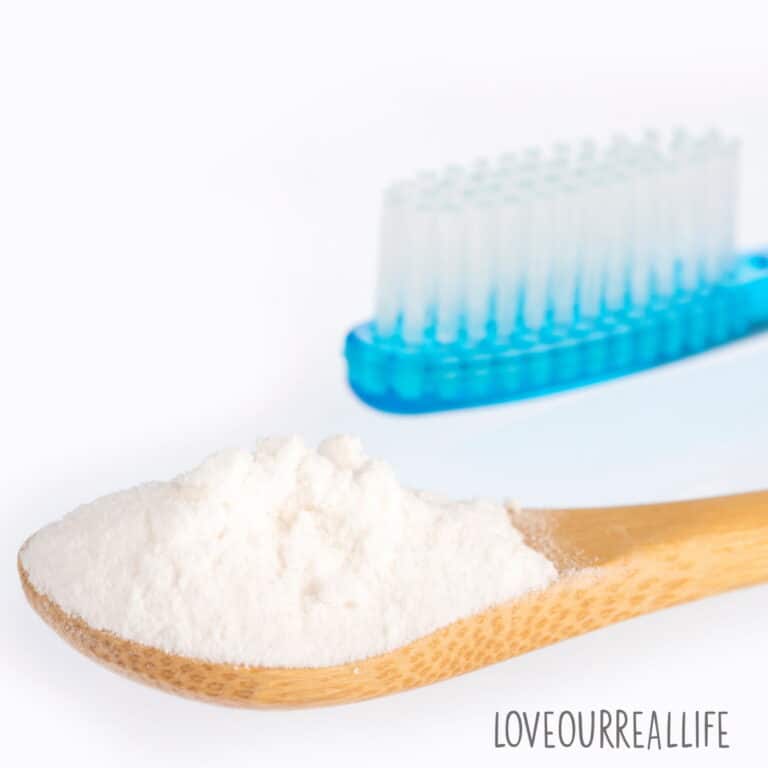
- Baking soda
- Hydrogen peroxide
- Lemon Juice
- Vinegar
- Rubbing alcohol
Grab your cleaning agent, and let’s move on to the next step in cleaning your painted bathroom walls.
If you are trying to decide which cleaning agent you should lean toward in addition to mild dish soap, use vinegar. We’ll get into more specific cleaning tips soon.
2. Protect the Floor
Your focus today is to clean bathroom walls and not the floor.
Therefore, you must protect the floors from wall drips as you clean. These drips and excess water on the base of the walls can add to your workload.
To protect your floors, you can:
- Place a drop cloth or an old sheet on the floor beneath the wall you’re cleaning (only necessary if walls are significantly dirty).
- Remove rugs or mats from the floor. (learn how to clean bathroom rugs and mats here)
- Move furniture away from the wall.
Now, you can start cleaning your painted bathroom walls.

3. Dust the Walls
You must dust your walls before washing them. Dusting helps remove any cobwebs, bugs, and dirt that may have accumulated on the wall. It’s also a way of preparing the surface for washing.
Here are some ways to dust your bathroom walls:
- Using a vacuum cleaner: Vacuuming is the best way to dust the walls. After vacuuming, use a dry cloth to wipe away any left dirt. Don’t use an abrasive cloth as it can leave marks or scuff marks on the walls.
- Swipe away the dust: Use a dry microfiber cloth or mop to wipe the wall gently.
You could also use a feather duster or even clean, lint-free old towels to wipe the walls free of dust.
4. Make the Cleaning Solution
Now that your painted bathroom walls are ready for cleaning, it’s time to make the cleaning solution for your interior walls.
Remember to adhere to the type of paint and finishing on your walls as discussed above.
Regardless of the paint finish, avoid abrasive sponges, harsh chemicals (i.e., ammonia) or using too much pressure / excessive scrubbing on the wall surface.
Here is the procedure you’ll want to follow to make the cleaning solution:
- Put warm water in a bucket. A gallon of water (4.55 liters) should be enough.
- Add dish soap to the clean water in the bucket. It is recommended that the soap or detergent is clear. Use approximately 1/2 to 1 ounce of mild soap to plain water (1 gallon).
- Stir the soapy water gently until the water mixture foams.
- Pour some of the solution into a spray bottle
This simple cleaning mixture will be a gentle, mild degreaser that will hopefully keep you from needing to resort to an all purpose cleaner, which can be a bit more harsh on your paint job.

5. Test the Solution on an Inconspicuous Area
Before proceeding to clean, you want to be sure that the solution you just made won’t damage the paint on your bathroom walls. Thus, you need to test it on an inconspicuous area on the wall. Here’s how:
- Apply the solution to a small area on the wall using a clean cloth or clean sponge.
- Wipe the area with a dry towel.
- After five minutes, check to see if the paint is still intact.
- You can proceed to clean all your bathroom walls if the paint looks undamaged.
6. Proceed to Wash Your Bathroom Walls
It’s time to get down to business and wash your bathroom walls. Here’s how to go about wall cleaning:
- Start by spraying the solution onto your microfiber cloth (or soft sponge, or cleaning tool of choice) from the spray bottle.
- Begin cleaning the top of the wall. Starting from the base of the wall would be tedious since water could potential drip. Starting from the top will allow you to catch these potential drips!
- Use the sponge or microfiber cloth to wipe in a circular motion. You may also wish to use a soft bristle brush to spot-clean when needed.
- Rinse the damp sponge or cloth frequently as you clean to avoid spreading dirt around.
- After cleaning the top section, move down, working your way to the bottom of the wall.
- Repeat the process until you’ve cleaned all the walls in your bathroom.
Use caution around light switches as you do not want to risk getting any water in them. If they are dirty, wipe with mostly dry cloth.
Check for dirty water and make a new mixture of water and mild dish soap as needed.

7. Deal With Stubborn Stains
It’s possible that after using a sponge and the cleaning solution, some tough stains are still visible on the walls. This is where stain removers come in.
Based on your walls’ paint, you can use a solution of baking soda and water, hydrogen peroxide, or distilled white vinegar.
For baking soda, mix a cup of baking soda with a half cup of water. Rub the mixture gently at the stained area and rinse.
For hydrogen peroxide or distilled white vinegar:
- Add the dish soap solution onto a cleaning rag.
- Dab some hydrogen peroxide or distilled white vinegar onto the rag
- Press the rag onto the stained area and hold on for several minutes.
- The stain should be nowhere once you lift the rag.
I love to use vinegar as a cleaning product in the bathroom.
Vinegar is also great to clean stubborn stains in the toilet bowl, to clean the shower and shower doors, and even clean bathroom mirrors without leaving streaks.
8. Dry Your Bathroom Walls
Once you’re done washing, it’s time to dry your bathroom walls. Use a clean and dry towel to wipe off any excess moisture or soap residue on the wall. Do this until the walls are completely dry.
For best results, you should also open your bathroom window to help with the drying process if the weather and temperature allow.
RELATED: How to clean bathroom tile grout
How To Minimize Dirt on Your Bathroom Walls
Prevention is always better than cure, and this applies to all situations.
Although you can’t completely prevent your bathroom walls from becoming dirty due to soap scums and moisture, you can minimize the severity.
Here are a few tips:
- Use a shower curtain: A shower curtain helps keep soap scums and water from splashing on your walls during showers.
- Wipe the walls after every shower: Use a sponge or cloth to wipe the walls immediately after taking a shower. This will help remove any dirt or moisture accumulated on the walls.
- Apply waterproof paint: This is especially useful in bathrooms that don’t have shower curtains. It will help protect the walls from becoming too dirty or damaged.
- Remove moisture from the bathroom regularly: Moisture creates a conducive environment for molds to grow. Thus, it is a good idea to use a dehumidifier, an exhaust fan, or open the bathroom windows to let in fresh air.
- Seal all cracks: Water can easily seep in and damage the paint if you have cracks on the walls or ceiling. You should seal all gaps to prevent this from happening.
Use these cleaning tips, and you can rest assured your painted bathroom walls will stay clean for a long time.
Conclusion
Cleaning painted bathroom walls doesn’t have to be a daunting task.
The above simple tips should help you maintain clean and beautiful walls in your bathroom. The most important thing is to ensure that the paint and finishing are not damaged.
FAQs
While great at removing stains, you might consider avoiding using bleach or magic eraser for cleaning painted walls. Unfortunately these effective cleaning products could also remove your paint!
If you have tried the above cleaning techniques, consider trying a magic eraser, but know you risk removing some paint along with the stubborn stain or scuff mark.
For tough stains that need a little extra attention, try mixing a few drops of dish soap and vinegar with hot water. Mix well. Dip a damp sponge or rag in liquid mixture and clean affected area. Wipe and dry area after removing stubborn stain.
Mild dish soap (clear) and warm water is the easiest and very effective cleaner for painted walls.