Heat Transfer Vinyl Christmas Pillow Cover Tutorial (Oh What Fun)
I’m a sucker for a pretty pillow, how about you? I also love cheap pillows as the price can often get a bit ridiculous for home decor!
A few years ago, I shared lots of ideas for inexpensive Christmas pillows you could find on Amazon. But today, let’s look at how you can use HTV (heat transfer vinyl) to make your own pillows by adding a little pizzazz to some plain canvas pillow covers.
Adding heat transfer vinyl to plain canvas pillow covers is a simple process to make a Christmas pillow. Simply select your favorite Christmas saying or design, cut it with your Silhouette Cameo or Cricut, and iron it onto your pillow cover for a perfect Christmas pillow. Display it on your couch or chair and enjoy.

Get more easy Christmas craft ideas here.
I’ve seen SO many fun Christmas pillows, signs, and shirts the past couple of months. I was inspired for my “Oh What Fun” pillow by a sign I came across a while back and I can’t seem to find the source now. If you know, please leave a comment as I always want to give credit for beautiful inspiration.
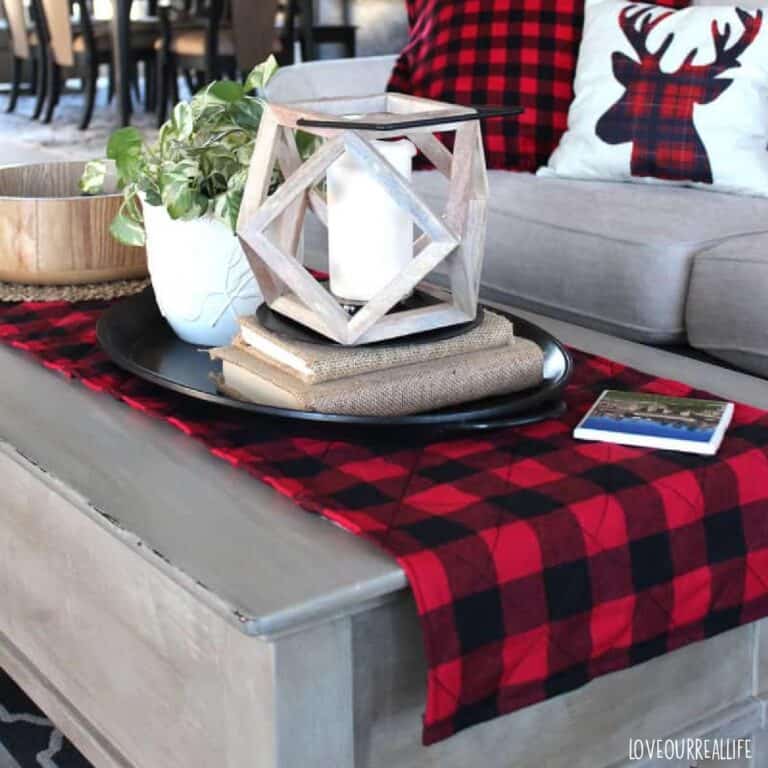
The simplicity of this was perfect for our home. I love traditional red and green decor, but tend to have mostly neutrals in our home.
Just know if you are personalizing a canvas pillow cover, you can do whatever suits YOU best!
Materials
• Canvas / plain cotton pillow covers
• Pillow Inserts to fit your pillow covers
• Heat transfer vinyl (I prefer Siser Easyweed) in your color(s) of choice
• Cutting machine (Silhouette Cameo 3 is what I have, but Cricuts are very popular)
• Scissors
• Weeding tool for vinyl (a hook to weed away unnecessary vinyl in design)
• Iron
• Parchment paper
Cutting machines can be pretty intimidating at first. I don’t use mine a ton as I have way too many crafting interests, lol. But unfortunately this means that each time I do, I feel like I need a refresher on how to use it.
Luckily, this was a pretty simple project. These days, the easier the better for me.
1. Select Your Design
The sky’s the limit when it comes to deciding on a Christmas design. I love simple phrases for pillows and signs as I am not the best at weeding intricate details with vinyl.
Phrases are great because you can make them more interesting just by changing the fonts.
Some ideas for Christmas phrases:
- Oh What Fun
- Merry Christmas
- Jingle All The Way
- Fa La La La La
- Comfort and Joy
- It’s a Wonderful Life
- Merry and Bright
- Deck the Halls
You get the idea. If you have a favorite Christmas movie or song, go for that!
2. Cut Your Phrase or Design with Cutting Machine
When using HTV (heat transfer vinyl) you will need to cut in reverse so it will read correctly when ironed onto your pillow cover.
Most HTV comes with a clear carrier sheet that will be removed later. In the image below you can get a glimpse of the clear carrier sheet.

3. Weed Your Design from the Carrier Sheet
Using your weeding tool or hook, remove the unwanted vinyl from the clear carrier sheet.
A quality vinyl is highly recommended as it is so much easier to work with. When I first got my cutting machine I purchased some vinyl that was a “great deal” but soon realized it was a nightmare to weed away the excess.
It’s worth spending a little extra to get good vinyl.

Once again, note that all of my phrases “OH WHAT FUN” are cut in reverse. This is to allow them to be ironed directly on to my pillow in the upcoming step.

4. Center Heat Transfer Vinyl Design on Pillow
I used a ruler to help me measure the approximate center of the pillow for all of my phrases. The center phrase was placed first, then the rest were added by ‘eyeballing’ where they looked best.
Sometimes I regret my neglect for details, but most of the time it works out ok. IF you are a stickler for details, definitely measure everything precisely so you have no regrets later. Once you iron it into place, there is really no going back.

5. Place Parchment Paper Over Vinyl Before Ironing Design
Parchment paper is what I personally use when ironing HTV onto fabric. Some prefer to use a teflon sheet for heat pressing.
The actual vinyl will be against your pillow, with the backing facing up. Place your parchment paper on top of the carrier sheet/backing.
The next step is where the magic happens!

6. Iron Vinyl onto Pillow Cover
Using a lot of pressure (I usually do this on the ground so I can put my body weight over the iron), hold the iron steady in place for ~30-45 seconds.
I often will pick up the iron and do the same process again until I know the entire design/phrase has had the opportunity to adhere to the fabric.
In the case of this pillow, I focused on one line of text at a time.

7. Peel Away Carrier Sheet
After you have successfully transferred the vinyl to the pillow cover, peel away the carrier sheet/backing.

8. Apply Heat to Edges That Didn’t Fully Adhere
If you happen to have any edges that do not appear to have fully adhered to the pillow cover, you will need to continue applying heat until it does.
After the carrier sheet has been removed, simply place the parchment paper directly over the vinyl, then apply the iron with pressure for an additional 15-20 seconds until the vinyl is fully set so it doesn’t peel.
Repeat this process until each line is complete.

The next challenge is deciding where to place your pretty new Christmas pillow!
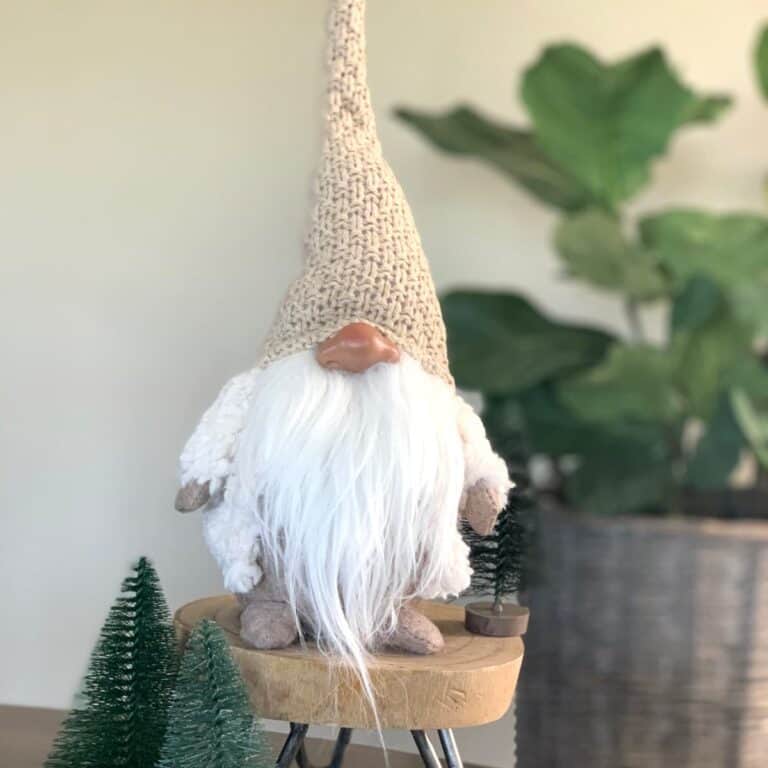
Such an inexpensive way to add some festive Christmas spirit to your home. See the fun Christmas gnome in the picture below?! I bought this one but have made several over the past couple of years. Super cute!
RELATED READING: How to Make a DIY Christmas Gnome

I just got this cute flocked Christmas tree this year. It crossed my mind to try to flock a basic tree myself, but I found some really inexpensive flocked trees at WalMart that I couldn’t pass up! (I linked to some cute flocked trees on Amazon).
I’m looking forward to getting this fun tree all decorated and pretty:-)

RELATED READING…
• How to Make Scrabble Tile Christmas Ornaments
• Cheap Christmas Decorations: Affordable and Beautiful
• 10 Christmas Advent Calendar Ideas: Plus What to Put in the Tiny Boxes
• Christmas Gift Guide for Women in Their 40s
Don’t forget to pin this to your favorite Pinterest board for later!