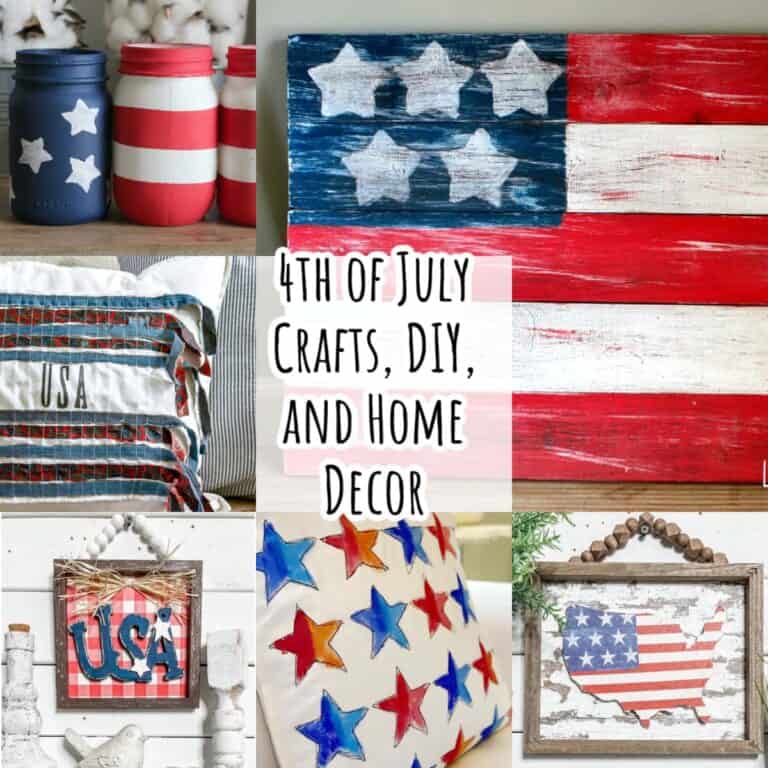
Easy DIY Wooden American Flag (How to Make Your Own)
In this post I’m going to show you how to make rustic wooden American flags in about an hour.
These simple eight step instructions will get your rustic wooden American flag ready for Independence Day, Memorial Day, or any patriotic holiday.

Get more summer diys and craft ideas here.
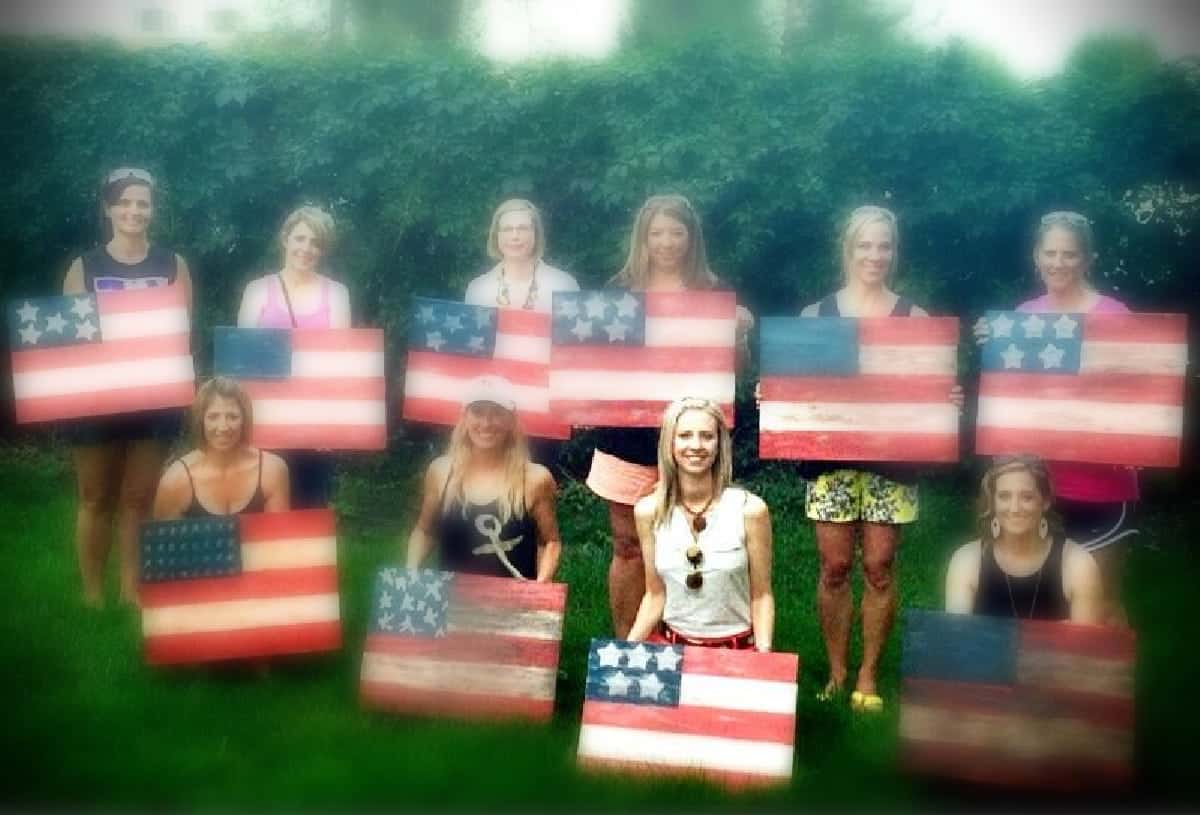
I made my wooden flag during a girls’ neighborhood night out at a local boutique that holds community classes, creating fun projects.
Making these American flag crafts was a fun way to get out with friends AND I was able to come home with super cute patriotic decor.
Table of contents
Supplies to Make Rustic Wooden American Flags
- Premade Wood Pallet
- Acrylic Paint in Red, White, and Blue for the flag’s colors
- Wood Stain (brown)
- Star Stencil (purchase or just google clip art of star and print on cardstock)
- Painter’s tape / blue tape
- Paint Brush
On to the first step and full tutorial.
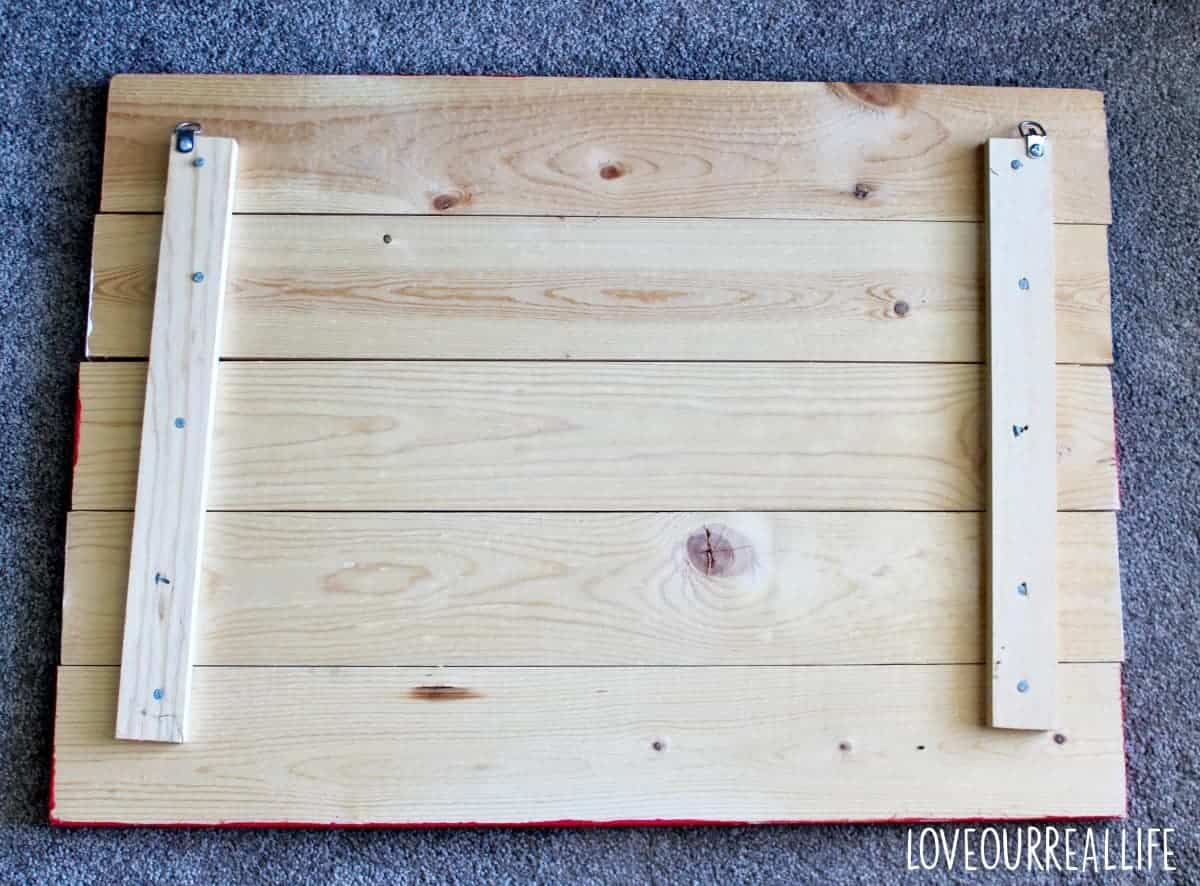
Wood Pallet for Sign
Since I was doing this with a group of girls at a local boutique, the wooden pallets were premade.
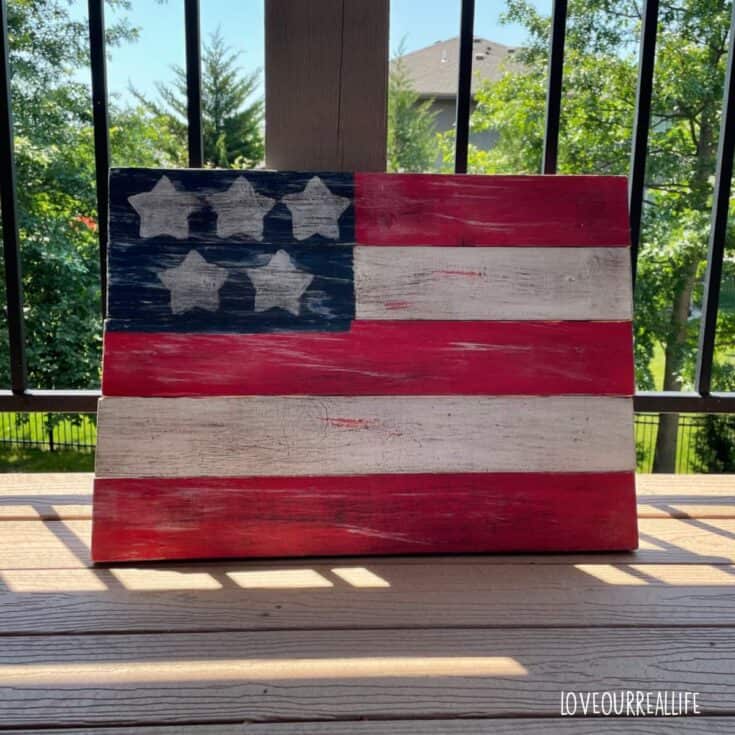
But if you have some basic DIY skills, you could easily make your own. For perspective, the exact dimensions of this flag measures 17.5″ tall X 24″ wide. Each board is 3.5″ tall X 24″ wide.
Your flag dimensions do not need to be exactly as mine, but this is just for reference.
Home improvement stores such as Menards, Lowes, or Home Depot can cut pieces of wood the sizes you need (if you do not have a circular saw or miter saw or just would rather not make the cuts yourself).
Wood glue could be used to secure boards together, but a better way would be to put a stabilizing board vertically. If doing this, use small nails to manual hammer (or use air nailer/ nail gun) to attach.
Only use short nails so you don’t nail through to the front side of your wooden signs.
You could certainly make a different size, but I would suggest making sure the flag design remains mostly intact with red stripes on the top wood board and bottom, alternating with white stripes.
Also note that you could just use a similar sized piece of plywood instead of pine boards.
We left the back of the flag bare wood.
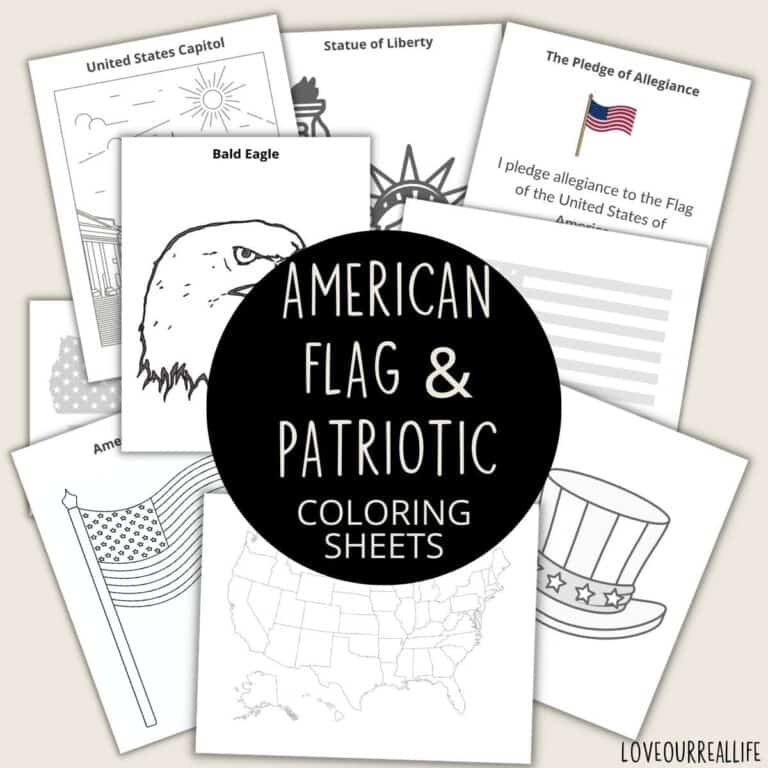
RELATED: Free American Flag Coloring Pages (and other Patriotic printable PDFs).
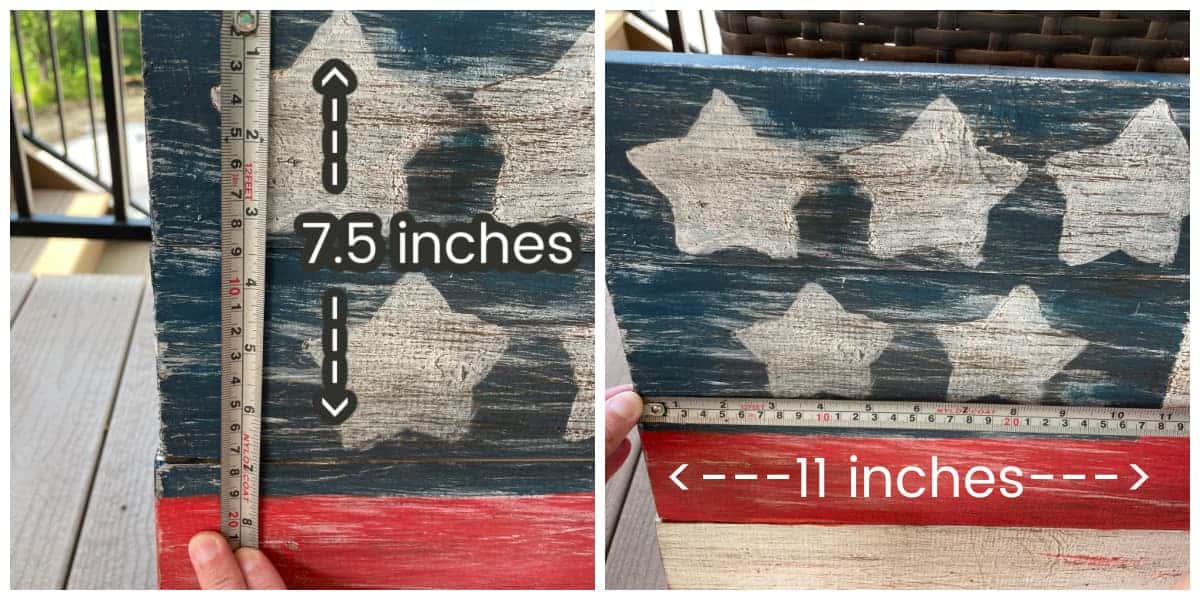
Tape Off Blue Area
The next step is to measure for the star area on the left side of the flag, where you will be painting your blue background.
Keep in mind these wood flags will not be exactly like the U.S. flag as it only has 5 stripes vs the traditional 13 stripes.
Use painter’s tape or a good masking tape to protect the blue section / union star rectangle from getting paint on it when you paint the red stripes and white areas.
For my sign:
Width of the union (area for blue paint) = 11 inches
Height = 7.5 inches
Flag sizes might vary, this is just for reference.
Paint Red Stripes
Use red acrylic paint to paint the red stripes. Top stripes should be red, then alternate red boards, with red paint on 3rd stripe and 5th stripe (bottom stripe). Light coats are best.
Two coats will be perfect.
Spray paint is not a good idea if you use premade pallets as you cannot control where the paint will go. But, if you are making your own pallet, you could easily paint the boards with spray paint prior to assembling.
You can use a chip brush or even a roller to paint your flag. Just note, you will need to be careful along the edges.
For a more rustic feel, you could consider using a red stain vs using paint.
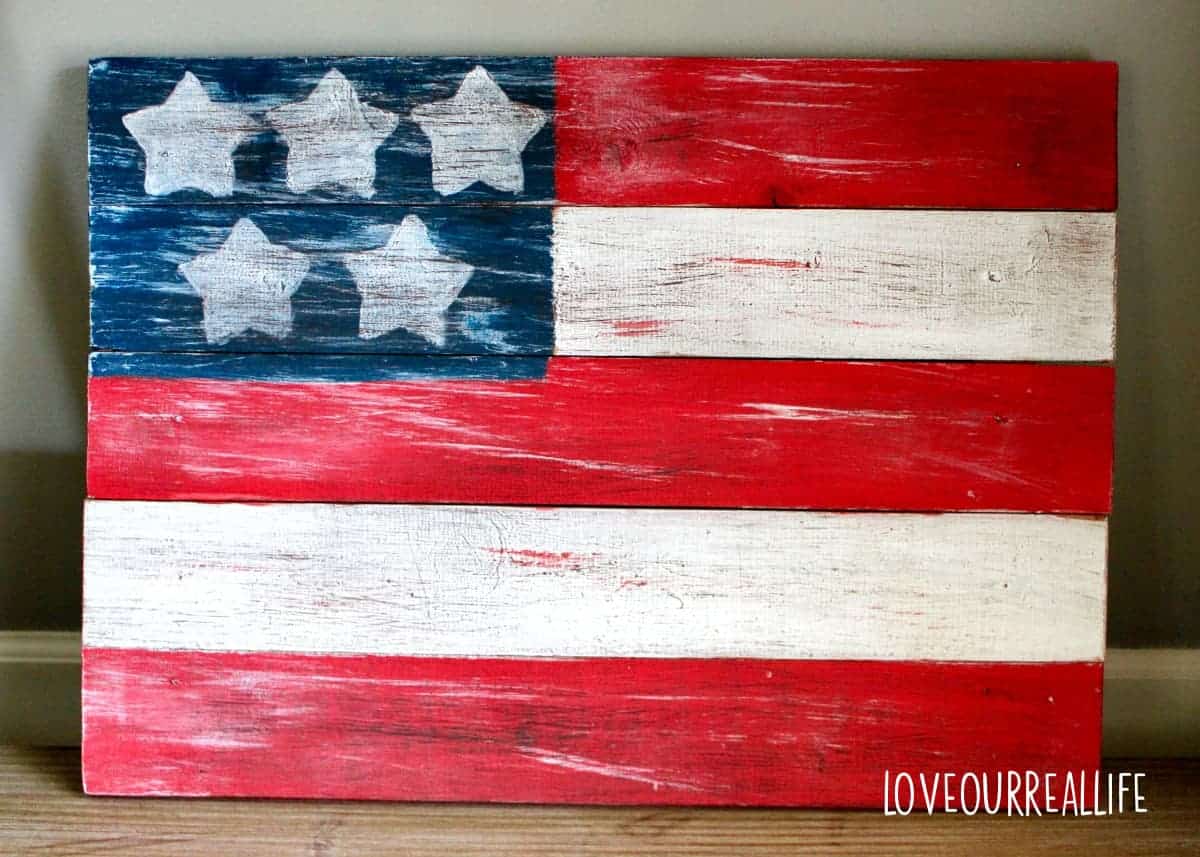
Paint White Stripes
Use the white paint on the 2nd stripe and 4th stripe (if you have 5 boards like mine). As with each section, use two light coats ensuring dry time between coats.
This gave me a total of 5 stripes, two shorter stripes and three full length stripes.
Acrylic paint dries pretty quickly. In less than 30 minutes each section should be fairly dry.
Blue Area
After removing the painters tape, paint what will become the blue section of your flag in a union blue color on the left side of these stripes. One coat of paint might be enough with this dark color, but I did two light coats with this one, too.
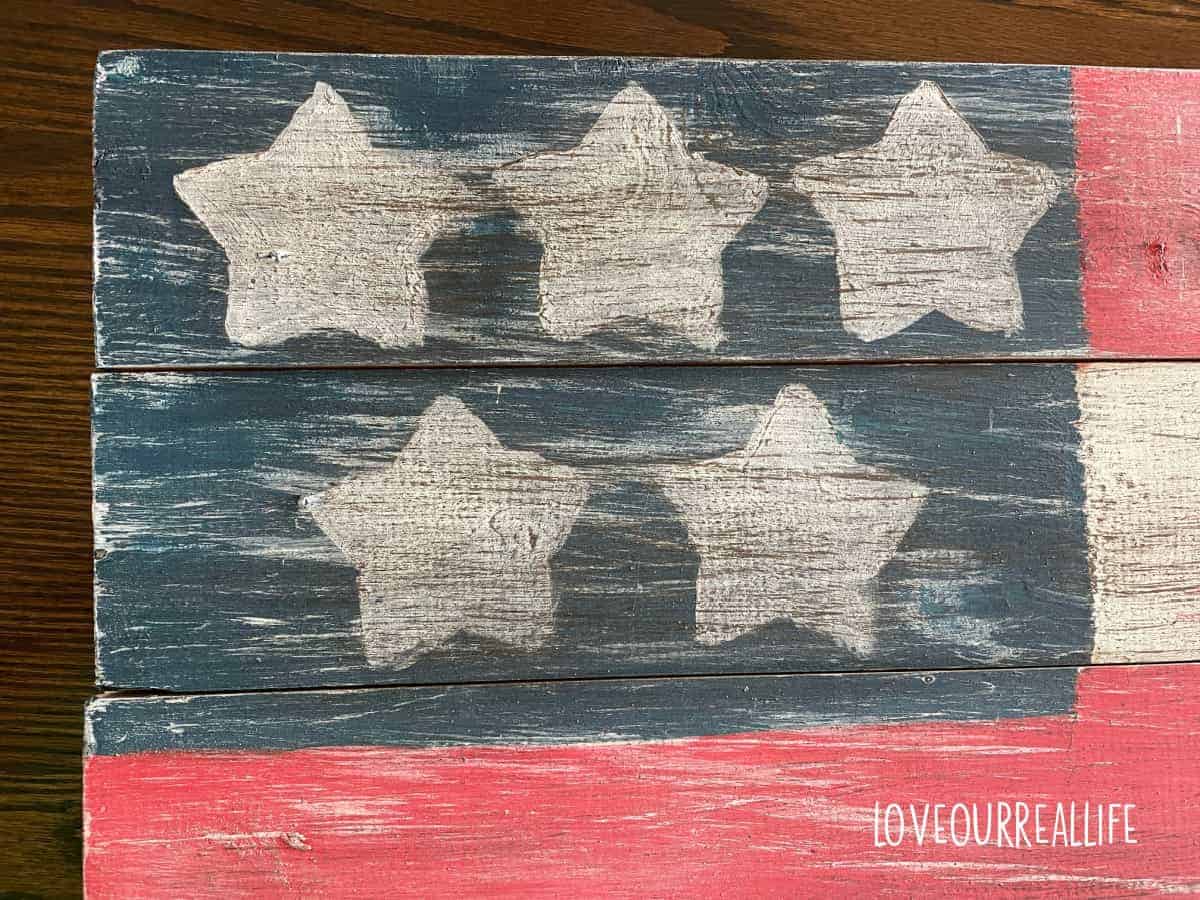
Use Star Stencil
You can certainly purchase a star stencil, but when I painted my 4th of July Mason Jar Flags, I created my own stencil by googling clipart of stars and printing on heavy cardstock.
There are various star shapes out there, so be sure your star stencil is what you might find on a flag of the USA, even if it’s not the correct size.
If you have a Cricut machine or Silhouette Cameo, making cricut cutouts would be a fast way to make a vinyl stencil.
Note, you do not have much space to work with, so just paint the number of stars in white paint that look best for the space.
I only had room for five. I did not think this was a big deal, but it made my kids crazy to know there weren’t 50 stars on the flag!
Light Application of Stain
For the rustic look, I dry brushed a light application of stain over the entire flag. A little goes a long way!
To dry brush, dip the tips of a dry paint brush into wood stain, off load the majority onto a paper towel or paper plate, then dry brush onto your sign. Just keep in mind a lighter coat of stain is better.
If you aren’t familiar with the dry brush technique, I shared more detailed instructions when I painted the frame of an old mirror.
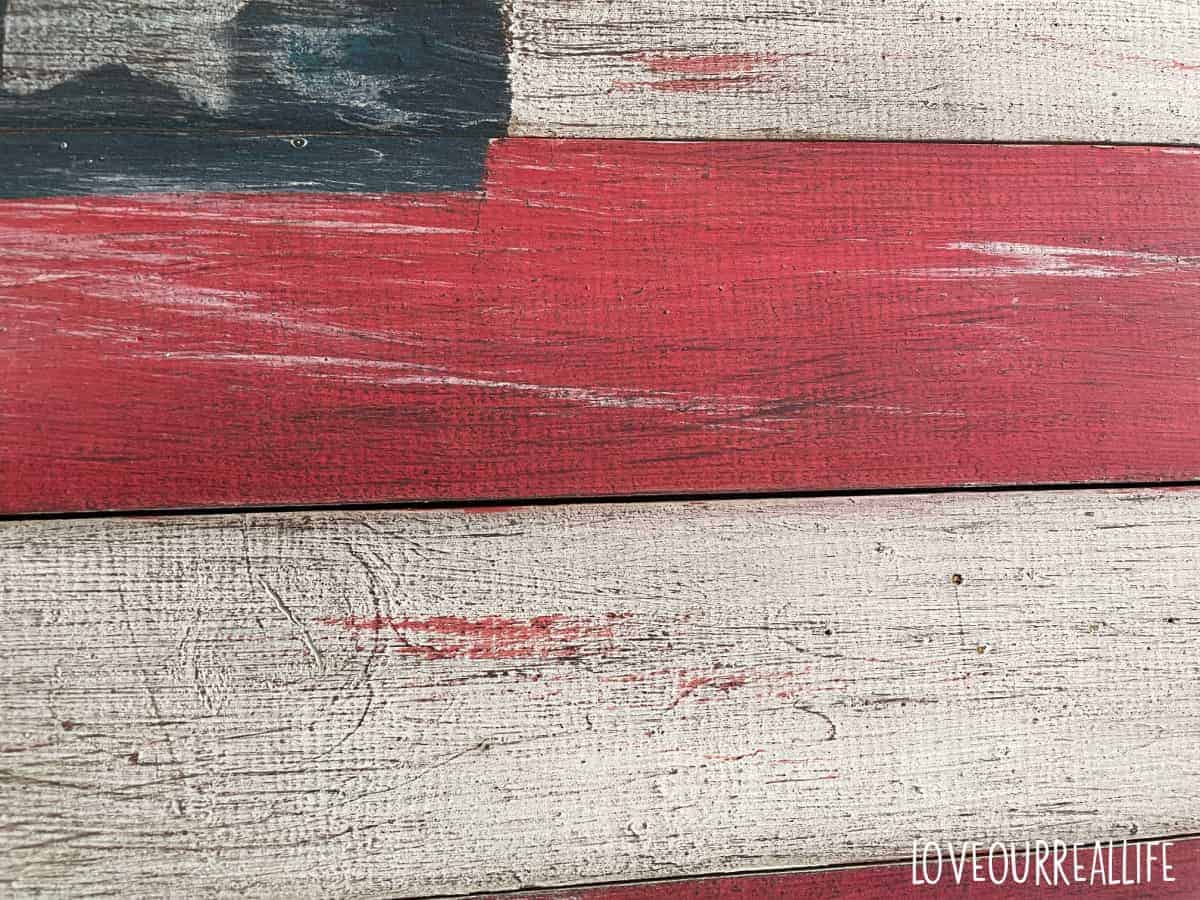
Dry Brush Red and White Paint
For the final step, I dry brushed red paint onto the white areas and white paint onto the red and blue areas to give the wooden signs a little more character.
You could make it even more “rustic” by completing light sanding with a piece of fine grit sandpaper.
I thought mine was a nice statement piece for Fourth of July just how it was, so I didn’t sand mine.
I just loved how it turned out. It looks great on the front porch by the front door to greet guests! But, the best part of this project was completing it with friends.
I didn’t know if they would all love this picture being displayed online, so I blurred them out a little. But, I did want you to see just how different all of our signs turned out. SO cute!
If you want more 4th of July home decor and crafts inspiration, check out this link. I share LOTS of different projects that will get your home prepared for any patriotic holiday: July 4th, Flag Day, Veterans Day, Memorial Day, etc.
Until next time!
RELATED POSTS:
DIY Wooden American Flag (How to Make Your Own)
Tutorial to make a wood flag of the USA for any patriotic holiday.
Materials
- Acrylic paint in red, white, and blue.
- Premade wood pallet for sign.
- Wood stain
- Star stencil
- Painter's tape
Tools
- Paint brush
Instructions
- Wood Pallet for Sign: Purchase a premade wood palate for the sign. The dimensions of my sign were 17.5 inches tall by 24 inches wide.

- Tape Off Blue Area: Use painter's tape to tape off section where blue portion and white stars will go.

- Paint Red Stripes: Starting with top stripe, paint red stripes alternating with white. The top and bottom boards should be red. Use 2 light coats allowing dry time between coats.

- Paint White Stripes: Paint white stripes of flag, using two light coats of acrylic paint.
- Paint Blue Area: Remove painter's tape and paint the blue portion of the sign using two light coats of blue acrylic paint.
- Use Star Stencil: Either purchase a star stencil or (which is what I did) print off star clipart you find online using heavy cardstock to create your own stencil. Stencil however many stars you have room for. I only did five large stars.

- Dry Brush light application of Stain: Dip tips of a paintbrush in wood stain. Offload onto paper towel or paper plate so there is very little stain on brush. Then add highlights with stain for a more rustic look.
- Dry Brush Red and White Paint: Use red paint to dry brush onto the white stripes and white paint to dry brush on the blue and red paint. This will tie the rustic sign together.
Notes
Allow acrylic paint to dry 20-30 minutes between (light) coats.