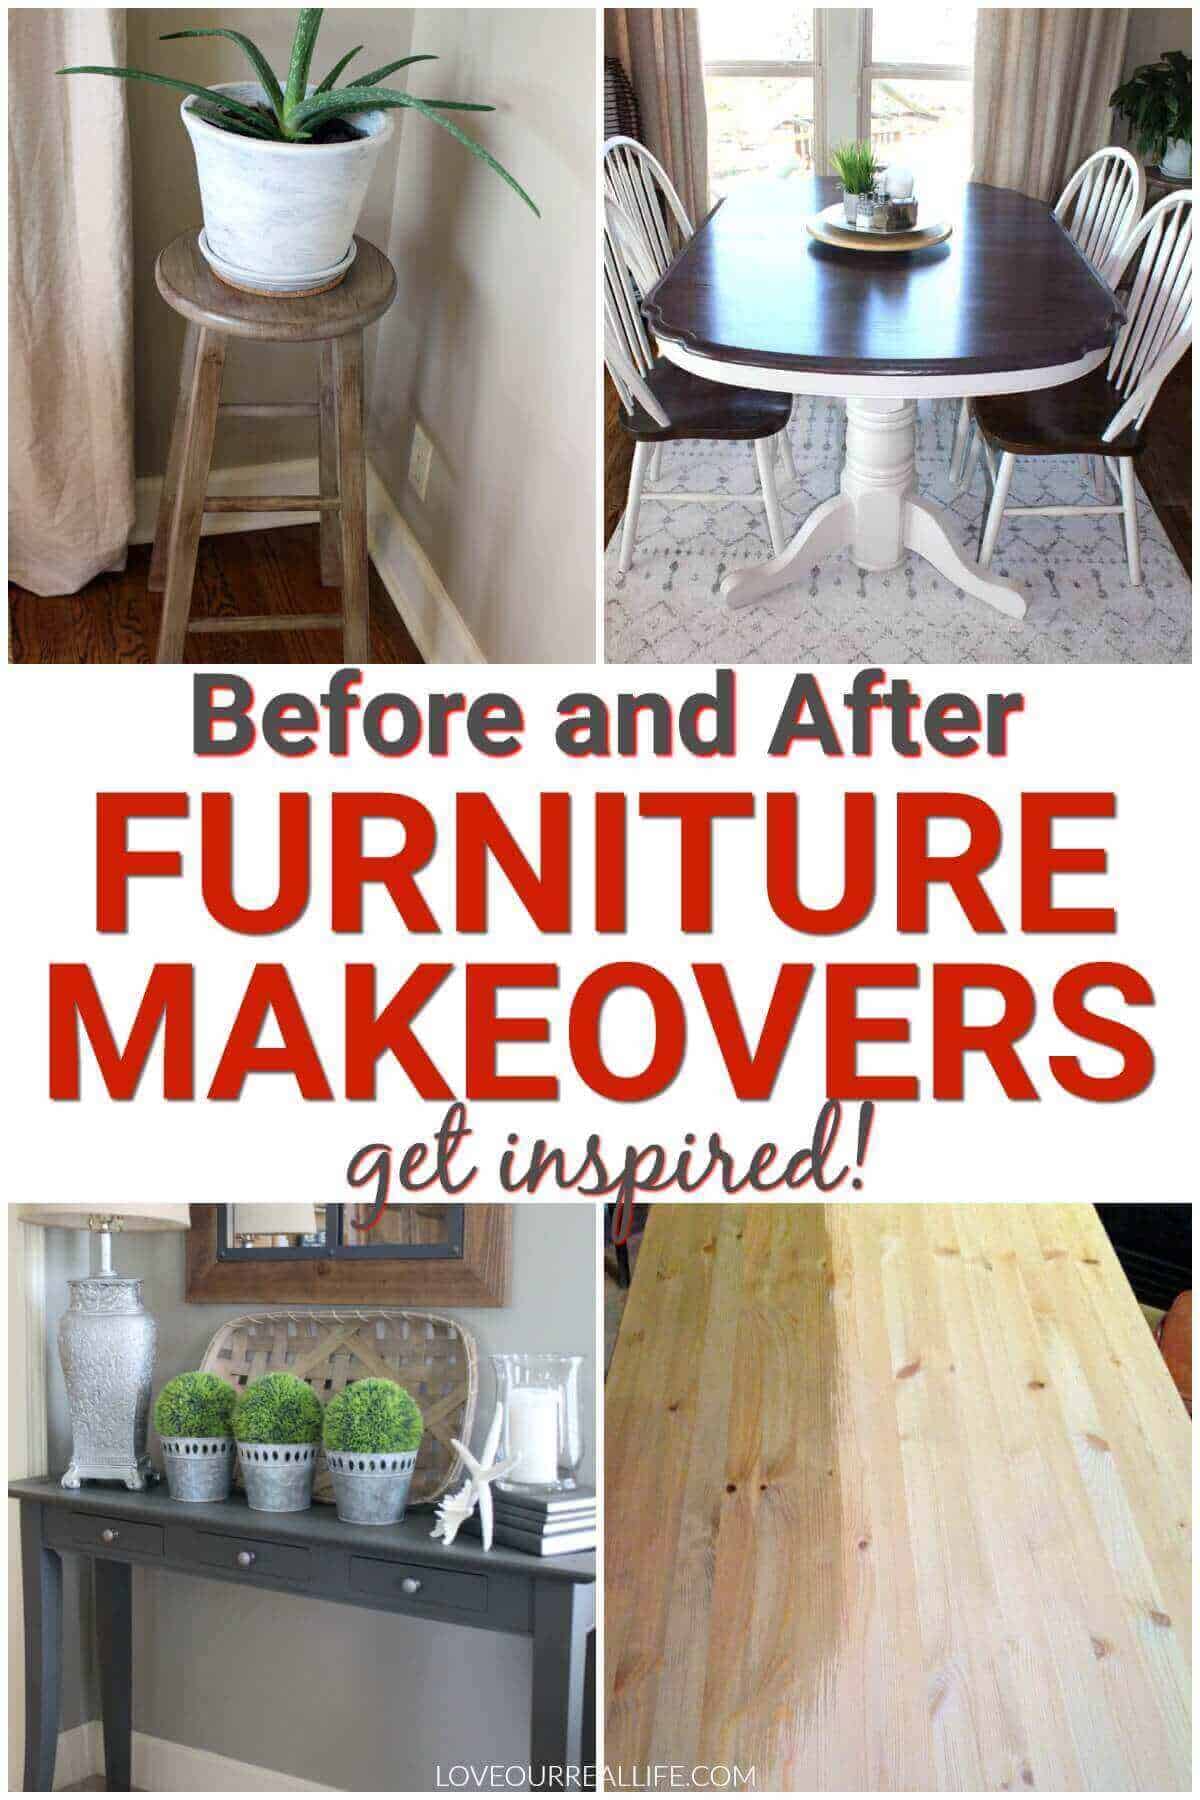
Painted Furniture Part 2 | A Before and After
Welcome back to my before and after series I’m completing for the month of July. Today I will continue the Painted Furniture | A Before and After that I started last week.
This series is all about home related before and afters to provide you practical solutions to make your home an expression of you! Below are links to the first two articles in this series:
Ideas for Front Yard Landscaping | A Before and After
Painted Furniture | A Before and After
and check out lots more furniture makeovers here.
Let’s dive into Painted Furniture | A Before and After Part 2 for more ideas to inspire you with your next project!
Painted Kitchen Table
One of my most popular posts to date is Kitchen Table Transformation Using Chalk Paint and Wood Stain. In that post, I provided a detailed tutorial describing all of the steps needed to complete this project. It really did turn out great and I’ve had several people let me know they’ve tried it with good success!
Kitchen Table BEFORE:
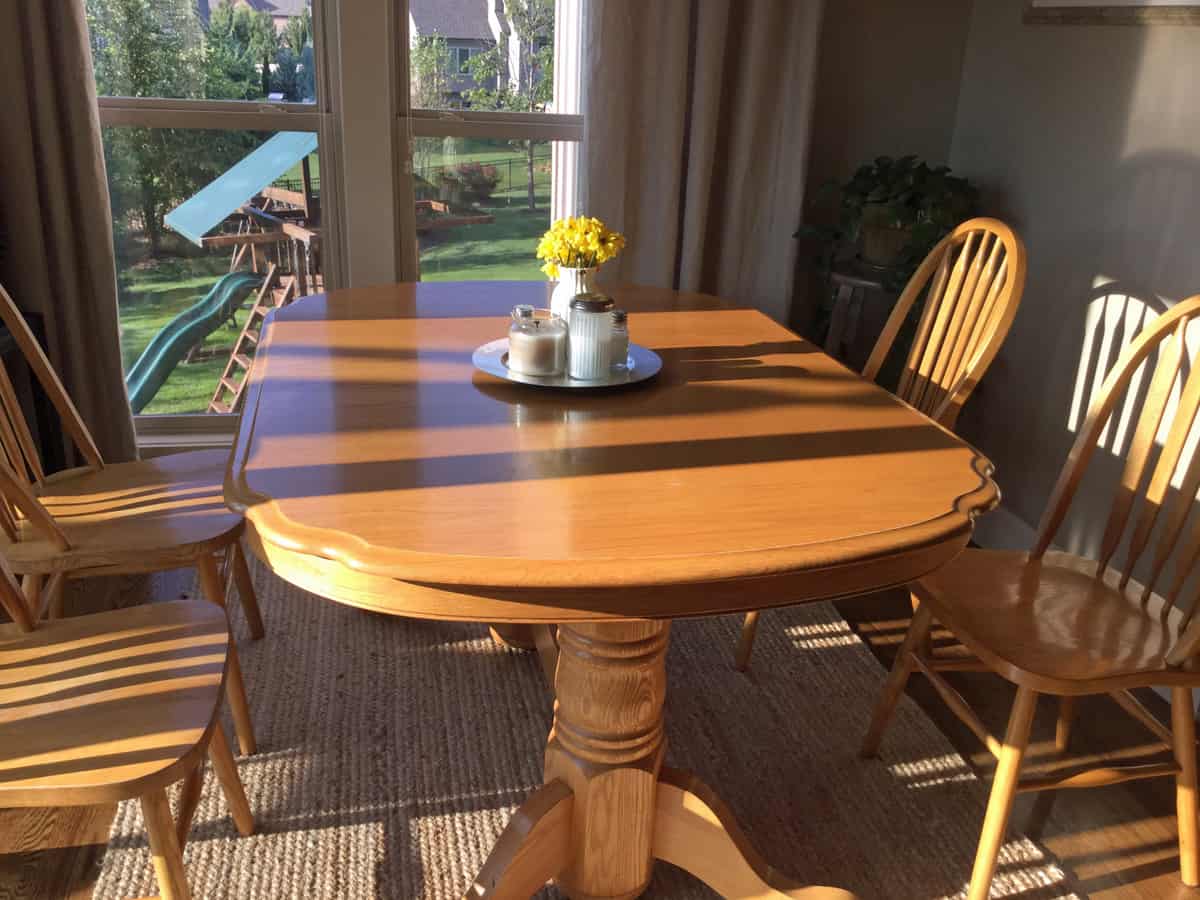
Kitchen Table AFTER:

I think this post was so popular because many people have a table that looks similar and they just hate to get rid of a quality piece of furniture. Updating it made all the difference for me. Pin it on Pinterest here for later reference! If you decide to complete this project, please let me know. It makes it so worth it to see that I can play a small part in inspiring someone.
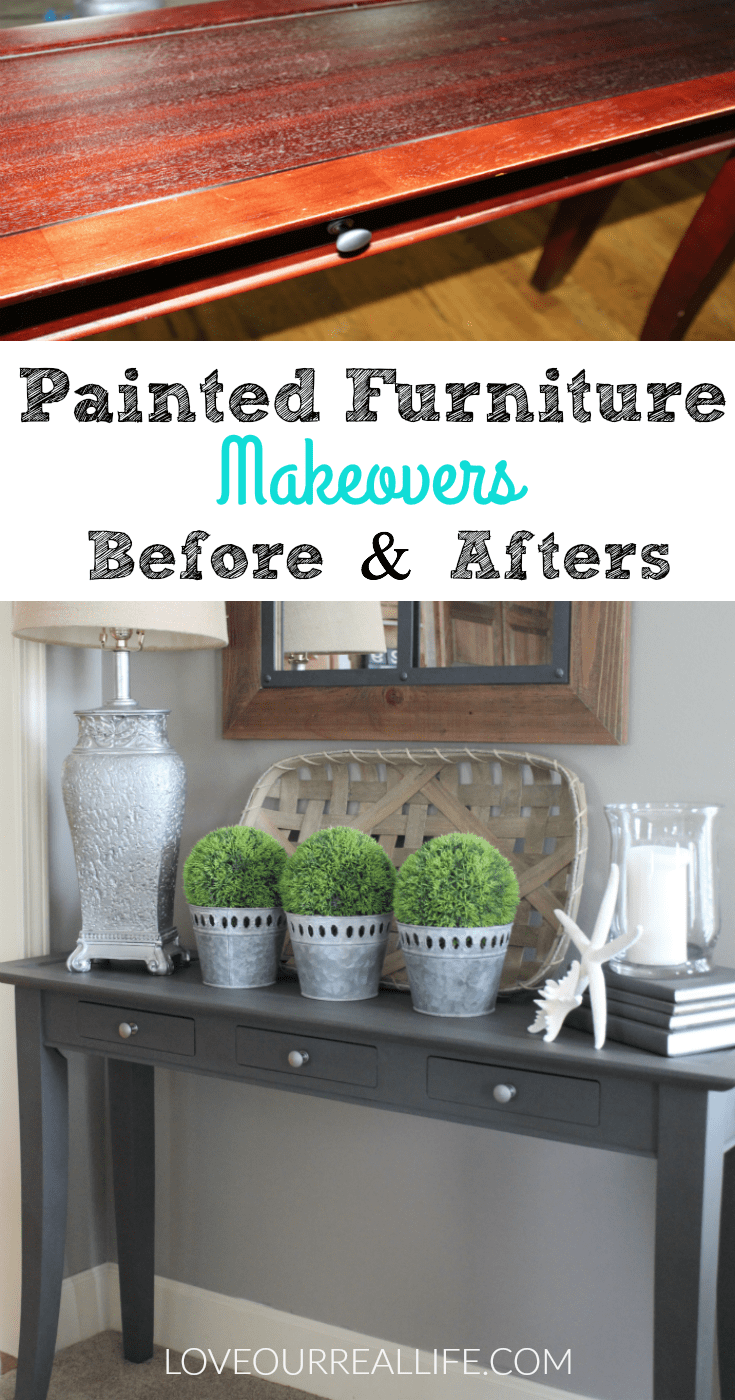
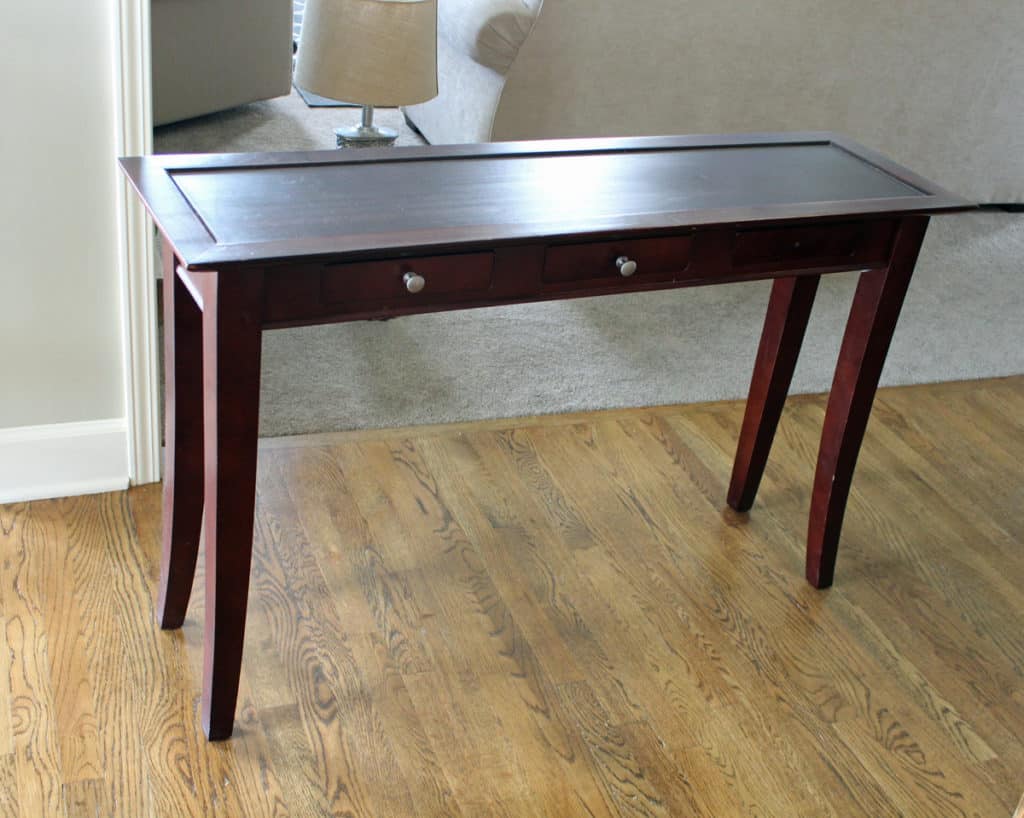
Sofa Table
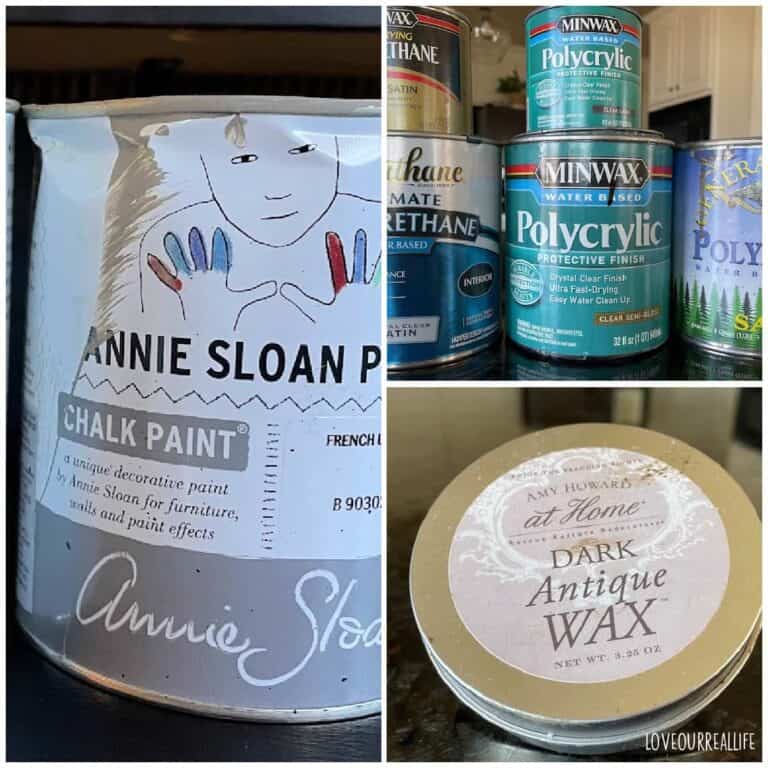
I shared a recipe I’ve used several times in my post Chalk Paint Recipe with Calcium Carbonate. In this post I shared details on making the chalk paint and painting an old sofa table.
Sofa Table BEFORE:
Sofa Table AFTER:
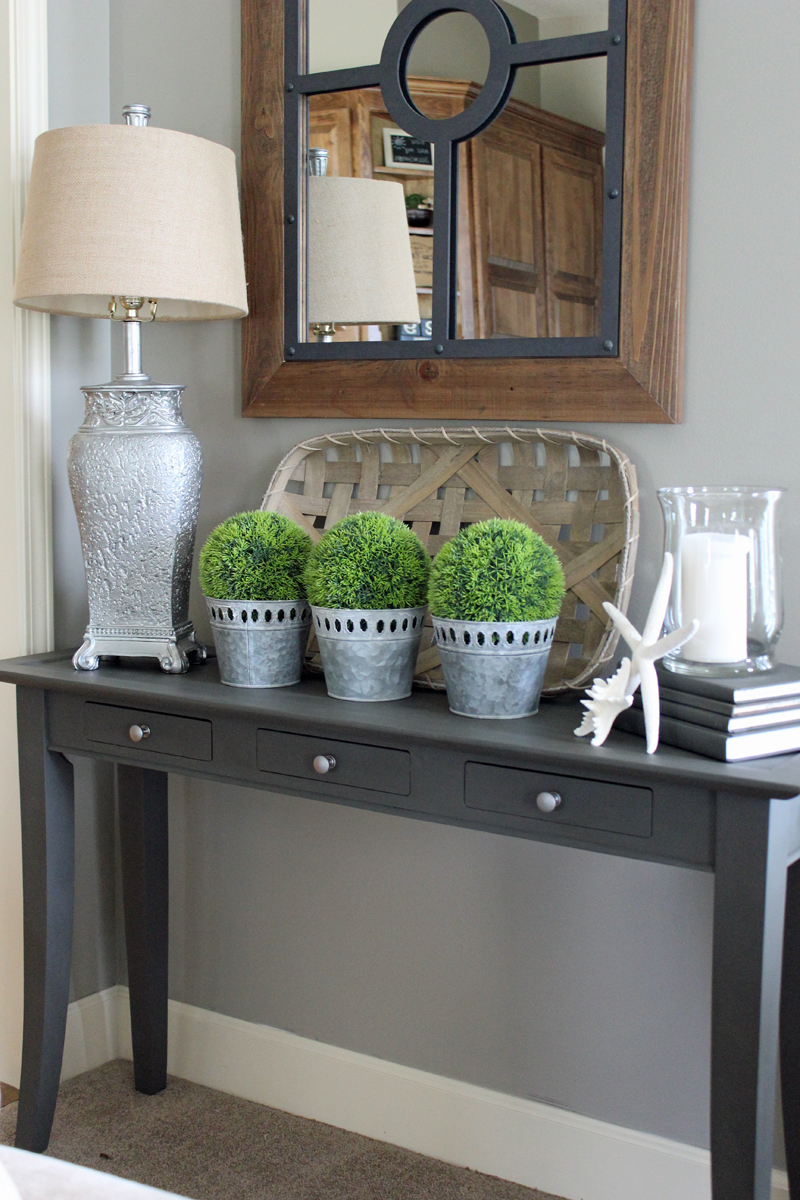
It turned out really nice and it looks like a much more expensive piece, in my opinion. If you have a favorite latex paint color, making your own chalk paint is a great option to update furniture. This is especially helpful if you’re trying to save money on paint as chalk paint is somewhat expensive. For the recipe I used, save the Pinterest pin here.
For this sofa table I used Urbane Bronze by Sherwin Williams. The calcium carbonate does change the color slightly, so be aware of this beforehand. I would suggest mixing it and trying it on a board first, letting it dry, then decide if it’s the color for you. Keep in mind if will become a slightly deeper color if you seal it with wax or polycrylic.
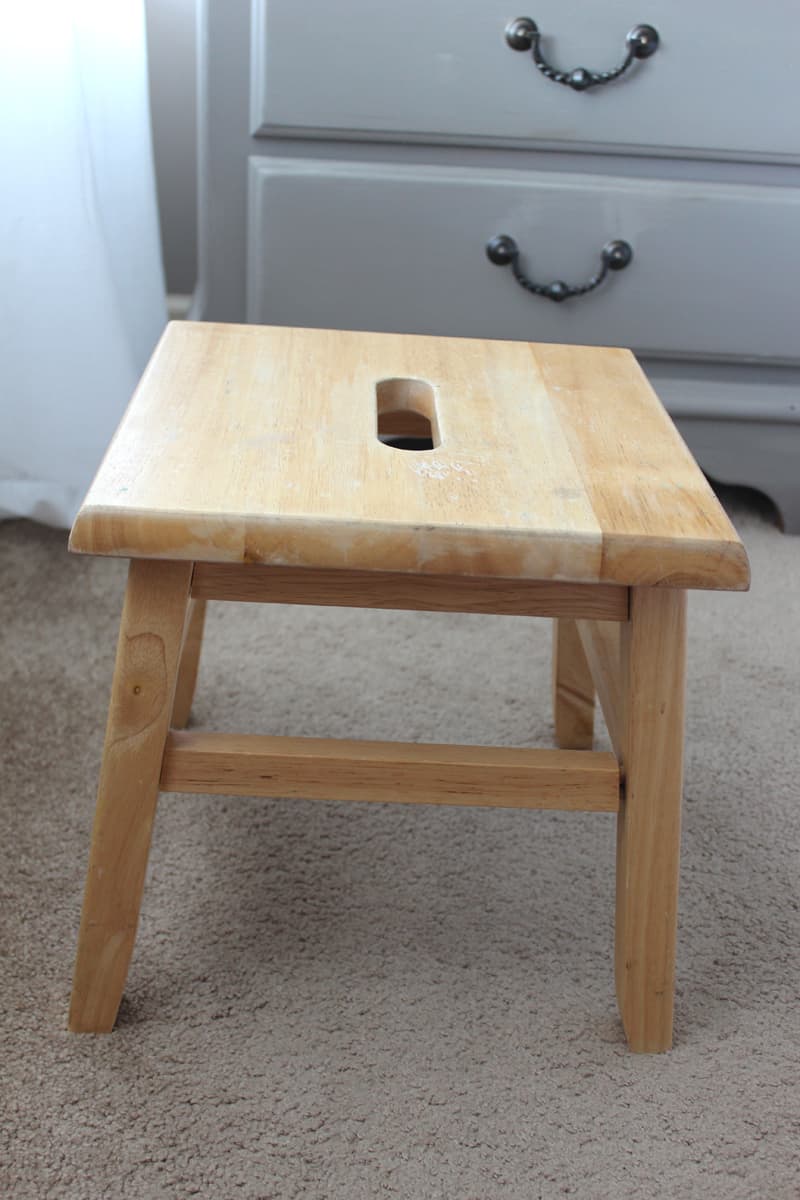
Bar Stool
I thought I would throw in this simple bar stool for my before and afters. I have a similar stool for the before, but not the exact one shown in the after picture. It was the same color of stain, so I’m certain your imagination will do the rest.
To makeover this barstool, I painted the base Coco from Annie Sloan. If you’ll notice, I use this paint color a LOT! I have only had to purchase 2 quarts for countless projects…a little goes a long way.
After the Coco paint dried, I dry brushed just a little walnut color stain over the stool. Then, I dry brushed more Coco as well as a little bit of Country Grey by Annie Sloan. It was sealed with a couple coats of polycrylic.
Bar Stool BEFORE:
Bar Stool AFTER:
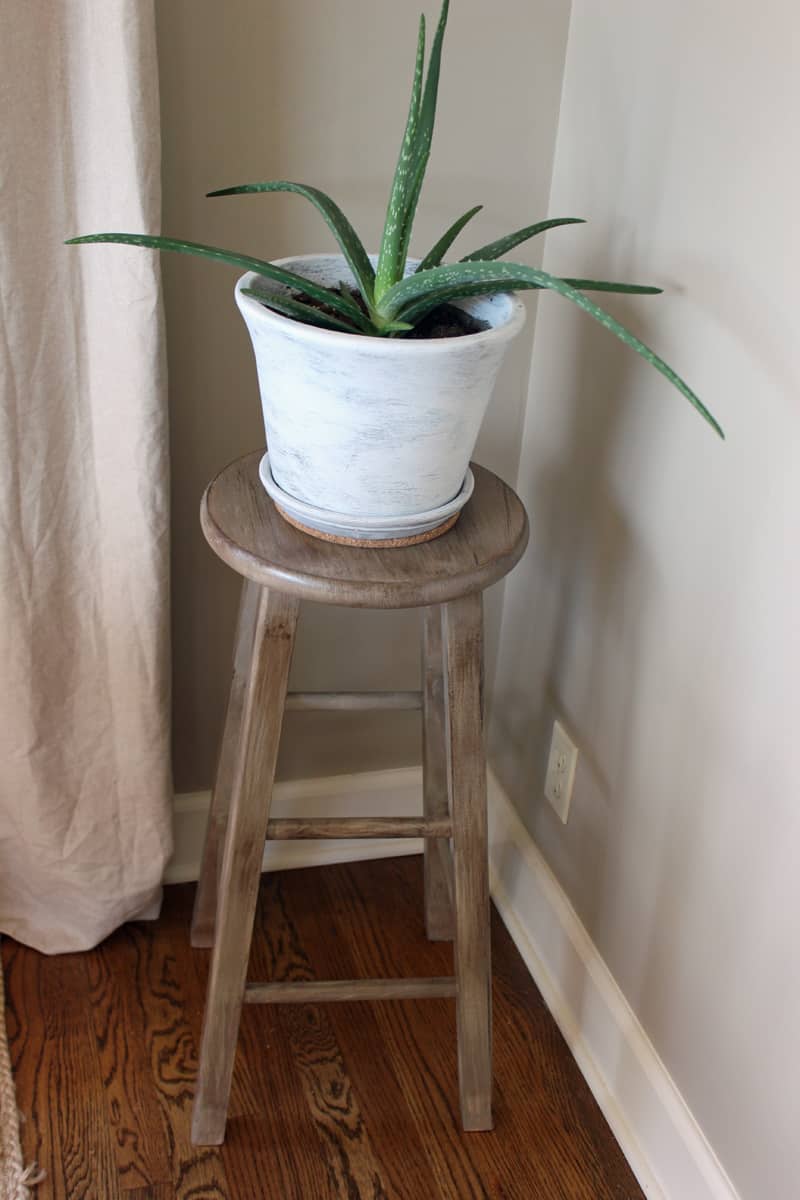
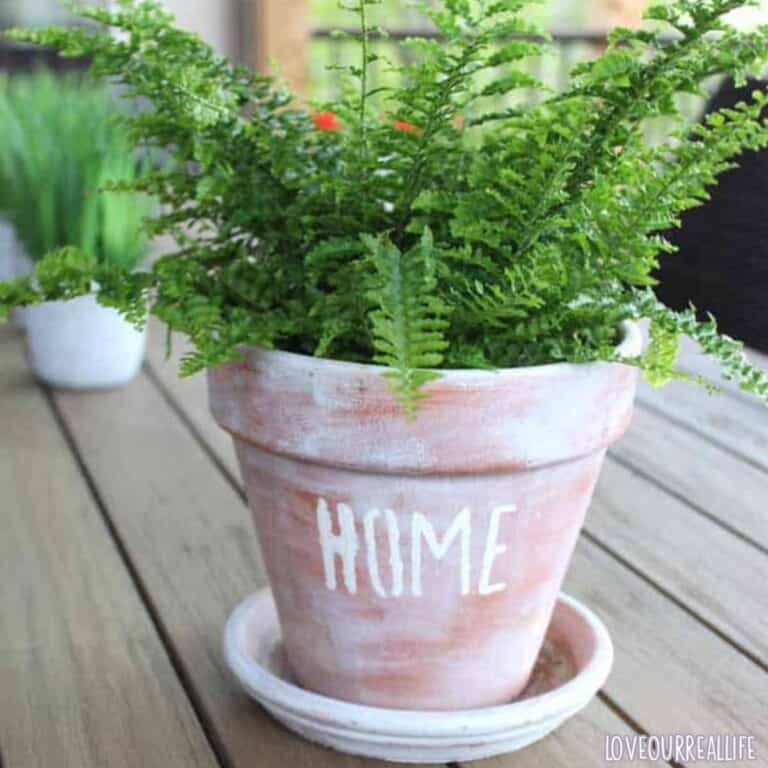
The barstool was less than appealing before, but I really loved the way it turned out. It’s the perfect size for a plant stand. Speaking of plant, the pot used to be green. I brushed a little white chalk paint (without removing the plant!) on it to help it flow with the rest of my home a little better.
Here is a different green planter that is same color to show you a before: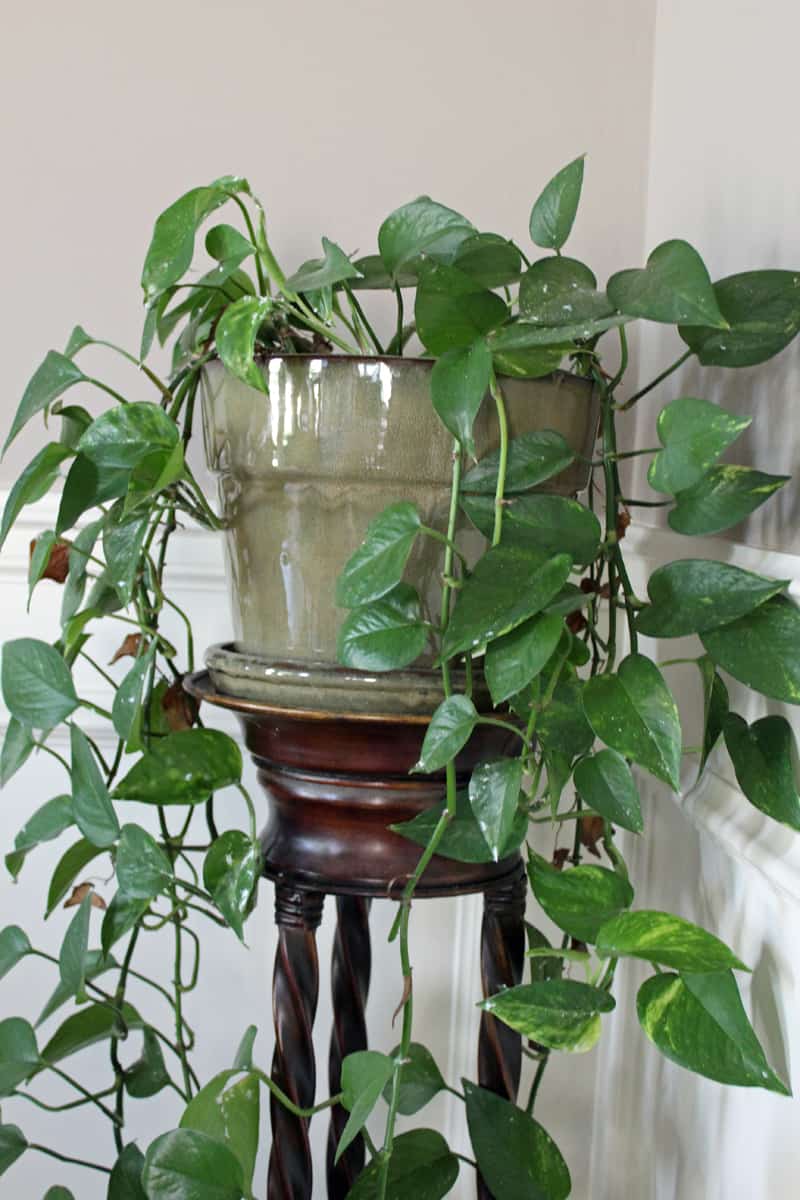
The pot is actually a pretty color. White just looked better in that location.
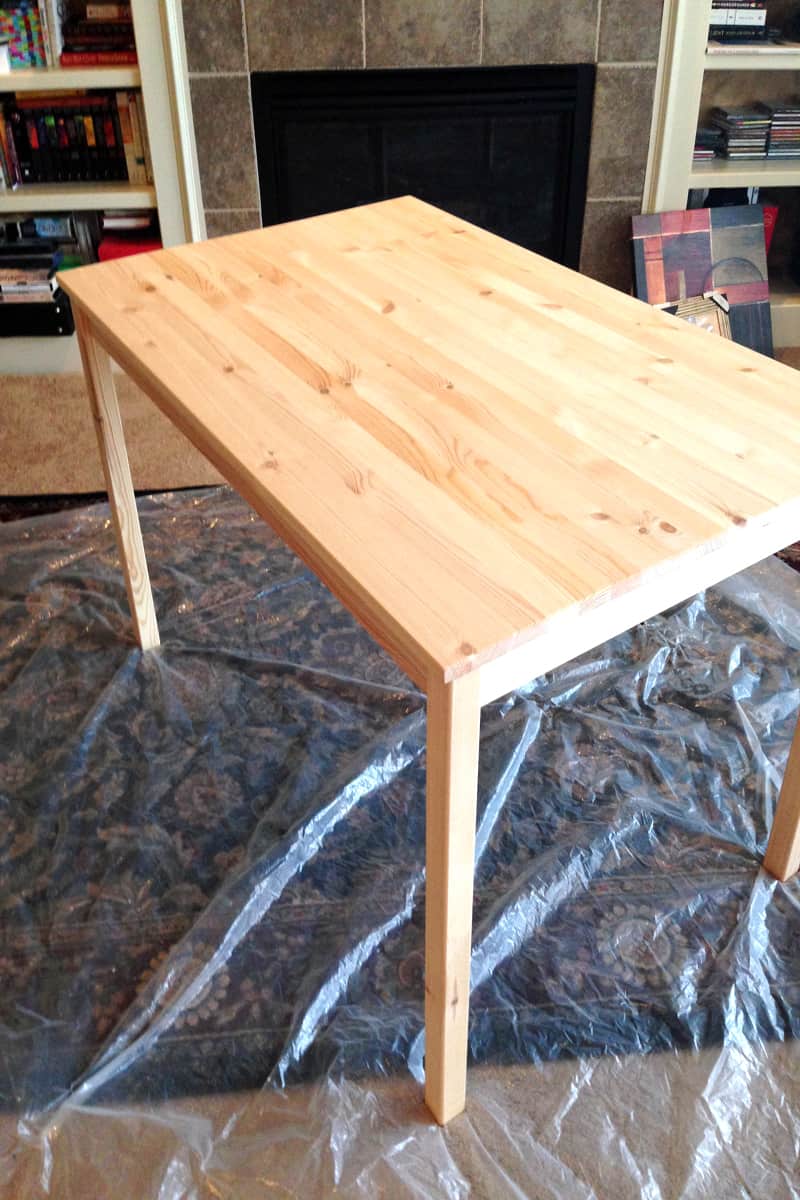
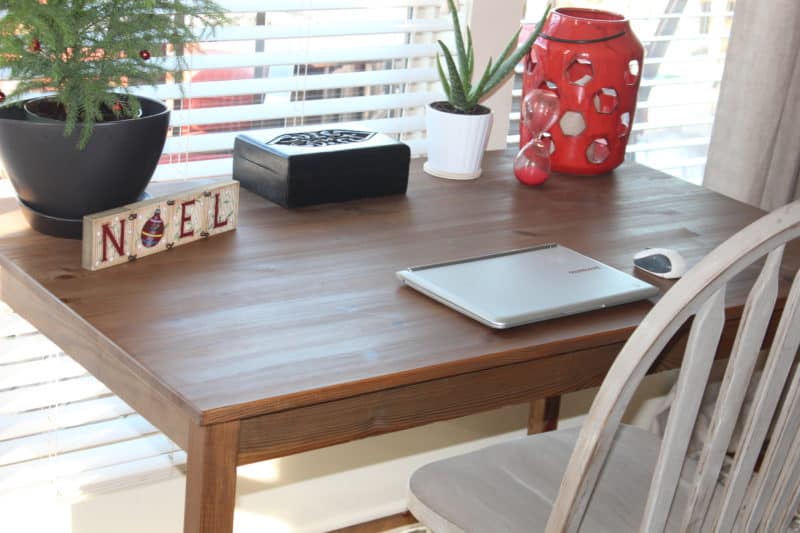
IKEA Table Makeover
This next project is technically stain vs. paint, but it certainly fits with the rest of the before and after projects. I got my INGO table at IKEA for $69 and assembled it myself. With a little bit of work, it turned out so nice.
That price was great for this size table. It was unfinished wood, which meant I could stain it just how I liked.
The tutorial of the staining process can be found at Getting the Restoration Hardware Look.
IKEA INGO Table BEFORE:
The “during” phase of the staining:
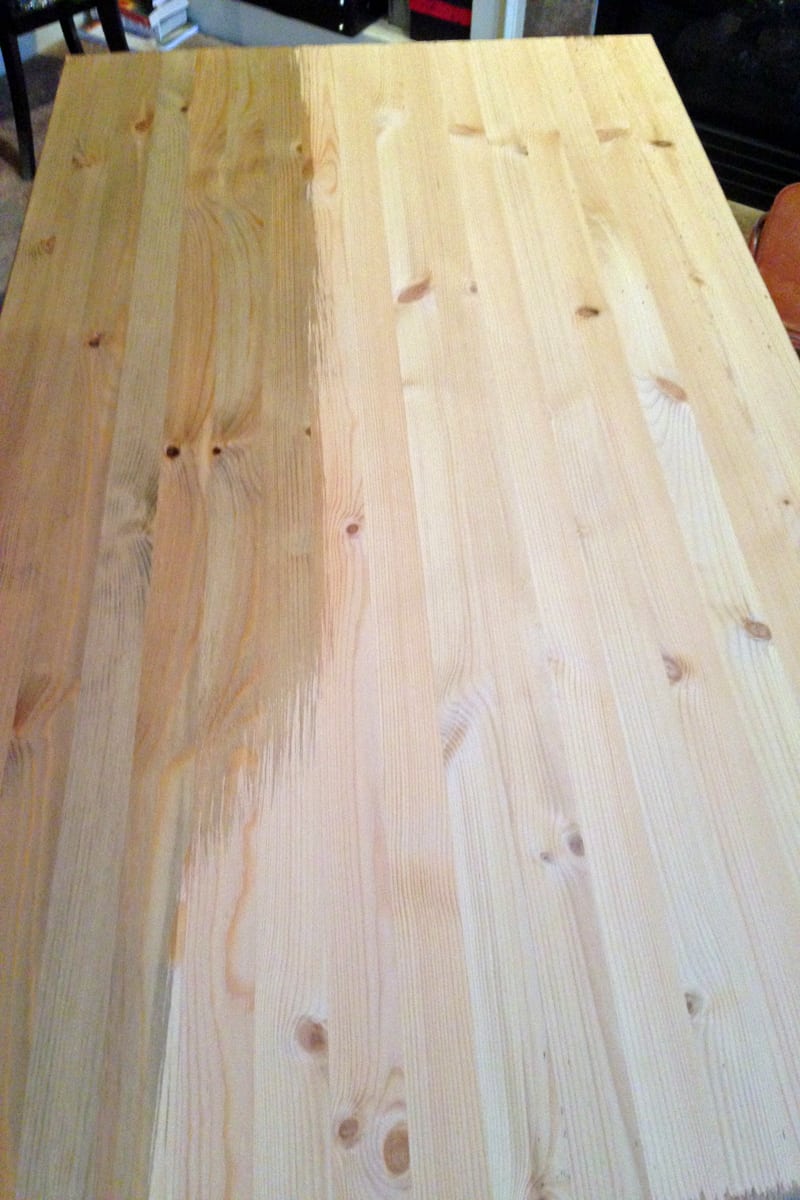
IKEA INGO Table AFTER:
I mention using oxidized steel wool with vinegar in several posts. If you are interested in other images of how this stain looks, go to a couple of my other posts: DIY Rustic Wood Shelves and Kitchen Table Transformation using Chalk Paint and Wood Stain. The chair seats from my kitchen table (see above) were stained with this process.
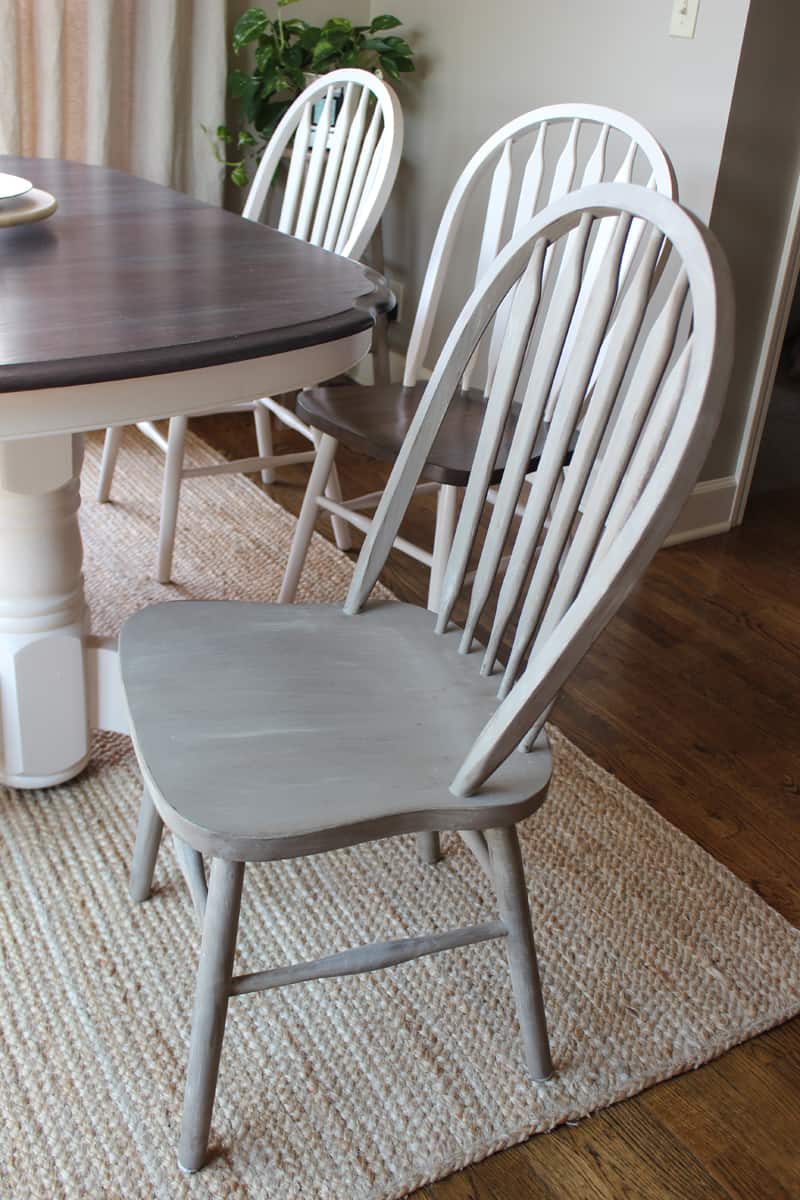
The chair in this picture belongs with my kitchen table above (see #7). The table originally started out with six chairs, but one got broken somewhere along the way.
Since I knew we could only keep four chairs at the kitchen table due to the limited space, I painted the fifth chair a different color! I used the same process as the barstool mentioned above, except I didn’t seal it with polycyclic.
If you compare the barstool, you’ll notice sealing it makes it quite a bit darker.
Here’s another shot of the chair that I use with my IKEA table:
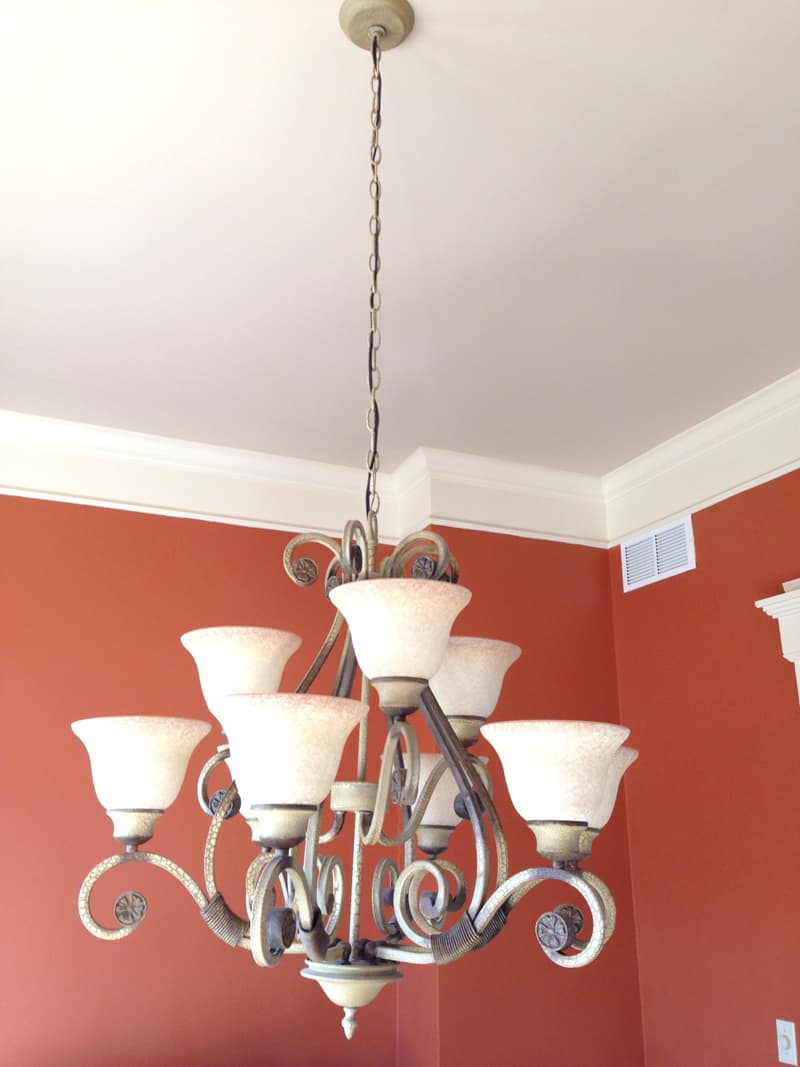
Dining Room Ceiling
Ok, so the next before and after isn’t furniture, but it’s a makeover worth sharing. My dining room has been MANY colors since we moved in 11 years ago. Painting rooms is one of the easiest (and least expensive) ways to make a big impact in decor.
After I painted the dining room gray as mentioned earlier, I painted the ceiling Naval by Sherwin Williams. It allowed me to give the room a pop of color, while leaving the walls neutral.
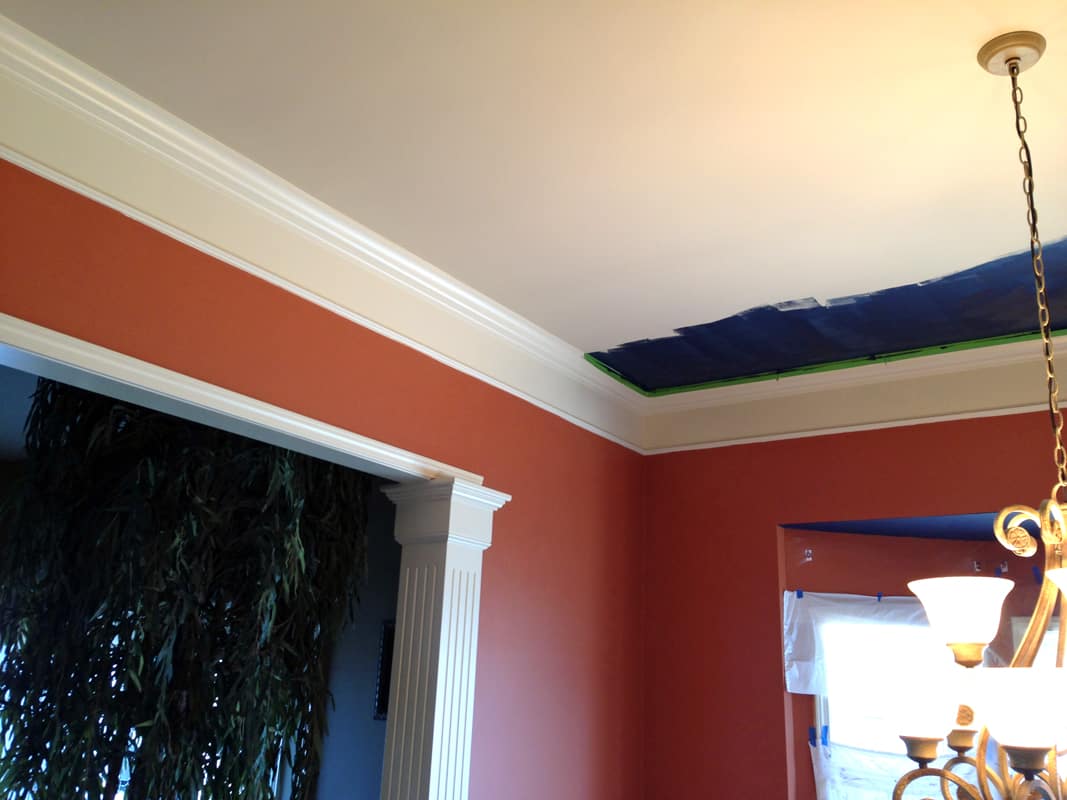
Dining Room Ceiling BEFORE (with orange walls!):
Dining Room Ceiling AFTER:
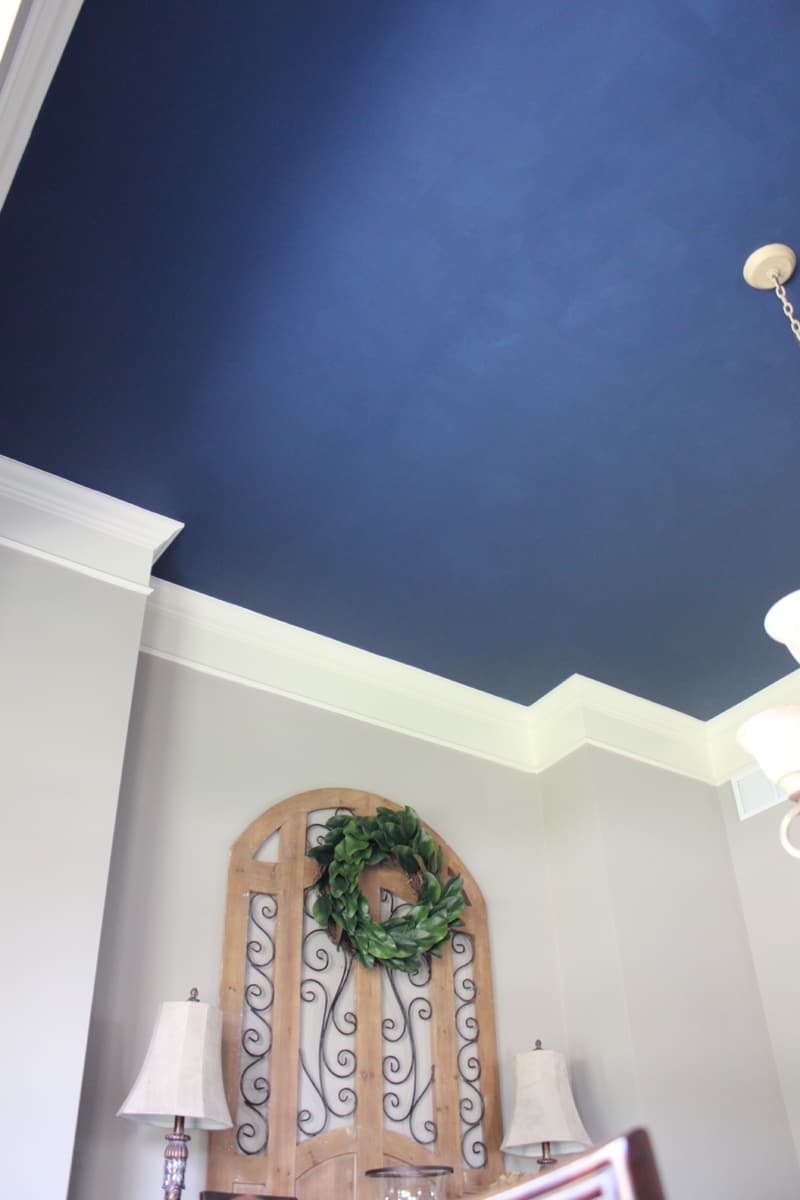
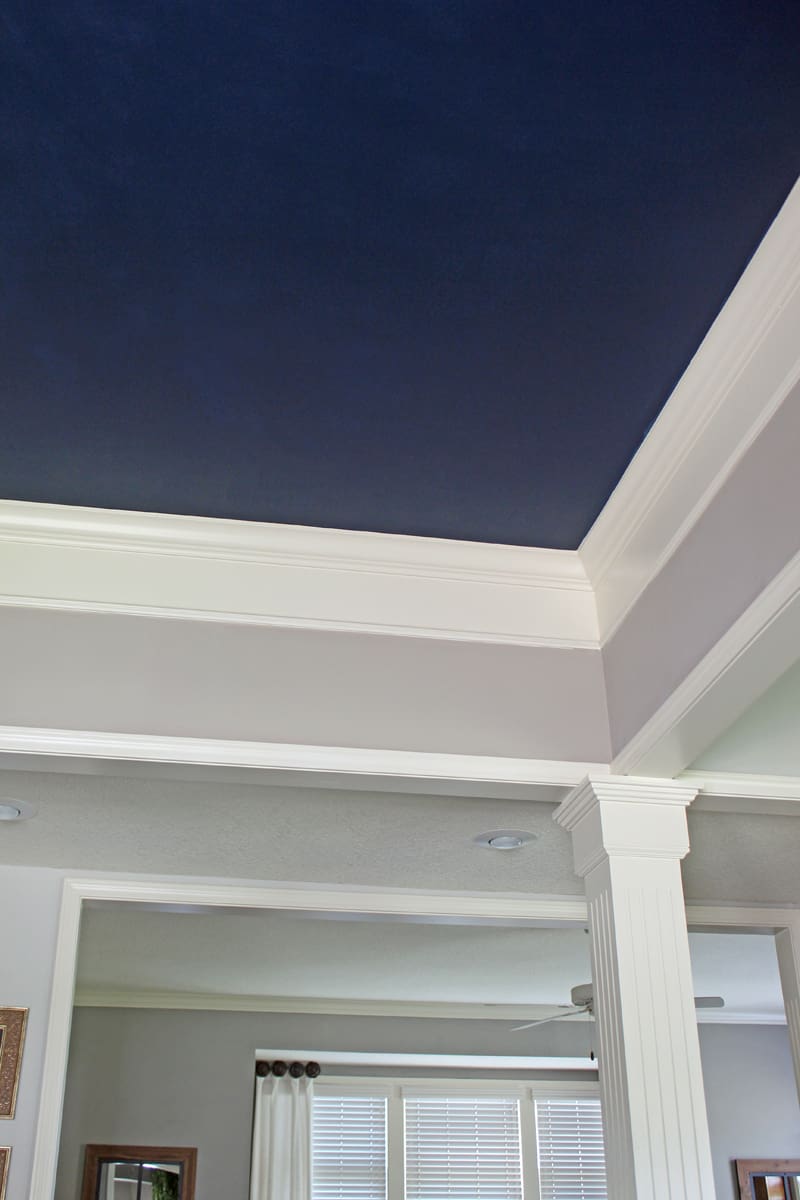
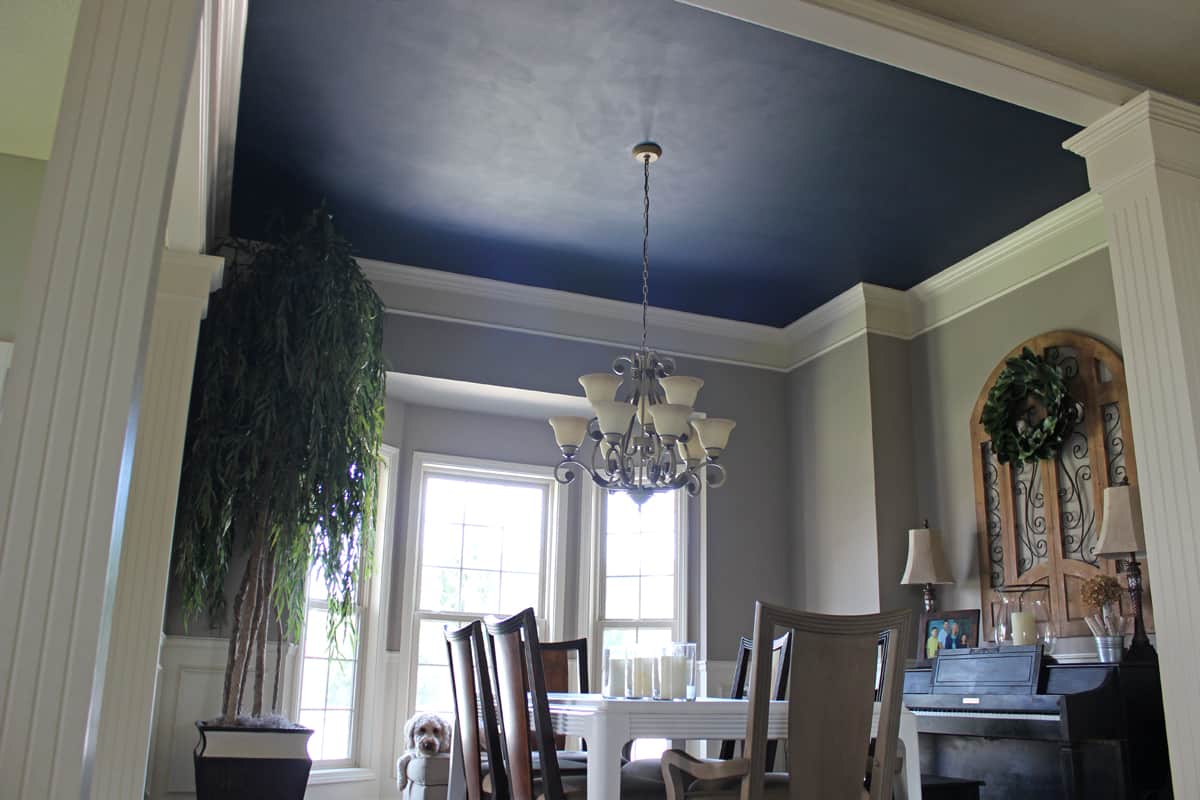
It looks like I have a little bit of blue sky in my home every time I walk past the dining room.
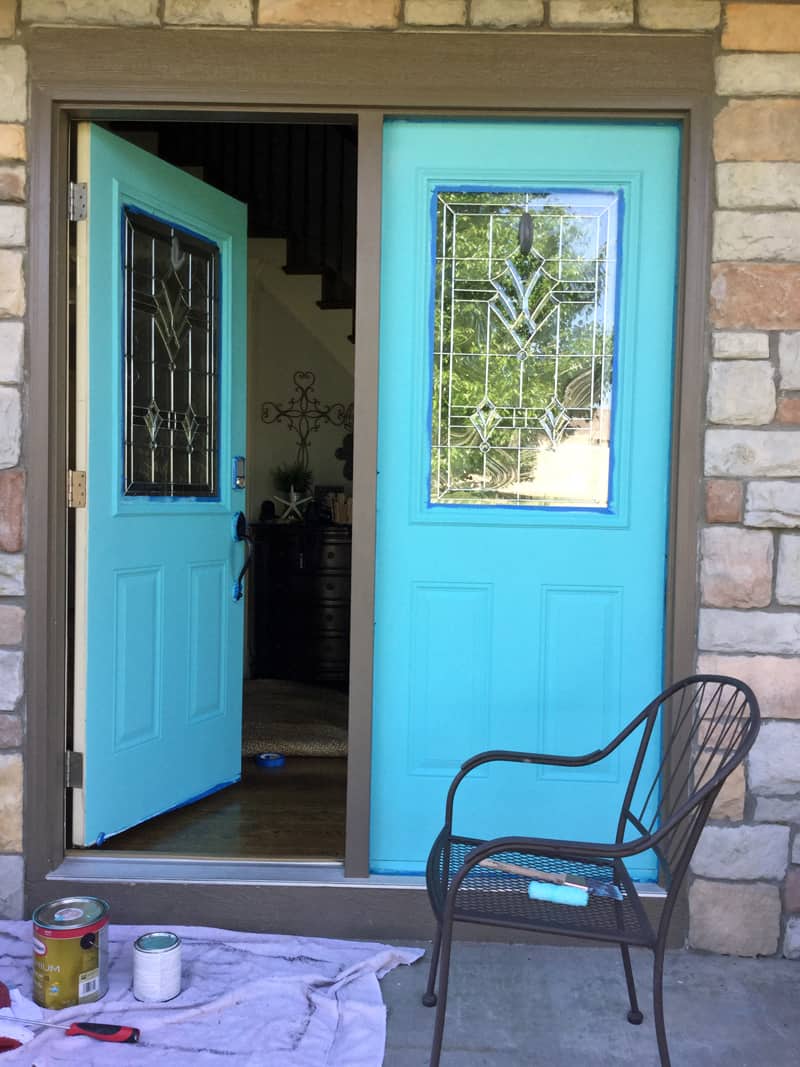
Painted Front Door
I had actually already painted them two times before I started asking for opinions!
As I’ve mentioned before, I’m a bit impulsive and I have difficulty focusing. I started with an aqua paint I had purchased for repainting some outdoor furniture (and changed my mind!). It completely clashed with my stone.
Front door AQUA:
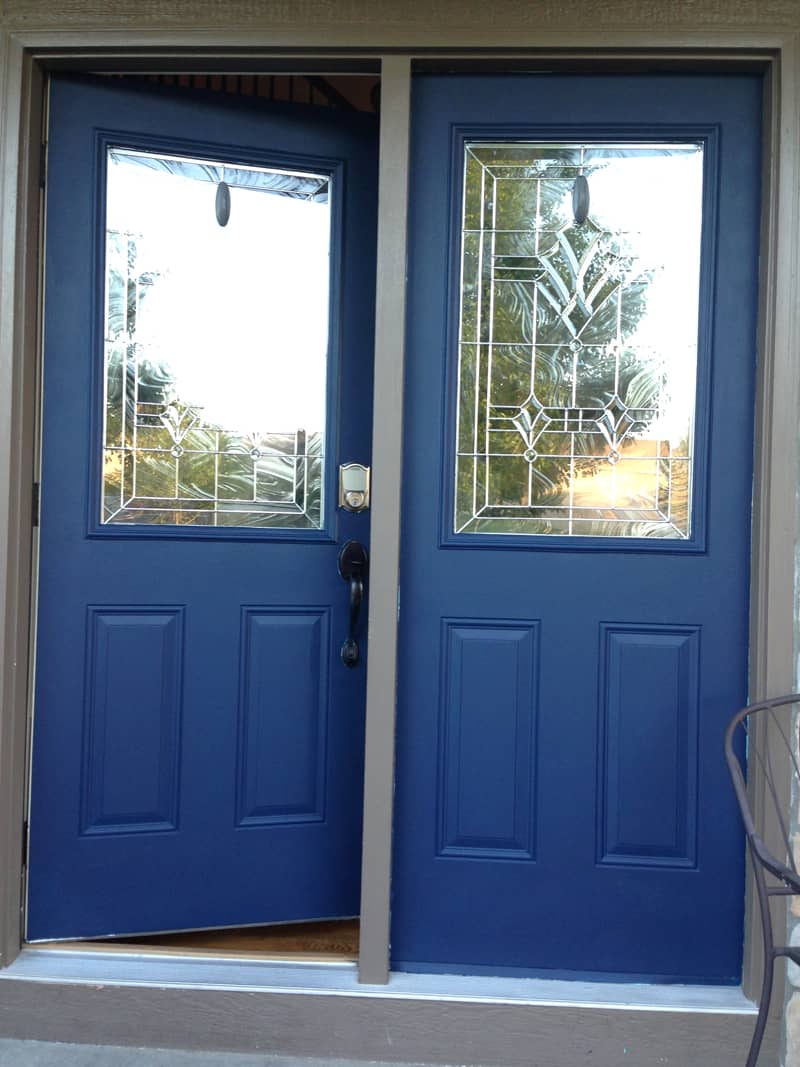
After realizing it was never going to grow on me, I grabbed some navy blue paint (Naval by Sherwin Williams left over from dining room ceiling). One might think I had learned my lesson and think it through a bit longer.
First of all, it was a flat paint. I certainly knew that flat latex does not make the best finish for front doors, yet I jumped in anyway. I was hoping I’d love it, but it just didn’t go well with my stone either.
Front door NAVAL:
For reference, this is a picture of the doors before this repaint process began:

Once again, the color is Black Fox. Getting direct morning sun had really taken it’s toll.
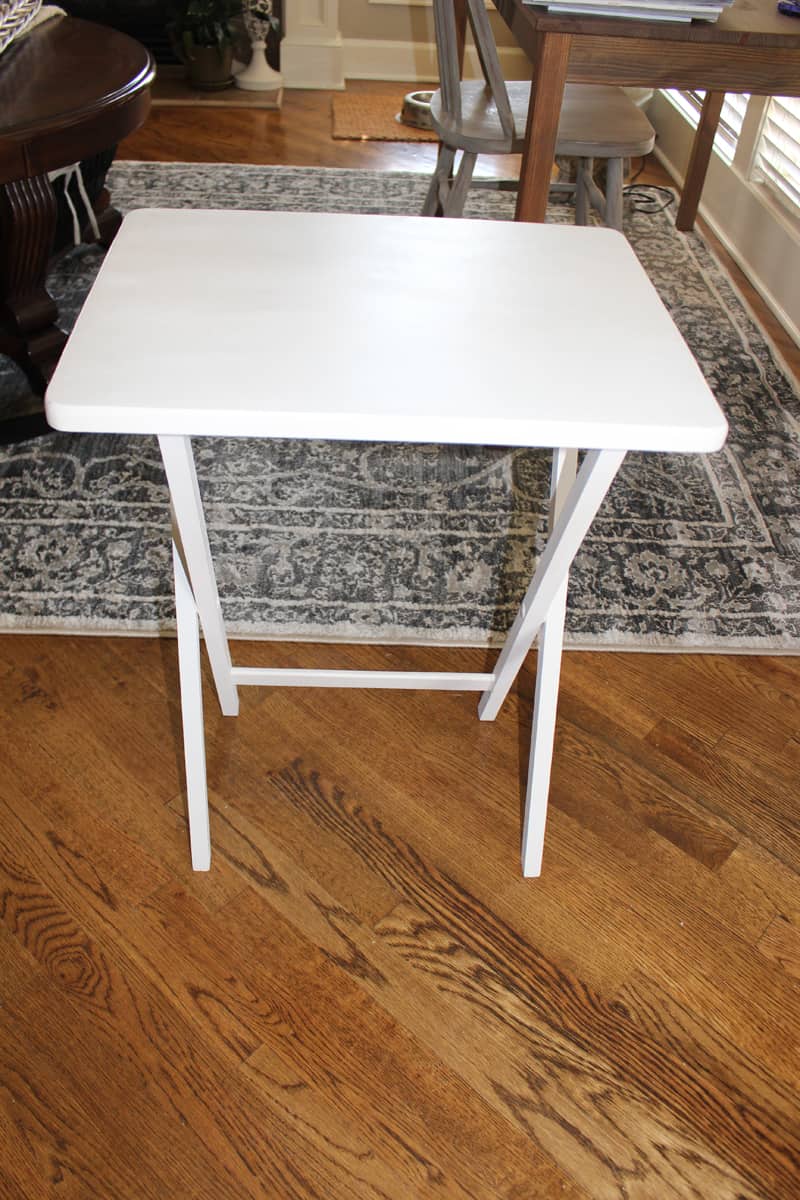
TV Tray
The next before/after is an old TV tray that I gave a quick makeover with off-white chalk paint, sealed with wax. I now use it with my laptop in the living room when I need to check a few things at the end of the day. Before, it was just collecting dust in our basement.
If you have furniture or items you are no longer using, but can see the value in saving them, find a way!
TV tray BEFORE:

TV tray AFTER:
This concludes my Painted Furniture | A Before and After post! Be sure to check back next week for my next before and after. Just to give you a little hint, this will be home decor focused, showing the transformation of a room. I think you’ll love it!
Once again, the other posts in my before and after series to date:
Ideas for Front Yard Landscaping | A Before and After
Painted Furniture | A Before and After (Part 1)

Let’s Connect!
I’d love your feedback! Please leave a comment below and let me know if I posted about something you’ve been considering.
Or if you’ve already completed something similar, I’d love to hear about it. It makes my day to hear from you, plus it lets me know what interests you so I can write more content you enjoy!
Follow me on Facebook! You can also connect with me on Pinterest!


Wow – I’m so impressed with these makeovers! The dining table one is amazing – the paint updates the dining set so perfectly. I’m going to check out the detailed instructions.
Thank you! It was a lot of work, but I’m so glad I did it. Let me know if you have any questions!
I’ve never painted any of my furniture but I have some pieces I really want to update. Your post totally inspired me! Making it my weekend project 🙂
Thank you for sharing that with me, Hannah! That is exactly why I do this! Best of luck on your weekend project…I think you’ll be so glad;-)
How inspiring! Love how everything looks! The front doors and the grey console table are my favorites!
Thanks, Patricia! The front doors are a work in progress!
Thank you!
Omg I looooove before and afters for decor. I think my favorite one is the sofa table one. Love that gray!!
Thanks so much, Sharon!
This post makes me want to paint a few pieces in my house! It makes such a difference! I especially love the dining room set!
Thank you! I appreciate the feedback. Have a great day!
I am so impressed by all you have done. Plus I love the color choices.
So nice of you! Thank you!
You’ve given me an idea: I want to paint my side tables gray! They would look much better. Love this.
Thank you, Marette! I love hearing things like that. Best of luck on your side tables!
I love that you give so many options! Painting furniture is one of the easiest (and cheapest!!) ways to update a look. Excited to give these tips a test run with an old bench!
Thank you, Juliette! Paint is magical;-)
I definitely feel more confident in trying to paint furniture now. You give great detailed posts for how to do it. My favorites in this post are your dining room table and the navy blue ceiling!
Thanks for your input, Amanda! I love those too;-)
That dining room is #goals. So gorgeous! And the table and chairs has inspired me to try my own hand at painting furniture.
Thanks, Katie! If you try it, I would LOVE to hear how it goes. Thanks for checking out my blog!