Do Stencils Work on Textured Walls?
Stenciling on textured walls is doable. It can be easy to learn if you start with the right techniques and tools at hand.
Stencils work on textured walls with some extra care. The steps you need to take to stencil your textured wall include preparing your wall, taping off mold and trim, positioning your stencil, repositioning your stencil, and building a pattern.
This article will tell you how to stencil a textured wall properly and what tools you need to get started. Plus, there are some tips on how to clean and store your stencils properly.

Get more painting tips for the home here.
What Type of Tools Do You Need to Stencil?
There are a few tools needed to stencil textured walls properly. We’re going to go over each of them below:
Stencil Brushes
Stencil brushes are specially made for stenciling.
They are a round brush with a flat top, which makes them ideal for swirling and dabbing the paint over the stencil without getting the paint to bleed underneath.
A good stencil brush is densely packed, flexible, and soft. It has minimal shedding and natural bristles. The stencil brush you buy should be flexible.
Avoid bristles that are very stiff. Stiff brushes will be very difficult to work with and will create rough marks as you stencil.
A good flexible stencil brush will give you soft color blending and shading.

Before you begin stenciling, you should vigorously rub your stencil brush with your thumb to remove loose bristles.
Use small brushes for smaller designs and shading and bigger brushes for big stencil designs. Most stencil brushes come with wooden handles.
The problem with wooden handles is that they are vulnerable to moisture.
They can get damaged easily by water that seeps into them. On the other hand, acrylic plastic handles are good. They don’t peel, crack, or swell.
Tape Measure
Keep a ruler or tape measure on hand to find out the amount of space available for the wall stencil when planning projects.
Pencil
Use a watercolor pencil in a neutral gray color for marking registration marks and level lines. You can easily remove the watercolor pencil with a damp cloth.
Paper Towels
Use paper towels for regular cleanup, to protect surfaces, and to wipe extra paint off stencil brushes. Always remember to keep a roll nearby while you’re stenciling.
It is also a good idea to have a wet rag handy for quick wipe ups.
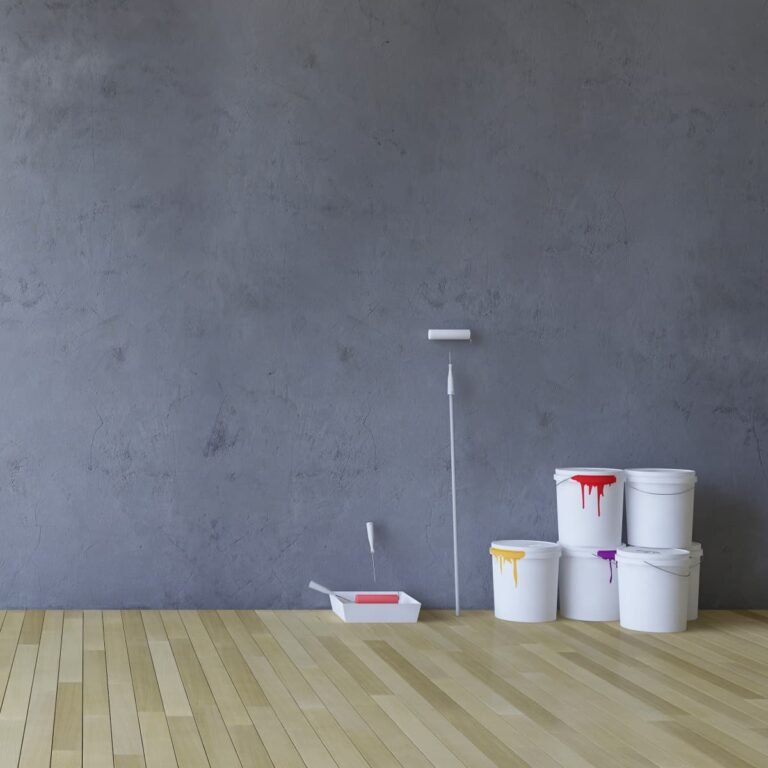
Paint
Latex paint or acrylic paint works with stencils. You can use both artist acrylics or craft acrylics for stenciling.
Don’t use spray paint as it’s difficult to control. Oil paint is not good for stenciling. It takes a long time to dry. However, you can stencil with plaster, glaze, or metallic paint.
I’ve also found that chalk paint works really well for stenciling projects due to the fact that it dries so quickly.
Clean the surface properly before working with stencils and paint to make sure the design sticks.
Tape
Painter’s Tape holds stencils securely. It does not spoil most surfaces by removing the base coat. However, you should use a low tack tape for newly painted and delicate surfaces.
Stencil
Opt for stencil patterns that mix with the character and decor of your room.
There are several stencil patterns to choose from that will give your room a unique feel. Additionally, you can use a simple pattern for your textured wall if your wall space is split by windows or door spaces.
Also, don’t use stencils if they’re competing with architectural features or fireplaces.
There are various wall stencils available on the market. The Sunflowers Wall Stencil from Cutting Edge Stencils is easy to use, flexible, and durable. It is made out of 10 mil mylar plastic material.
This stencil can be used on walls with a light texture.
How to Stencil a Textured Wall?
Materials:
- Pencil
- Measuring Tape/Ruler/Level
- Paint
- Tarp
- Painter’s Tape
- Stencil Brush
- Stencil
- Paint Tray
- Paper towel
Prepare Your Textured Walls Before Stenciling
Before you begin stenciling, ensure your walls are free from debris or dust and have been properly prepared.
Preparing the walls means cleaning, filling cracks and holes, and removing any bumps. Dirt on your walls can prevent paint from sticking, so wash the walls.
Remove any dirt or grime that may have accumulated over the past few years. Then use a filler to fill any chips, cracks, or holes that may be present on your walls.
Apart from this, remove any other loose paint from previous coats that may be chipping away and fill the area.
Let the filler dry and then sand it down to create a smooth surface. After that, wipe your walls with a dampened cloth to get rid of the sanding dust.
Tape off Molding and Trim and Lay down a Tarp
Use painter’s tape to tape off doorways, window sills, crown molding, and baseboards. Use a tarp to protect your floor from paint overspray.
Spread the tarp across the entire floor. If you choose to paint the walls, allow the paint to dry.
Make Sure the Stencil Is Intact
Wall stencils can be packed in several ways so make sure the stencil is fully intact before using it.
You should practice with the wall stencil first if you’re using it for the first time.
Measure the Center of Your Textured Wall
Use a ruler, level, or measuring tape to measure the center of your textured wall.
I always think it is a good idea to ‘eyeball’ it, too. My home has lots of spaces that aren’t incredibly symmetrical so this can make a difference in your outcome.
Secure Your Stencil to the Textured Wall
Ensure you use the right stencil for your task. In addition to this, the tape you use for securing the stencil to the surface should be specially made for textured walls.
Dip the Brush Tip into the Paint
Dip the brush tip into your paint. Offload extra paint on a paper towel. As a matter of fact, you should not put too much paint on the stencil brush.
Any extra paint will lead to major bleeding on your walls.
Fill in the Stencil Pattern Carefully
When you’re filling in the stencil pattern with paint, you should transfer the stencil pattern properly using a circular rubbing motion or light stippling motion.
It’s important to know that extra paint on the stencil brush will cause smudging or bleed through.
Allow for Sufficient Drying Time
Make sure to allow for sufficient drying time before removing the stencil. You will smudge the transferred stencil pattern if the paint has not dried and is still wet.
Reposition Your Stencil Carefully
Reposition your stencil carefully as it will smudge if the paint is still wet. On top of that, your pattern will be off totally if the stencil is not repositioned correctly.
Use a Detail Brush to Fix Mistakes
Please keep in mind that stencil errors are bound to happen on textured walls. So, use a detail brush to fix minor errors quickly.
Clean and Store the Stencil Properly
Depending on how large of a wall you are doing, you’ll have to clean the stencil several times.
A good stencil will last for a long time to come with proper care and storage. However, it is essential to care and clean your stencil properly between uses.
Not storing the wall stencil properly can bend stencil pieces and it may not lay flat. In addition to this, leftover paint on the stencil edges will interfere with the quality of the stencil pattern.
Here is how to clean and store your wall stencils:
- Run your wall stencil under warm water and scrub with a dish brush.
- If the paint has completely dried, soak your stencil in soapy water for about 60 minutes. Then, lightly scrub the stencil with a dish brush, and remove the paint.
- Blot your stencil dry with a paper towel and allow it to air dry completely.
- For easy storage, lay your stencils under the bed between wax paper or clip them to a clothing hanger.
Other Stencil Projects:
- How to Paint Tile Floors Using Stencils
- How to Stencil on a Terracotta Flower Pot
- How to Make Wooden Signs with Stencils
Conclusion
Stenciling is a good way to create beautiful effects on your textured walls. It takes some effort and time, but the outcomes are worth it.
Also, it’s a good idea to test your stenciling technique before beginning your project.