Burlap Bulletin Board DIY
This burlap bulletin board DIY is a frugal way to use an old cork board and make it new again! Learn how to cover your cork board with burlap fabric for a fun command center to keep your family organized!

DIY Burlap Bulletin Board Tutorial:
I am pretty good at purging things I no longer need, for the most part. But occasionally, I have something that I just can’t seem to get rid of because I think I will repurpose it in some way…some day.
Get more DIY home decor ideas here!
That was definitely the case with this old bulletin board. I have had it since college. That’s over 20 years, dear readers!

I’ve been updating the kids’ playroom and thought a framed burlap bulletin board would be great to use in that space.
Other big name stores had, but they came at a fairly hefty price.
So why not try a DIY for a fraction of the cost and reuse something I already had!
Learn how to make an old framed cork board look cute!
Materials for cork board makeover with burlap:
- ~1 yard of burlap (I purchased mine from Hobby Lobby)
- Decorative tacks – 2 packages (found mine in fabric section at Hobby Lobby)
- Stapler
- Scissors
- Bulletin board
How to Attach Burlap to the Bulletin Board:
Step 1: Tack burlap to cork board
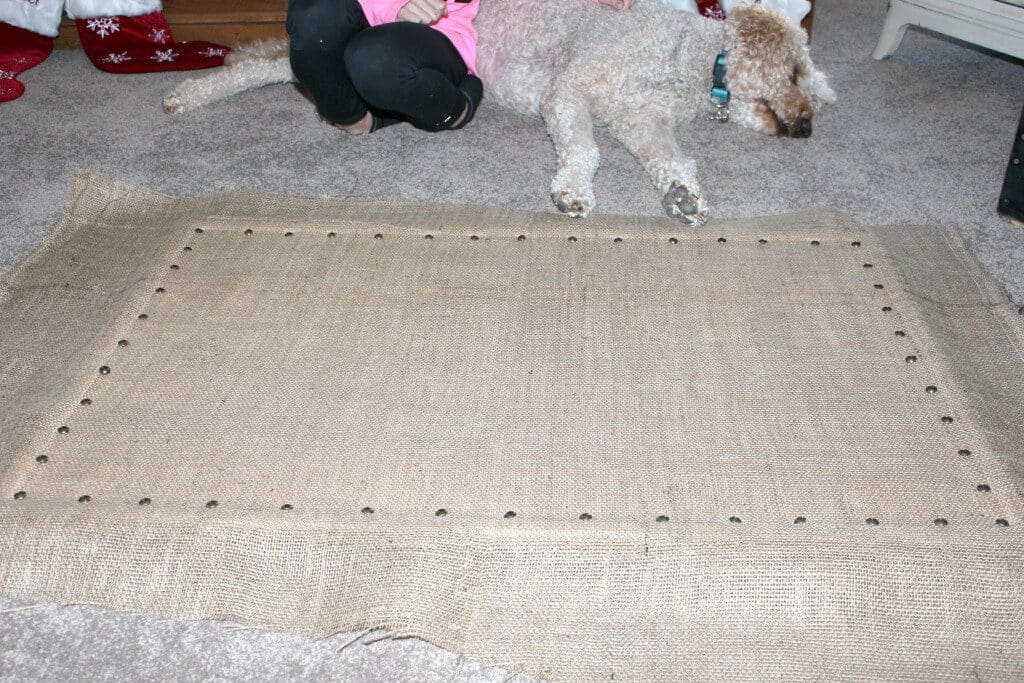
First, I ironed my burlap. Then, I simply laid the burlap directly on top of the front of the bulletin board. The tacks were pushed into the cork board, just inside the edge of the frame.
Push pins like I used for our diy oversized travel map would also work to give this a more fancy edge.
I didn’t measure (that’s just how I roll!), but the distance is about 1 1/2 inches apart.
I pulled the burlap somewhat taut as I went around the board so the final result would be fairly tight.
Approximately 1 1/2 packages of decorative upholstery tacks were used to attach the fabric to the cork board.
Our dog, Bentley, wasn’t terribly interested in this project (see photo below), lol!
Step 2: Staple burlap to backside of cork board
When I was finished placing the tacks as shown above, I flipped the bulletin board over to the backside to begin stapling.
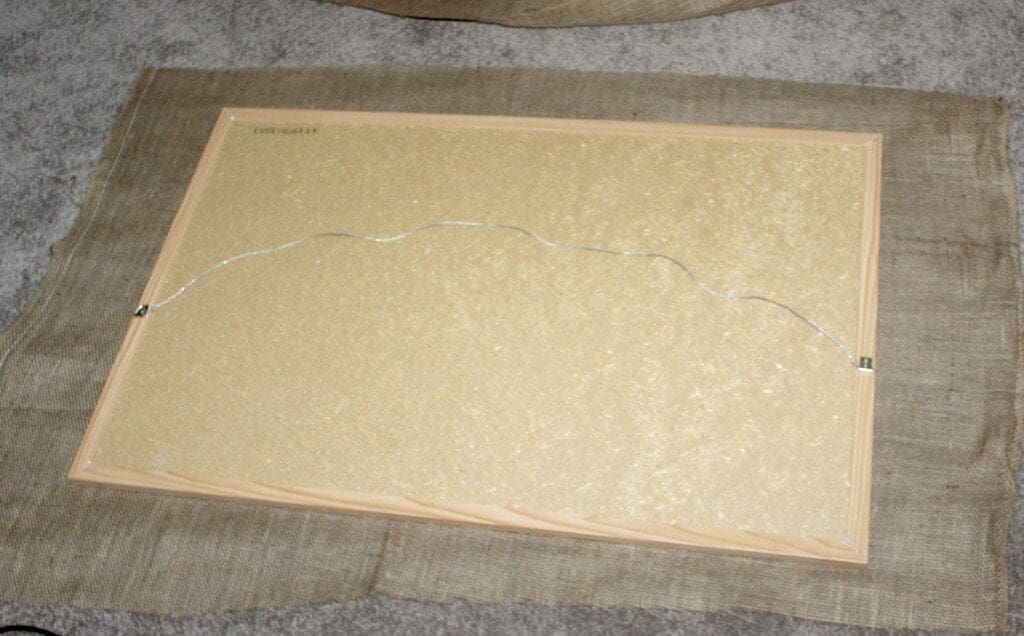
Step 3. Cut away excess fabric from the backside of the board
Be sure to cut away any excess burlap, then pull it fairly tight prior to stapling. Go around the entire board, stapling every few inches.

My main objective was for it to be tight, especially around the corners. I also didn’t want it to have too much bulk in the back so it would hang nicely against the wall.
If you need to attach hangers to the back of your frame , my bathroom framed mirror post will give you good guidance.
Flip it back over and admire your work!
You’re done!!!
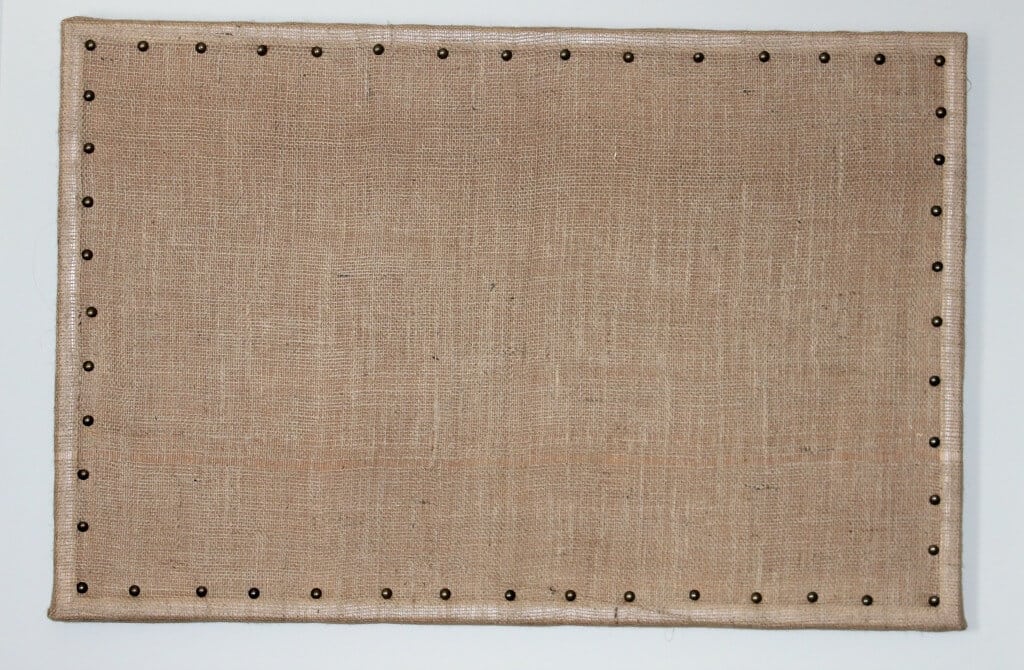
Burlap Bulletin Board DIY with Nailheads
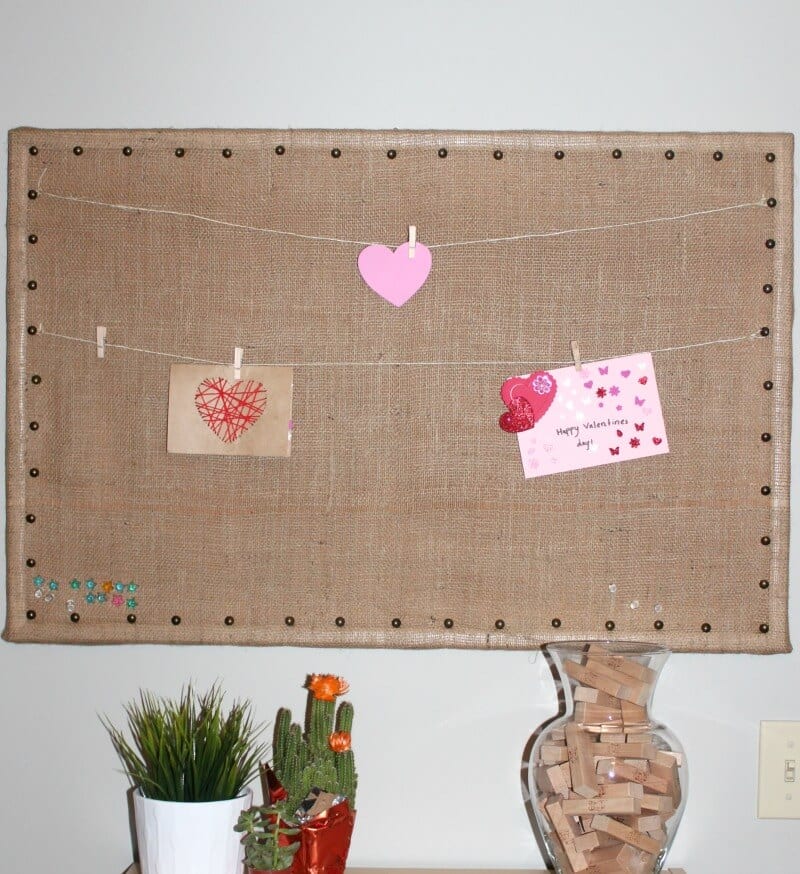
I finished it off by tying some jute string onto some of the tacks and using mini clothespins to hang items from.
RELATED: How to Make Wood Bead Garland
Where to put your cork board?
These fun framed bulletin boards look cute anywhere. But here are some ideas to get your wheels turning.
- Office
- Kitchen (as a command center for your family. See below!)
- Playroom
- Kids bedroom
I made another one for a command center for our kids’ activities:

What do you think? It was such an easy project. It only took me 20 years to complete;)
My daughter has been making some DIY Valentine’s cards, so we displayed those for now. I’m anxious to get more things up to add some color. Who knows, maybe I’ll keep it another 20 years!
Looking for ideas for more DIYs?:
- Reverse Canvas DIY Signs // What Are They and How to Make Your Own!
- String Art // The Complete Beginner’s Guide
Don’t forget to pin for later!

Love it! Very cute and functional. And I love all things burlap. 🙂
Thanks, Tina! I agree, burlap is a favorite for me too:)